Territories
Territory is a set of projects corresponding to a particular territory on the map, such as a region, a city, a road, etc. You can create tasks for drivers within projects or prioritize roads for detours in free roam mode without creating tasks.
You can work with territories on the Tasks tab:
- create territories
- view information about territories
- edit territories
- work with priority layers
- archive territories and restore them from the archive
Creating a territory
Only users with Owner or Administrator roles can create a territory.
- Go to the Tasks tab.
- Click New Territories.
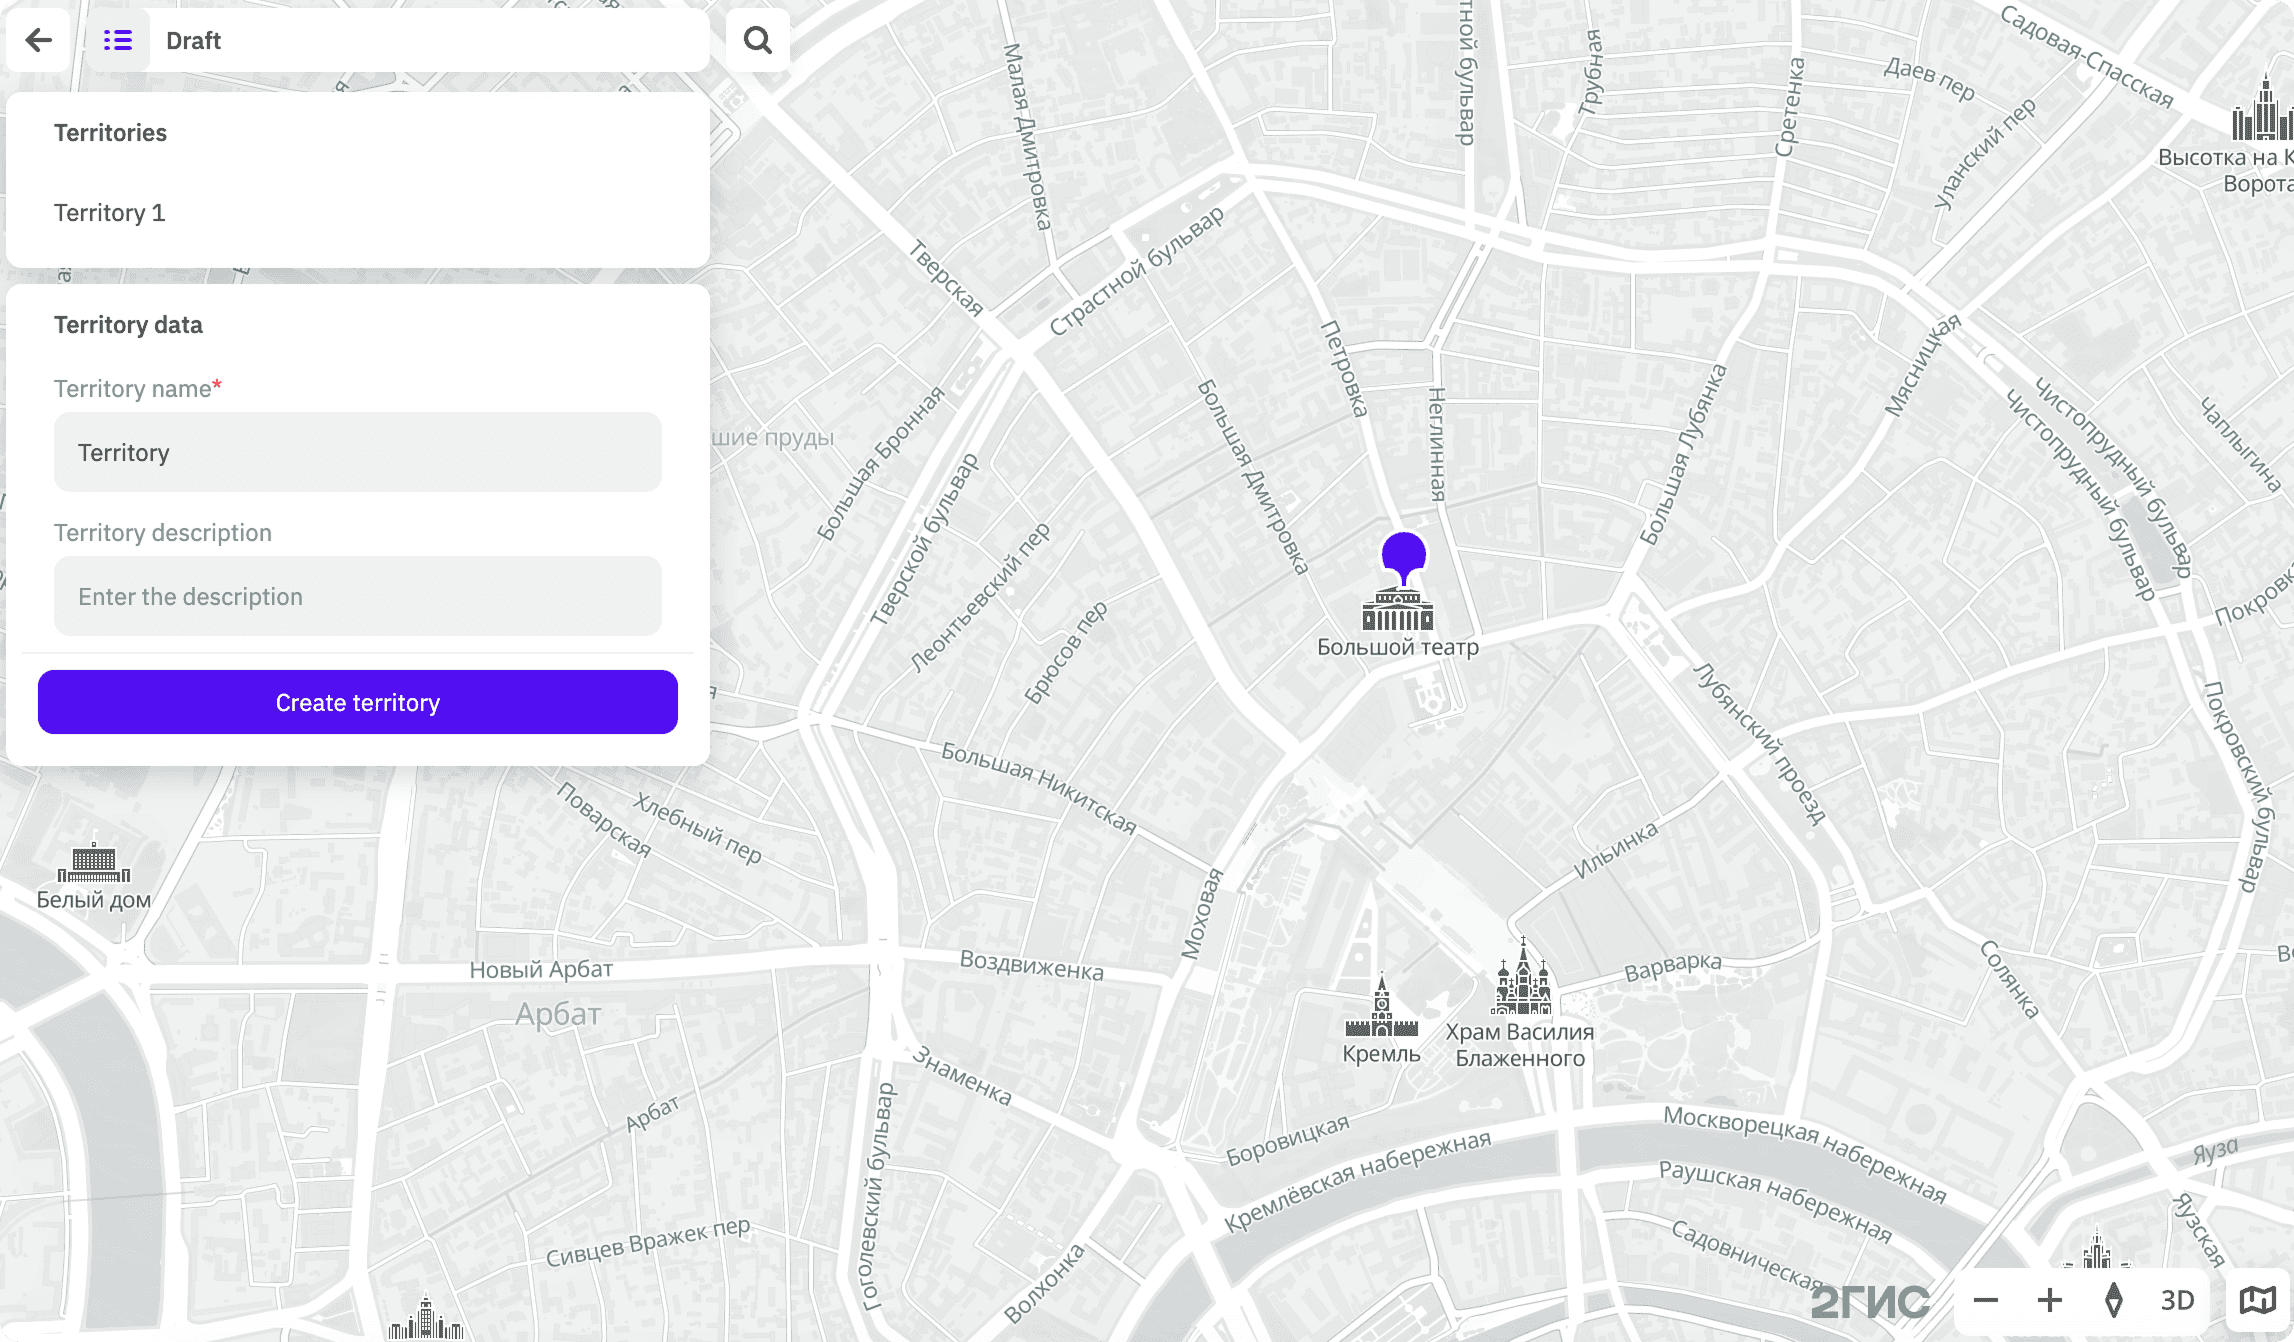
- Place a marker on the map at the approximate center of the territory. When creating a territory, you can use the search by addresses, places, and organizations on the map.
- Enter the territory name (mandatory parameter) and description.
- Click Create territory.
Viewing information about a territory
Go to the Tasks tab.
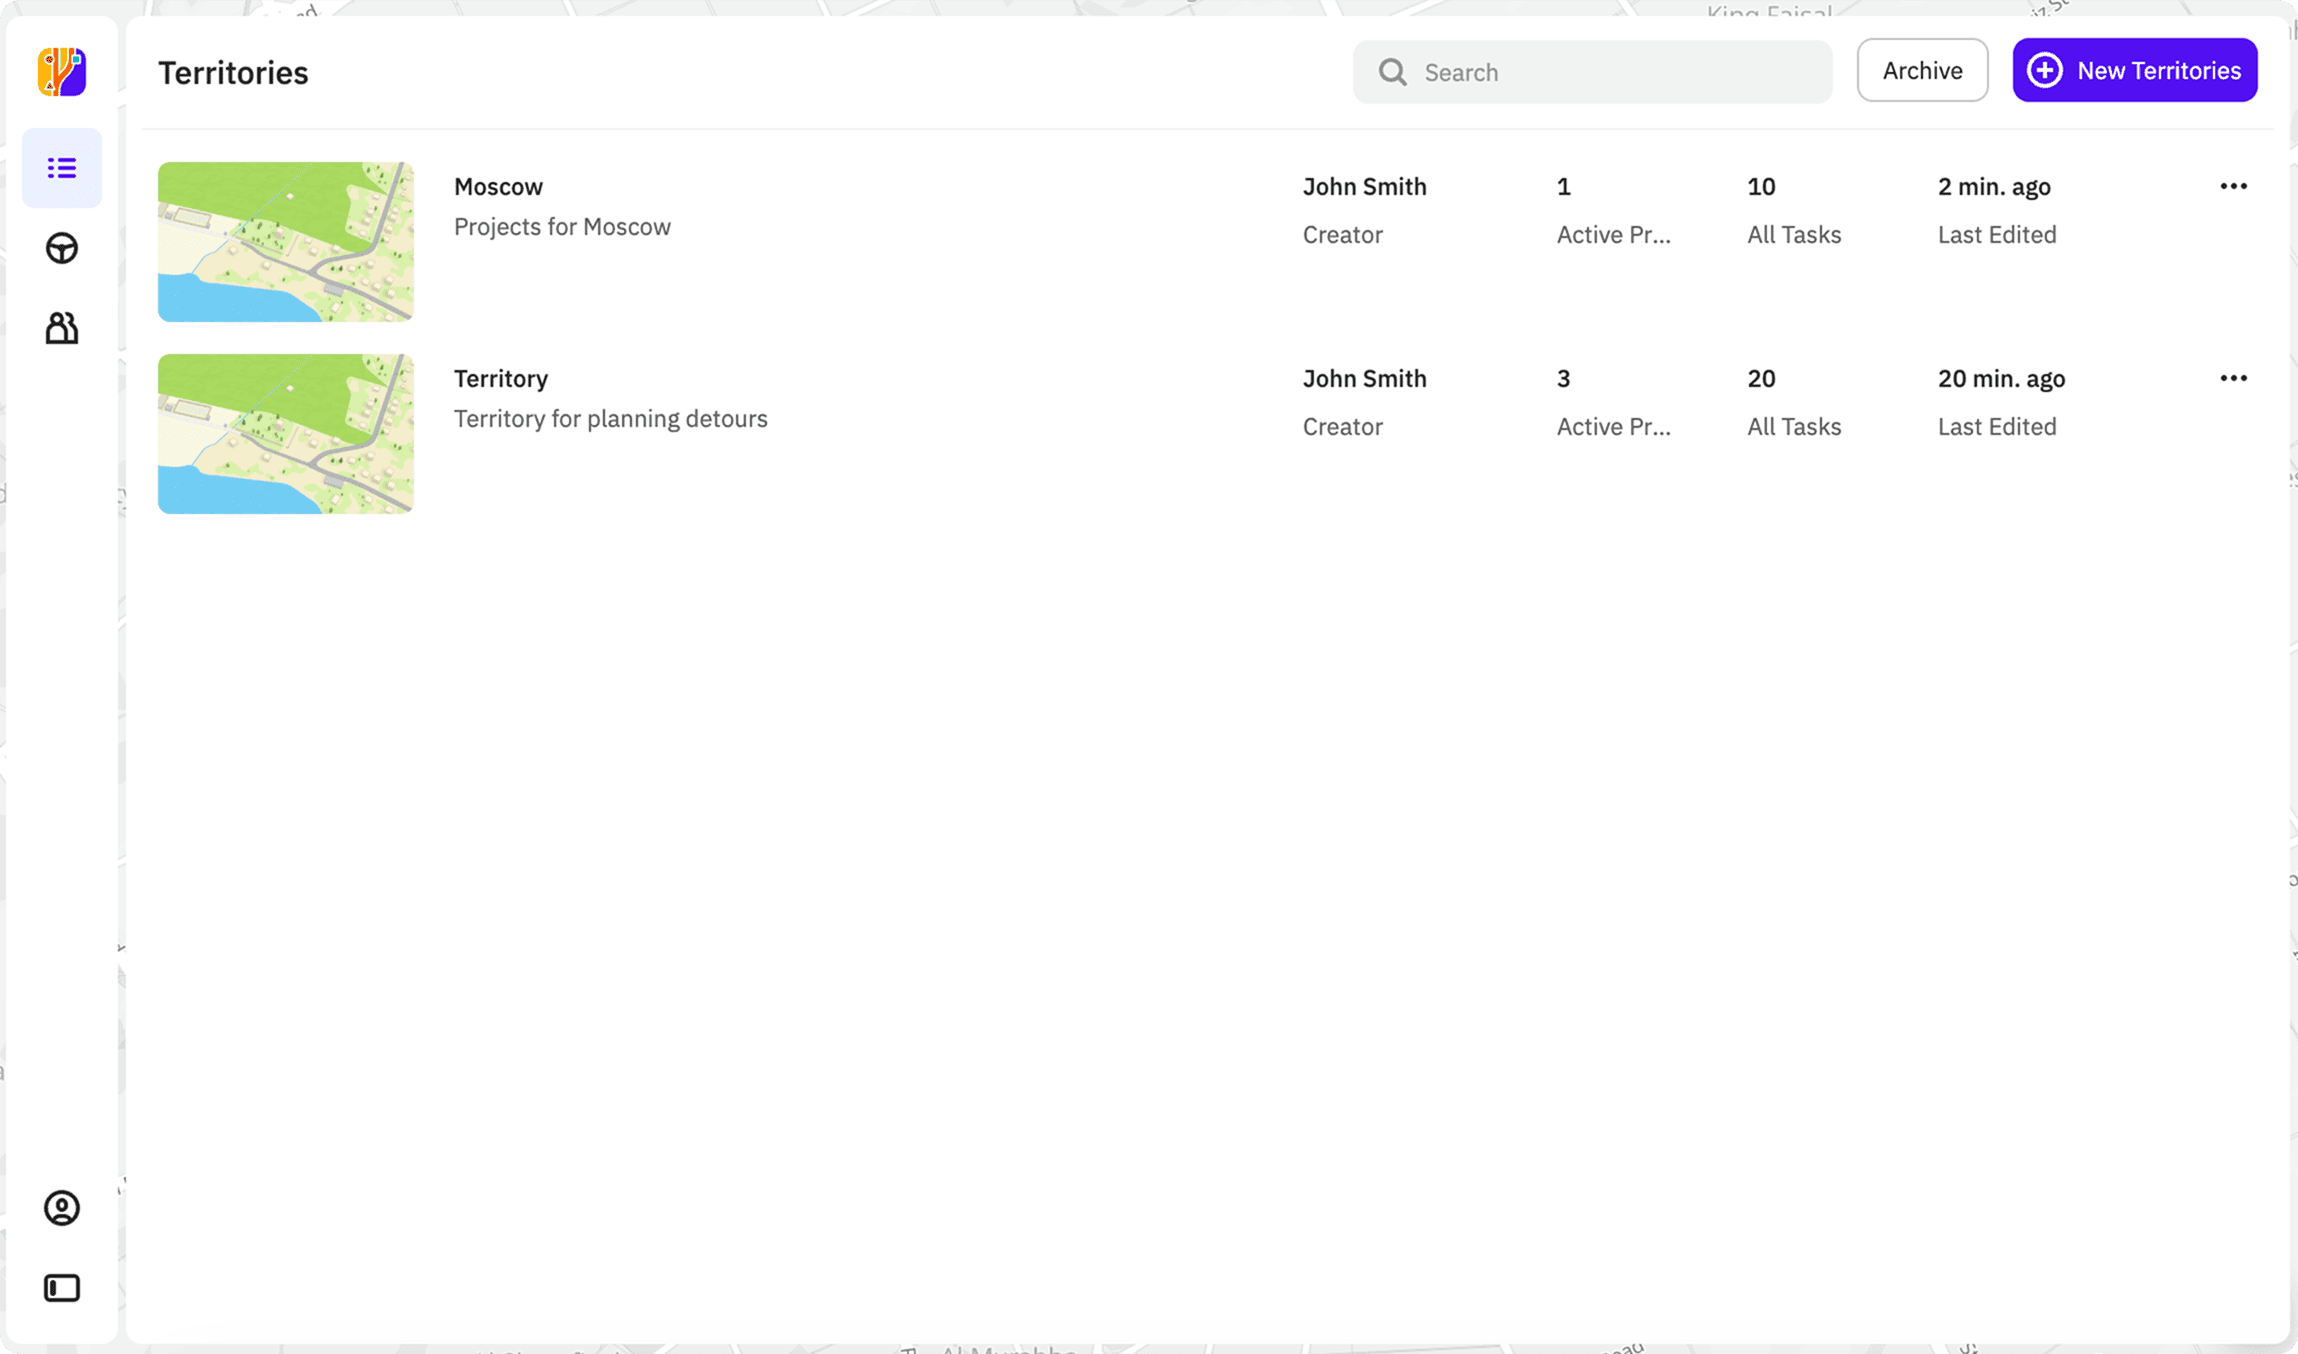
The territory row displays:
- territory name
- territory description
- territory creator
- number of active projects for the territory
- total number of tasks in all projects belonging to this territory
- date of last editing of projects belonging to this territory
Editing a territory
You can edit a territory: edit the map center, the name and the description of the territory.
- Go to the Tasks tab.
- In the territory row, click
 icon and select Edit.
 - Apply necessary changes.
- Click Save territory.
Priority layers
Plan regular detours using priority layers without creating tasks. Priority layers are displayed in the mobile application for drivers working in free roam recording mode and help them identify which roads to cover first. For more information, see the Priority roads section.
Driver tracks from free roam mode are not displayed in the Task Planner. You can view coverage progress only in CityLens Web (driver tracks) and 2GIS Pro (recorded frames and detected objects).
You can:
Adding a layer
You can add any number of layers to one territory, but no more than four layers can be published at a time. You can unpublish a layer and publish another layer, or edit an existing layer.
-
Go to the Tasks tab.
-
Open the territory page.
-
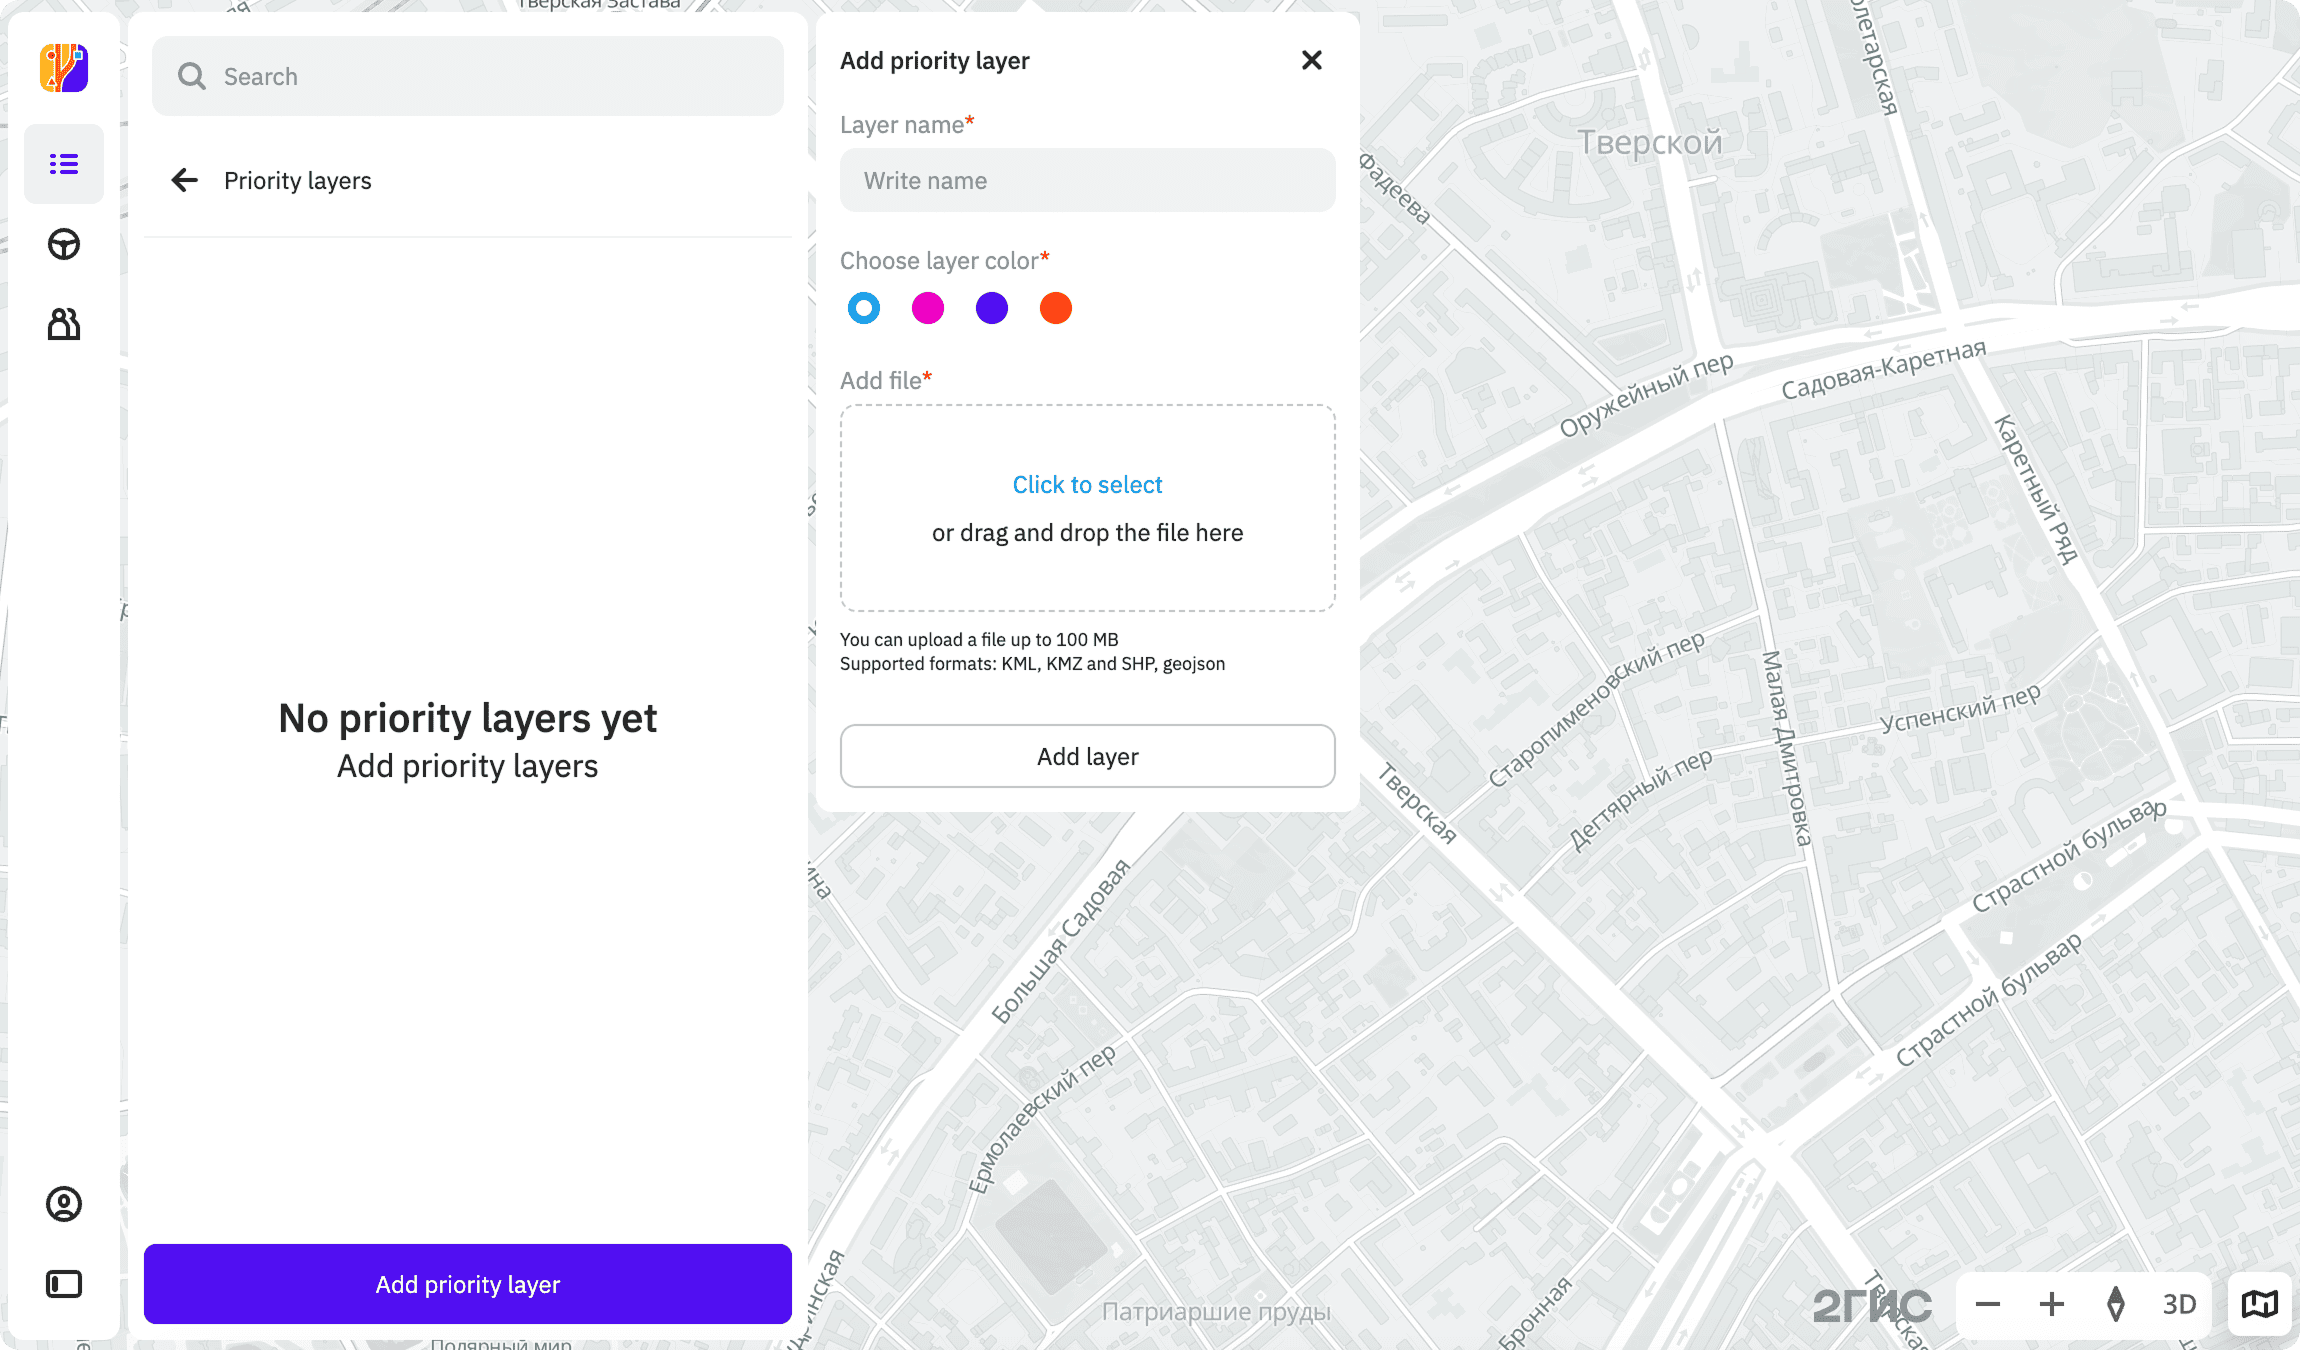
Click Priority layers and then Add priority layer.
-
Enter the layer name.
-
Select the layer color.
-
To upload route geometry from a file, drag a file to the upload area. Make sure the file meets the requirements:
- Geometry: LineString
- Formats:
.kml,.kmz,.shp,.geojson - Size: up to 100 MB
- Encoding: UTF-8
- Coordinate system: WGS84(4326)
File example:
example.geojson{"type": "FeatureCollection","features": [{"type": "Feature","properties": {},"geometry": {"coordinates": [[37.61574441190078,55.74235090187008],[37.6202033367955,55.74446152442263],[37.624611592489174,55.745687914863964],[37.62673971599264,55.74605867592177],[37.63439082649131,55.744860818487325],[37.63788702931632,55.74123850107844],[37.63869774293556,55.7385001482117],[37.63991381342322,55.73579013072944],[37.641332562884315,55.733650510185896],[37.64158591093869,55.73327963070449],[37.63986314408112,55.73213844107343],[37.63834305595333,55.731567833674774],[37.63591091450991,55.73091162512941],[37.63363078226112,55.73422108727607],[37.63165466762655,55.736189513579546],[37.63059060602234,55.73810078903466],[37.62998257071388,55.74041131051996],[37.62962788345075,55.742293856478625],[37.63185734609965,55.74329213952353],[37.633377434111026,55.743777010496274],[37.63474551372127,55.74454708774999]],"type": "LineString"}}]} -
Click Add layer.
-
In the created layer row, click
 icon and select Publish.
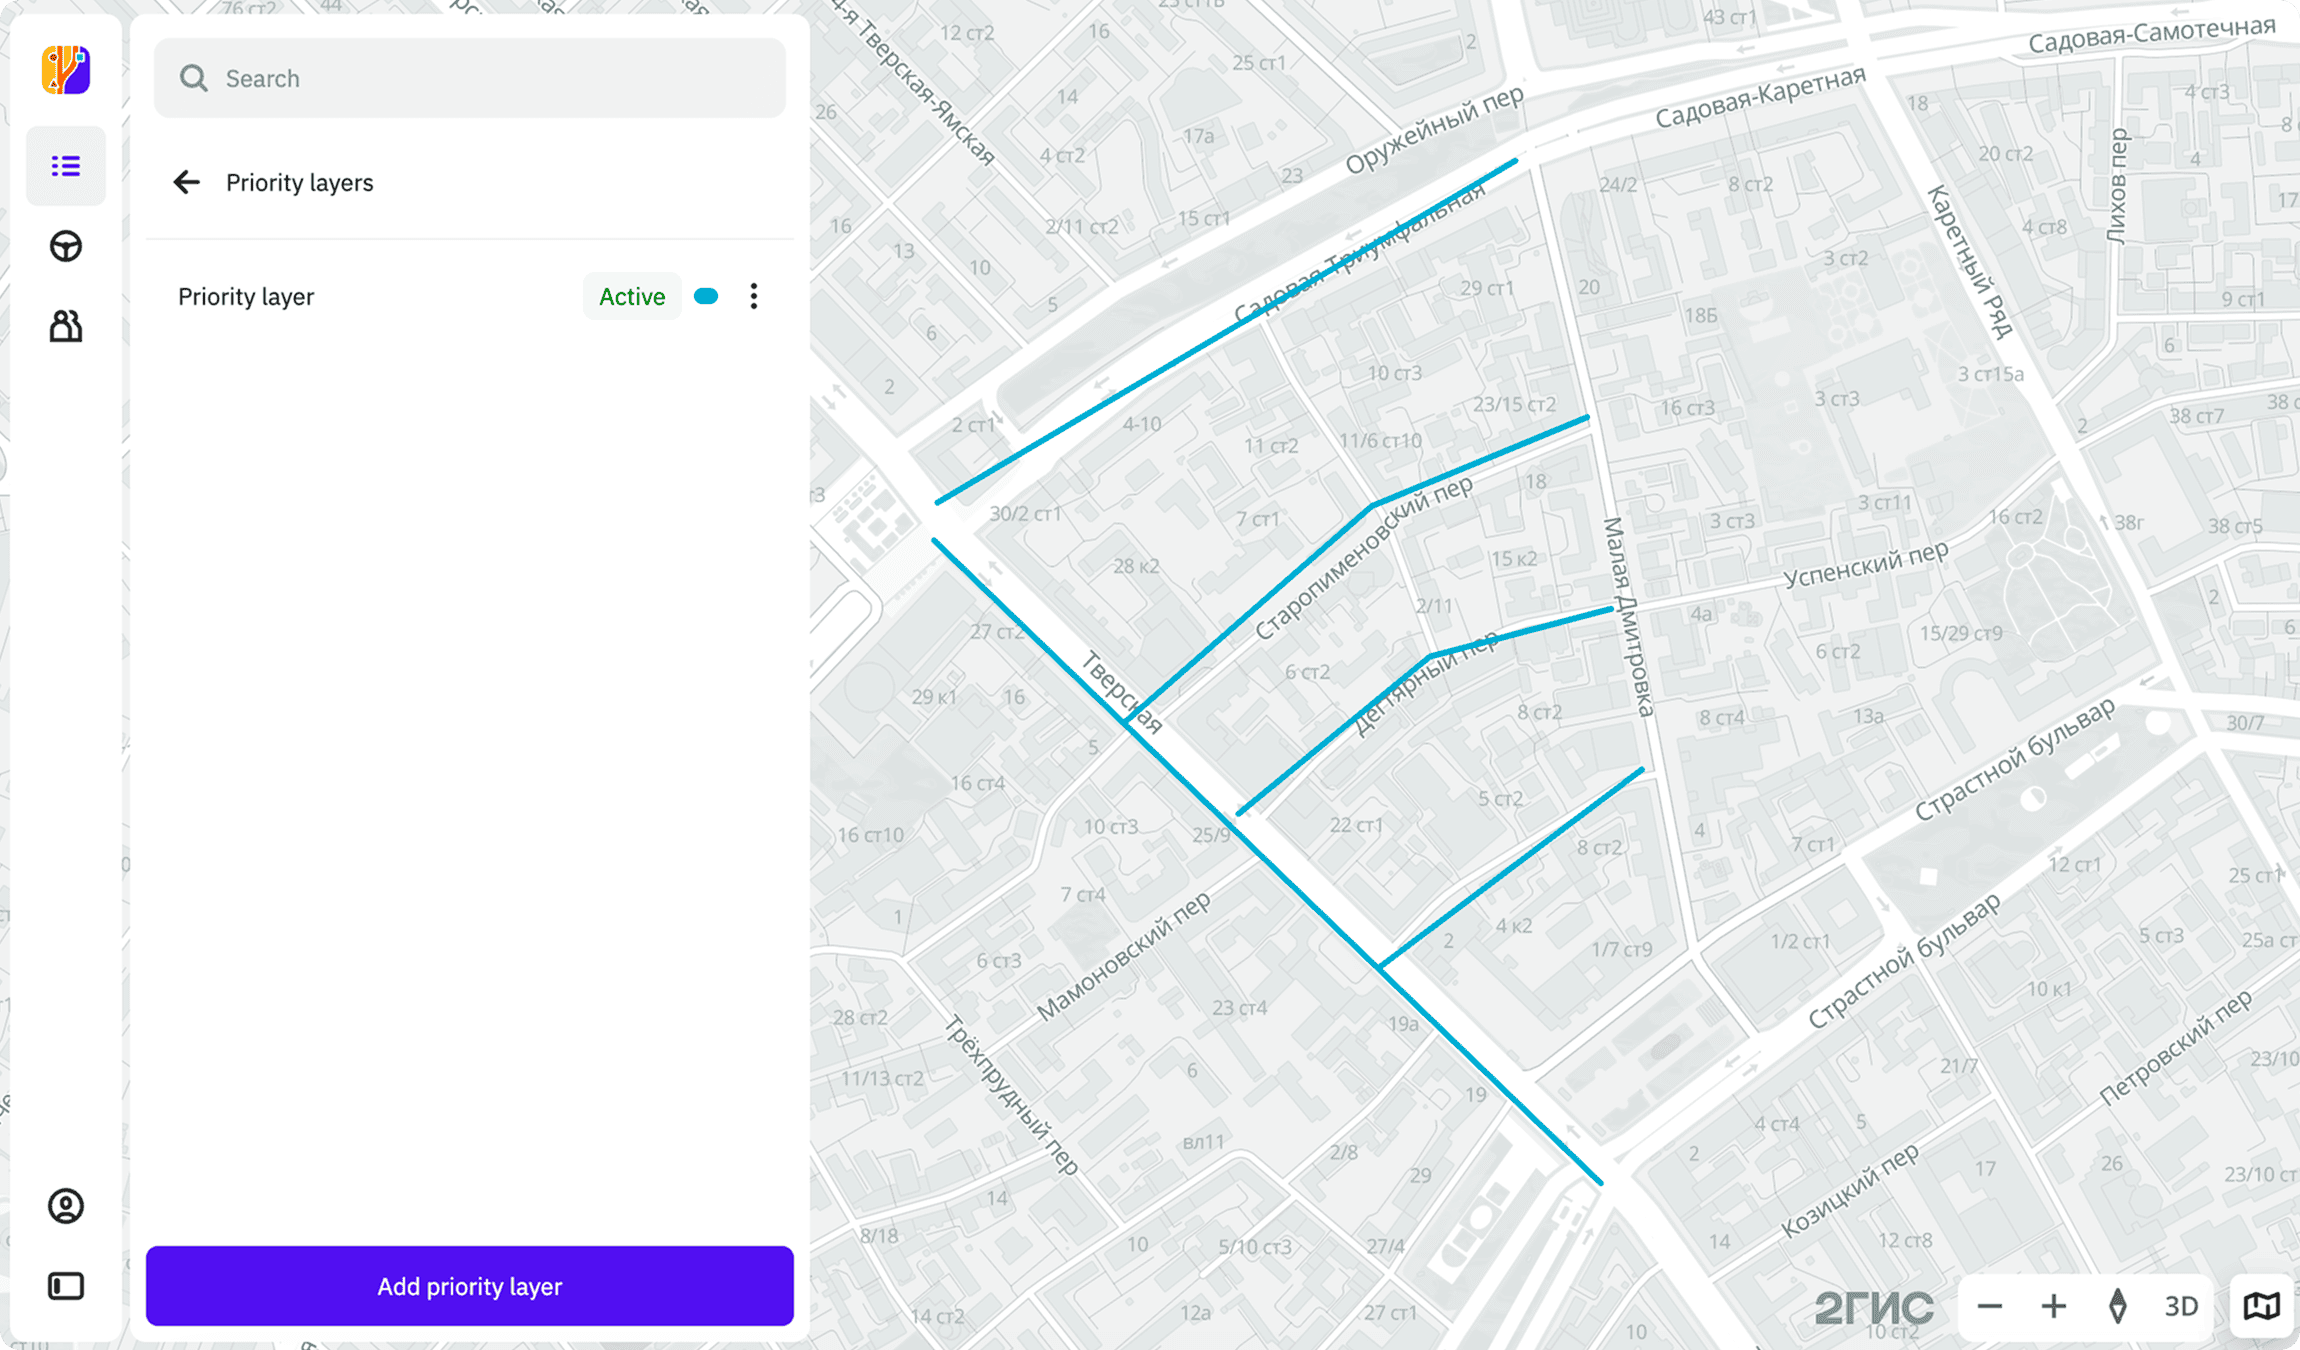
The layer will be published on the map in the mobile application for all drivers added to the territory.
Editing a layer
You can edit the priority layer: change the name and color, and upload a new file.
- Go to the Tasks tab.
- Open the territory page.
- Click Priority layers.
- In the layer row, click icon and select Edit.
- Apply changes to the layer.
- Click Save.
- To apply the changes in the mobile application, click icon next to the edited layer and select Publish.
Unpublishing a layer
The layer will be hidden from the mobile application for all drivers added to the territory.
- Go to the Tasks tab.
- Open the territory page.
- Click Priority layers.
- In the layer row, click icon and select Unpublish.
To publish the layer again, in the layer row, click icon and select Publish.
Deleting a layer
- Go to the Tasks tab.
- Open the territory page.
- Click Priority layers.
- In the layer row, click icon and select Delete.
- Confirm the deletion.
Archiving a territory
You can archive a territory if there are no current (active) projects in it.
- Go to the Tasks tab.
- In the territory row, click icon and select Archive.
- Confirm archiving.
Archived territories are displayed in the Archive tab. You can restore a territory from the archive.
Restoring a territory from the archive
- Go to the Tasks tab.
- Click Archive.
- In the archived territory row, click icon and select Restore.