Overview
Map Constructor is a free tool in the Platform Manager for creating a widget with an interactive raster map. You do not need an access key or a subscription to use it.
You can add the following objects to the map:
- Markers - for example, to mark a house, an office, or a meeting place.
- Lines - for example, to indicate a route between points or a boundary of an area.
- Circular, rectangular, or polygonal areas - for example, to highlight a delivery zone or the territory of a residential complex.
You can place the map with added objects on your website.
Getting started
-
Sign in to the Platform Manager or register.
-
Go to the Map Constructor tab in the left menu.
-
Add objects to the map:
-
To add a marker, use one of the following ways:
- Enter an address in the search bar and select it in the results. The marker is placed at the selected address on the map.
- Click
 icon on the toolbar and place a point on the map.
Customize the marker appearance, add a label, and specify the text of the tooltip that appears when clicking the marker.
-
To add a straight line or a polyline, click
 icon on the toolbar and place points on the map. To finish the line, click the last point or press Enter. Customize the color, width, and opacity of the line, and specify the text of the tooltip that appears when clicking the line.
-
To add a circle, click
 icon on the toolbar, press and hold a point on the map, and drag to set the circle diameter. Customize the fill and stroke and specify the text of the tooltip that appears when clicking the circle.
-
To add a rectangle, click
 icon on the toolbar, press and hold a point on the map, and drag to set the rectangle size. Customize the fill and stroke and specify the text of the tooltip that appears when clicking the rectangle.
-
To add a polygon, click
 icon on the toolbar and place points (vertices) on the map. To finish the polygon, click the last point or press Enter. Customize the fill and stroke and specify the text of the tooltip that appears when clicking the polygon.
To exit the object creation mode (for example, to move the map), click
 icon on the toolbar.
-
-
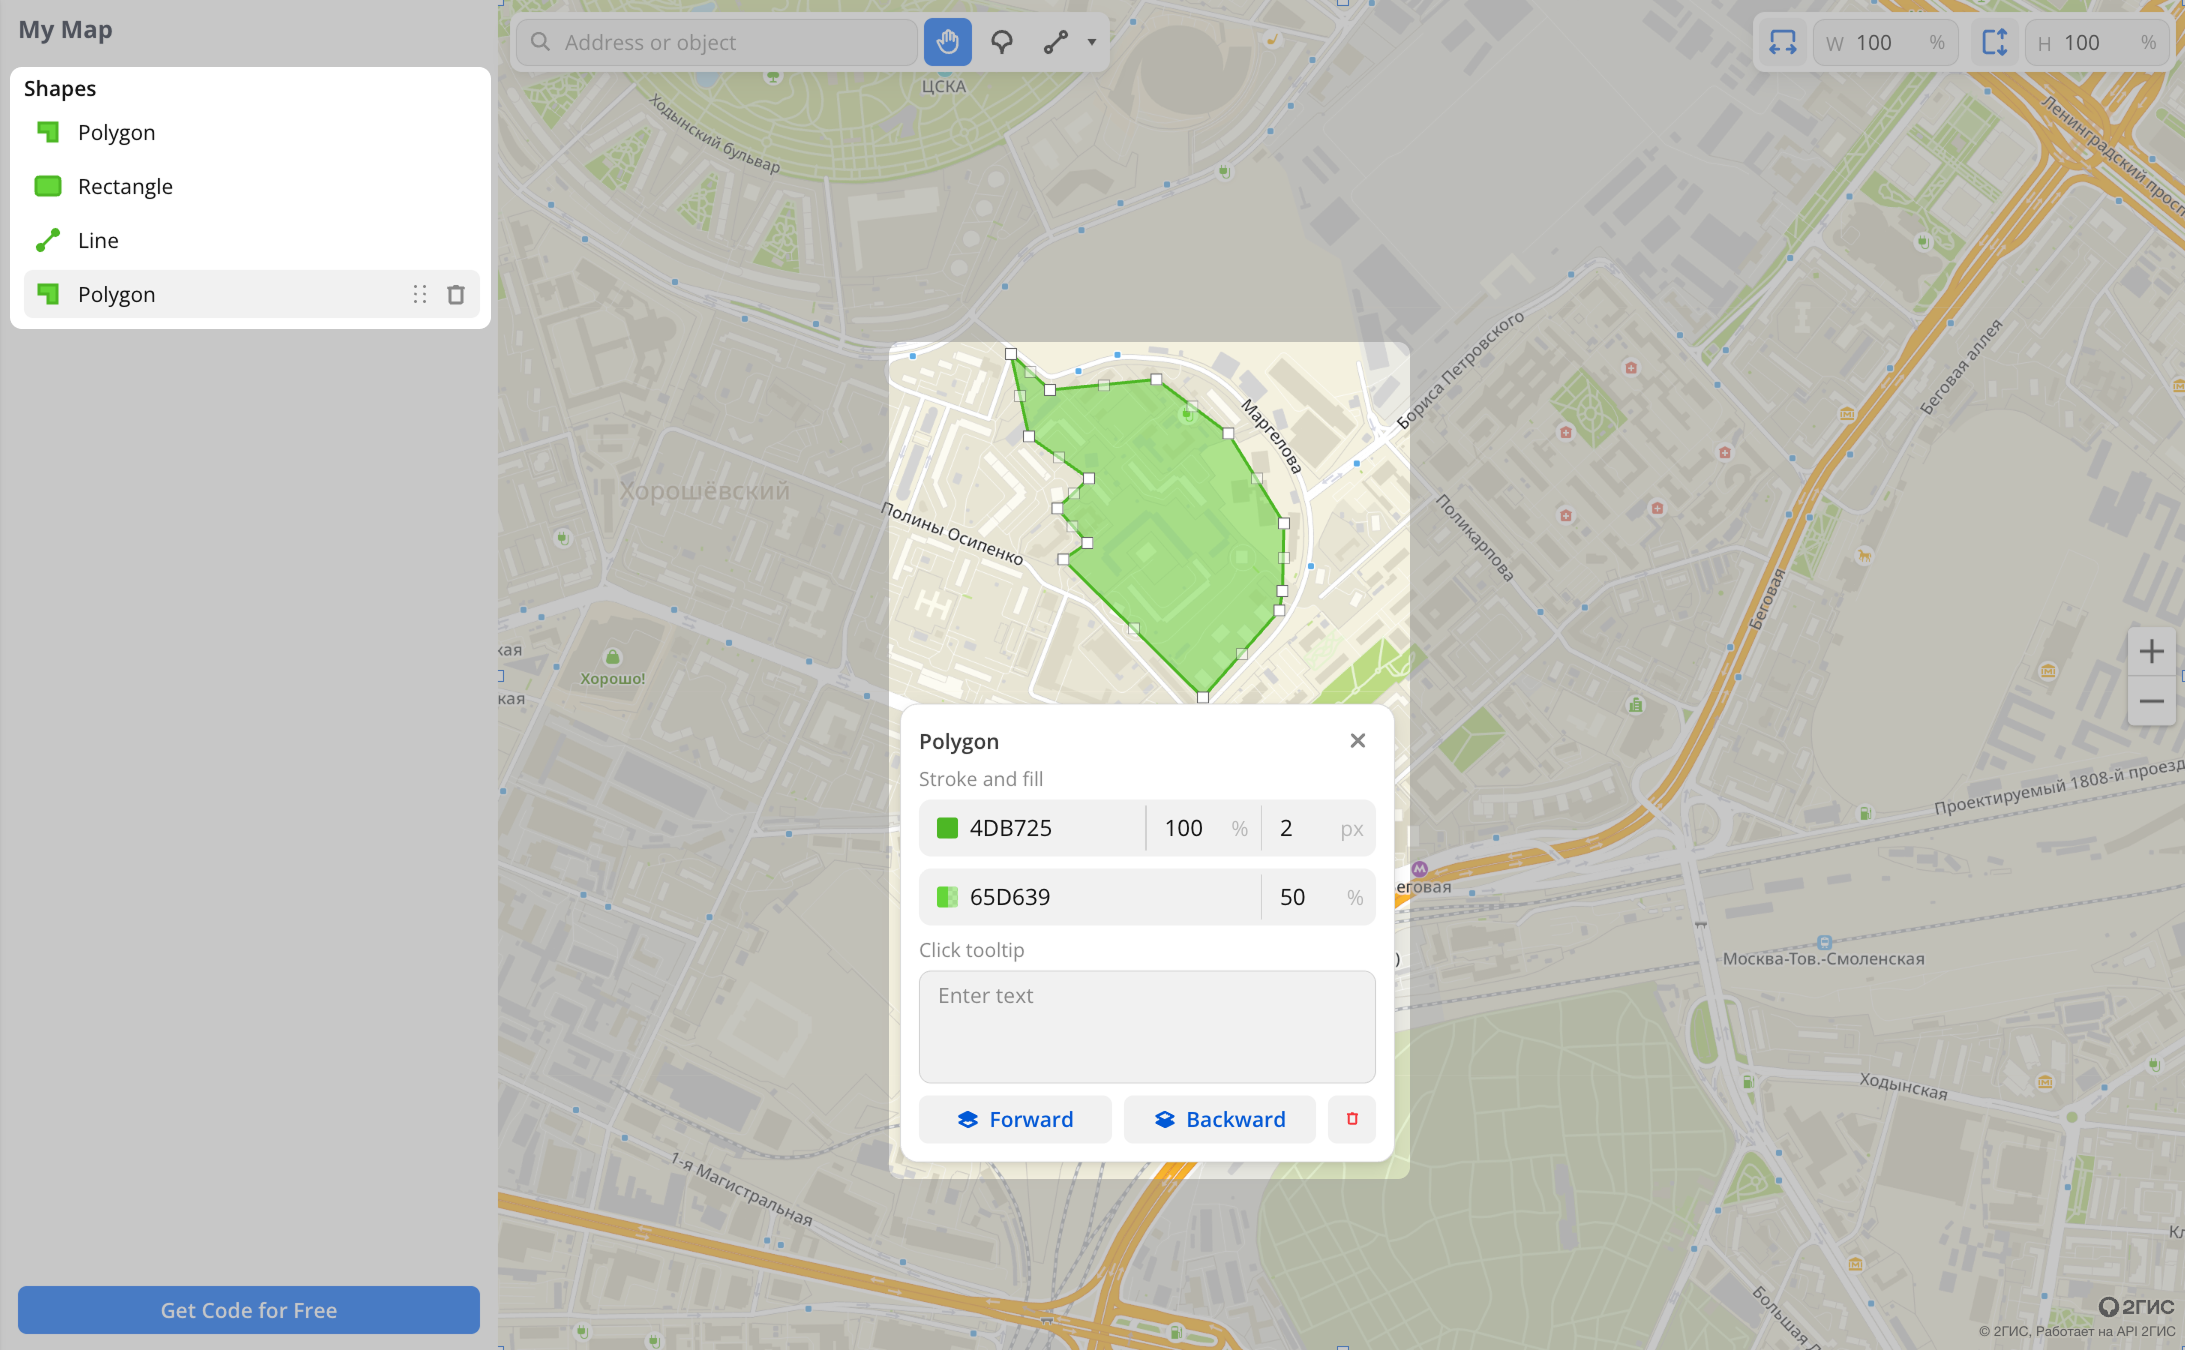
(Optional) To edit an object, select it in the list on the left or on the map. You can delete the object, change its properties, or change the order of shape layers. The layer order defines which shapes appear on top of others.
-
(Optional) Set the map size in the upper-right corner. The default value is "100%": the map fills the full width and height of the container where you insert the code. To set a fixed size, enter the width and height in pixels in the fields.
-
Click Get Code for Free. Copy the
<iframe>code and paste it into the HTML code of your page.
The map with your objects is saved on the Map Constructor tab. You can return to it later, edit it, and get a new code.
Map example on a website
The map appears where you pasted the code.
Support
-
If you have any questions while working with the API, ask AI assistant (in the lower-right corner of website), use the documentation search, or send an email to api@2gis.com.
-
If you would like to discuss the capabilities of the API or its integration with your product, please contact a manager.