Creating styles and configuring style layers
To customize the appearance of the map in the Style editor, create a style.
To change the style of objects on the map, configure existing layers. For example, if you need to customize metro icons, use the corresponding layer so that you do not have to configure the display from scratch. See the list of configured layers for the MapGL JS API and Mobile SDK.
If you need to add objects to the map that are not available in the configured layers, add a new layer.
Creating a style
You can create a style for a map in several ways: from a basic style template, from copies of styles, or from scratch.
From a basic style
To create your own style, you can use prepared templates with basic styles and edit them.
Styles for web applications (MapGL JS API) and mobile applications (Mobile SDK) in day and night themes are available. Each style includes more than 200 configured layers.
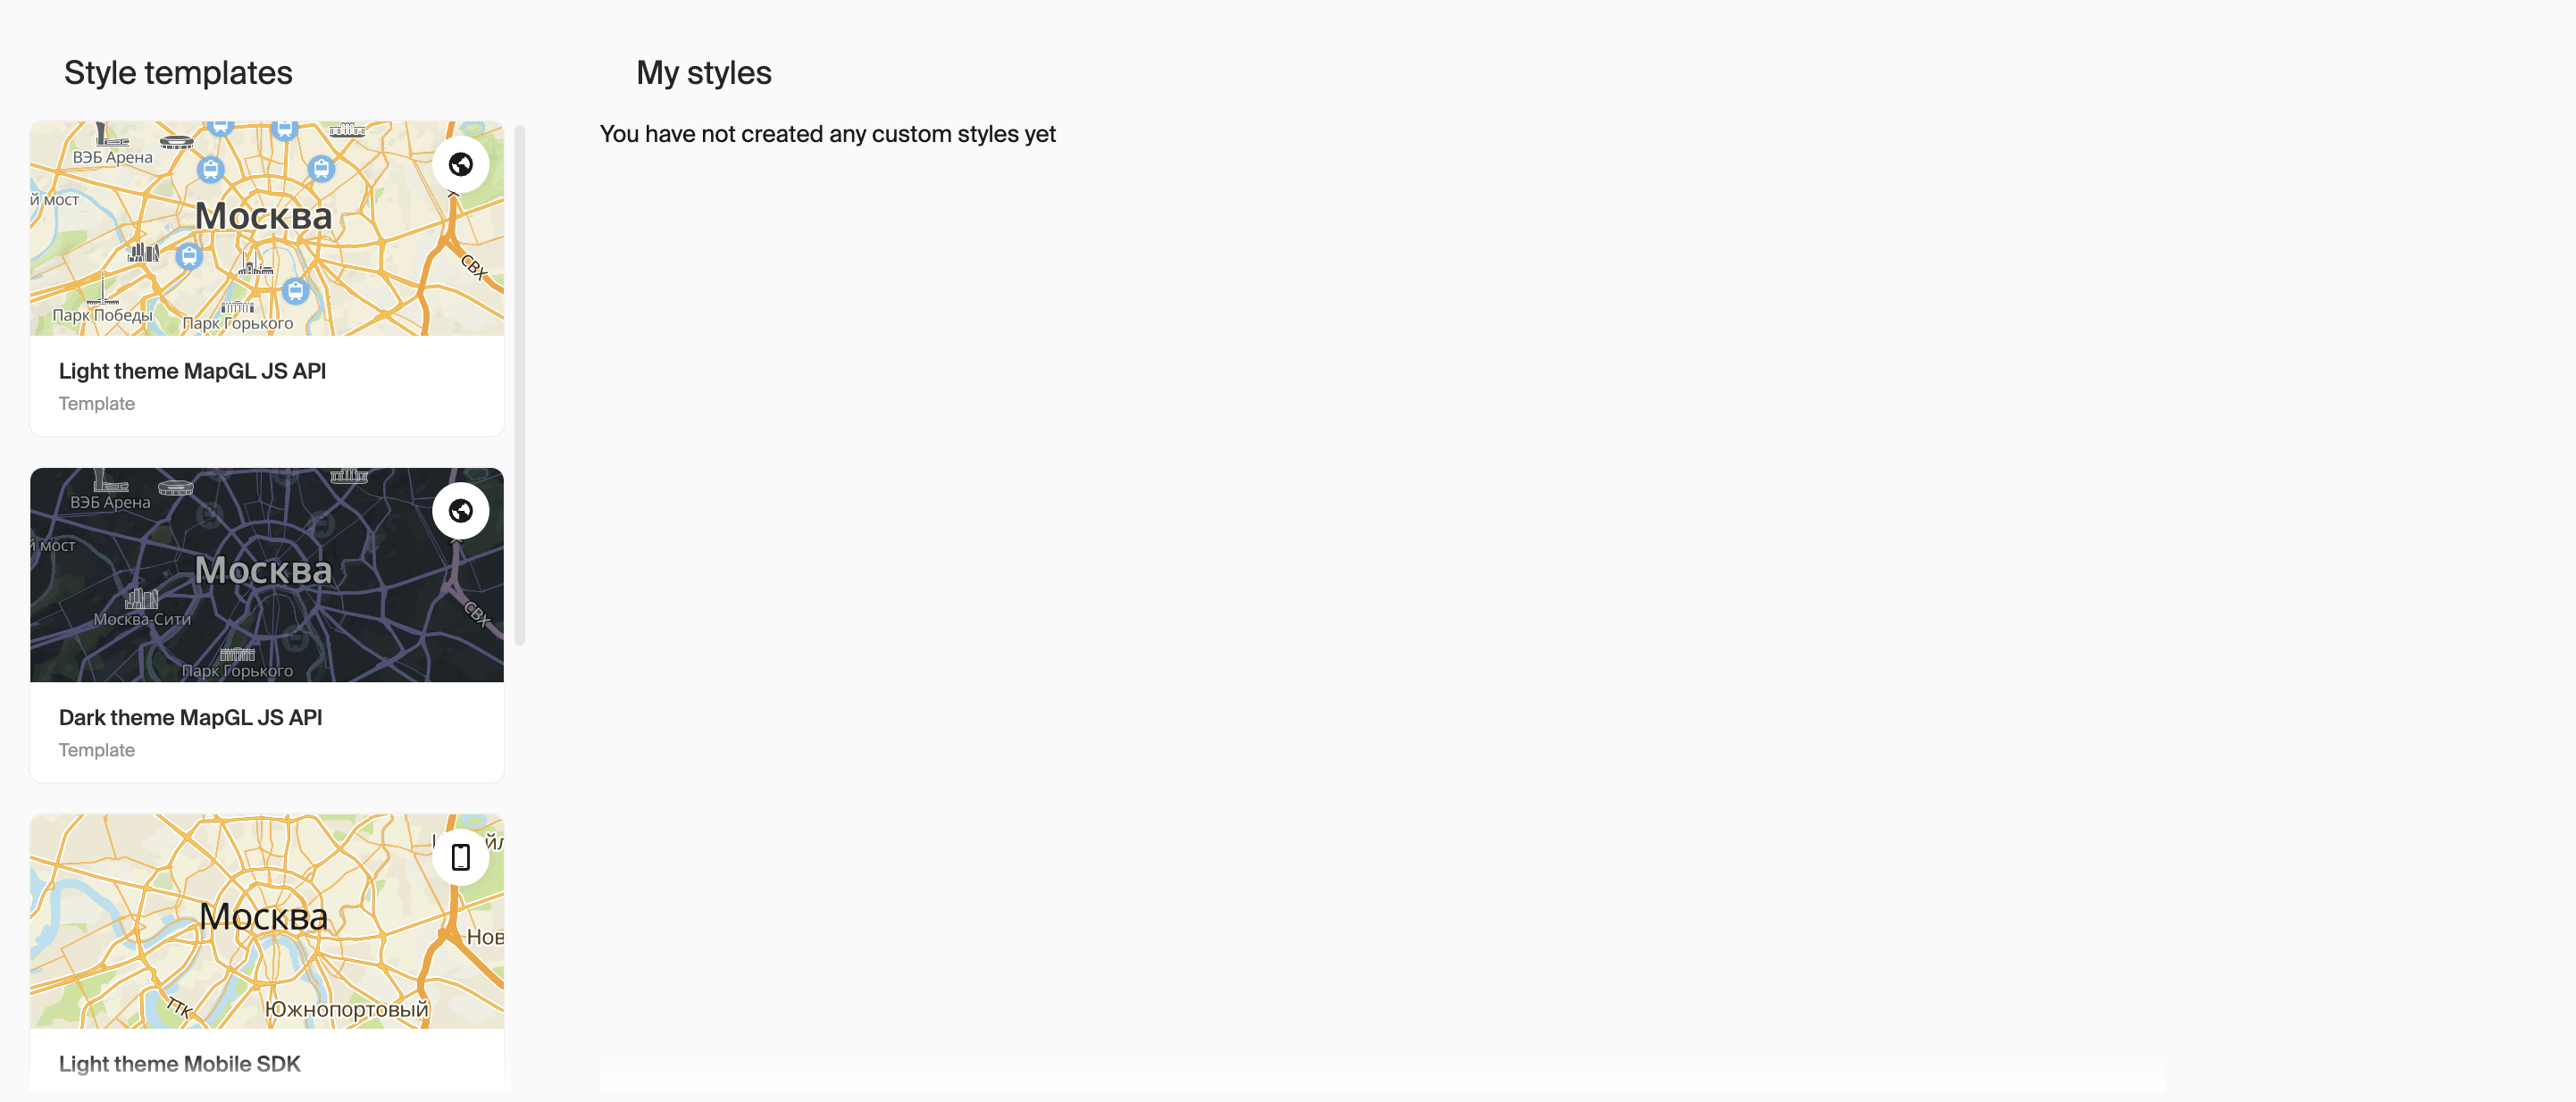
To create a style from a template:
-
Open the Style editor.
-
Select a prepared template from a list of style templates.
-
Apply changes to the basic style.
A style is automatically saved as new and displayed in the My Styles block.
From your style copy
To create a new style from a copy of style you created:
-
Open the Style editor.
-
In the My styles block, in a card of the required style, click the
 icon and select Make a copy.
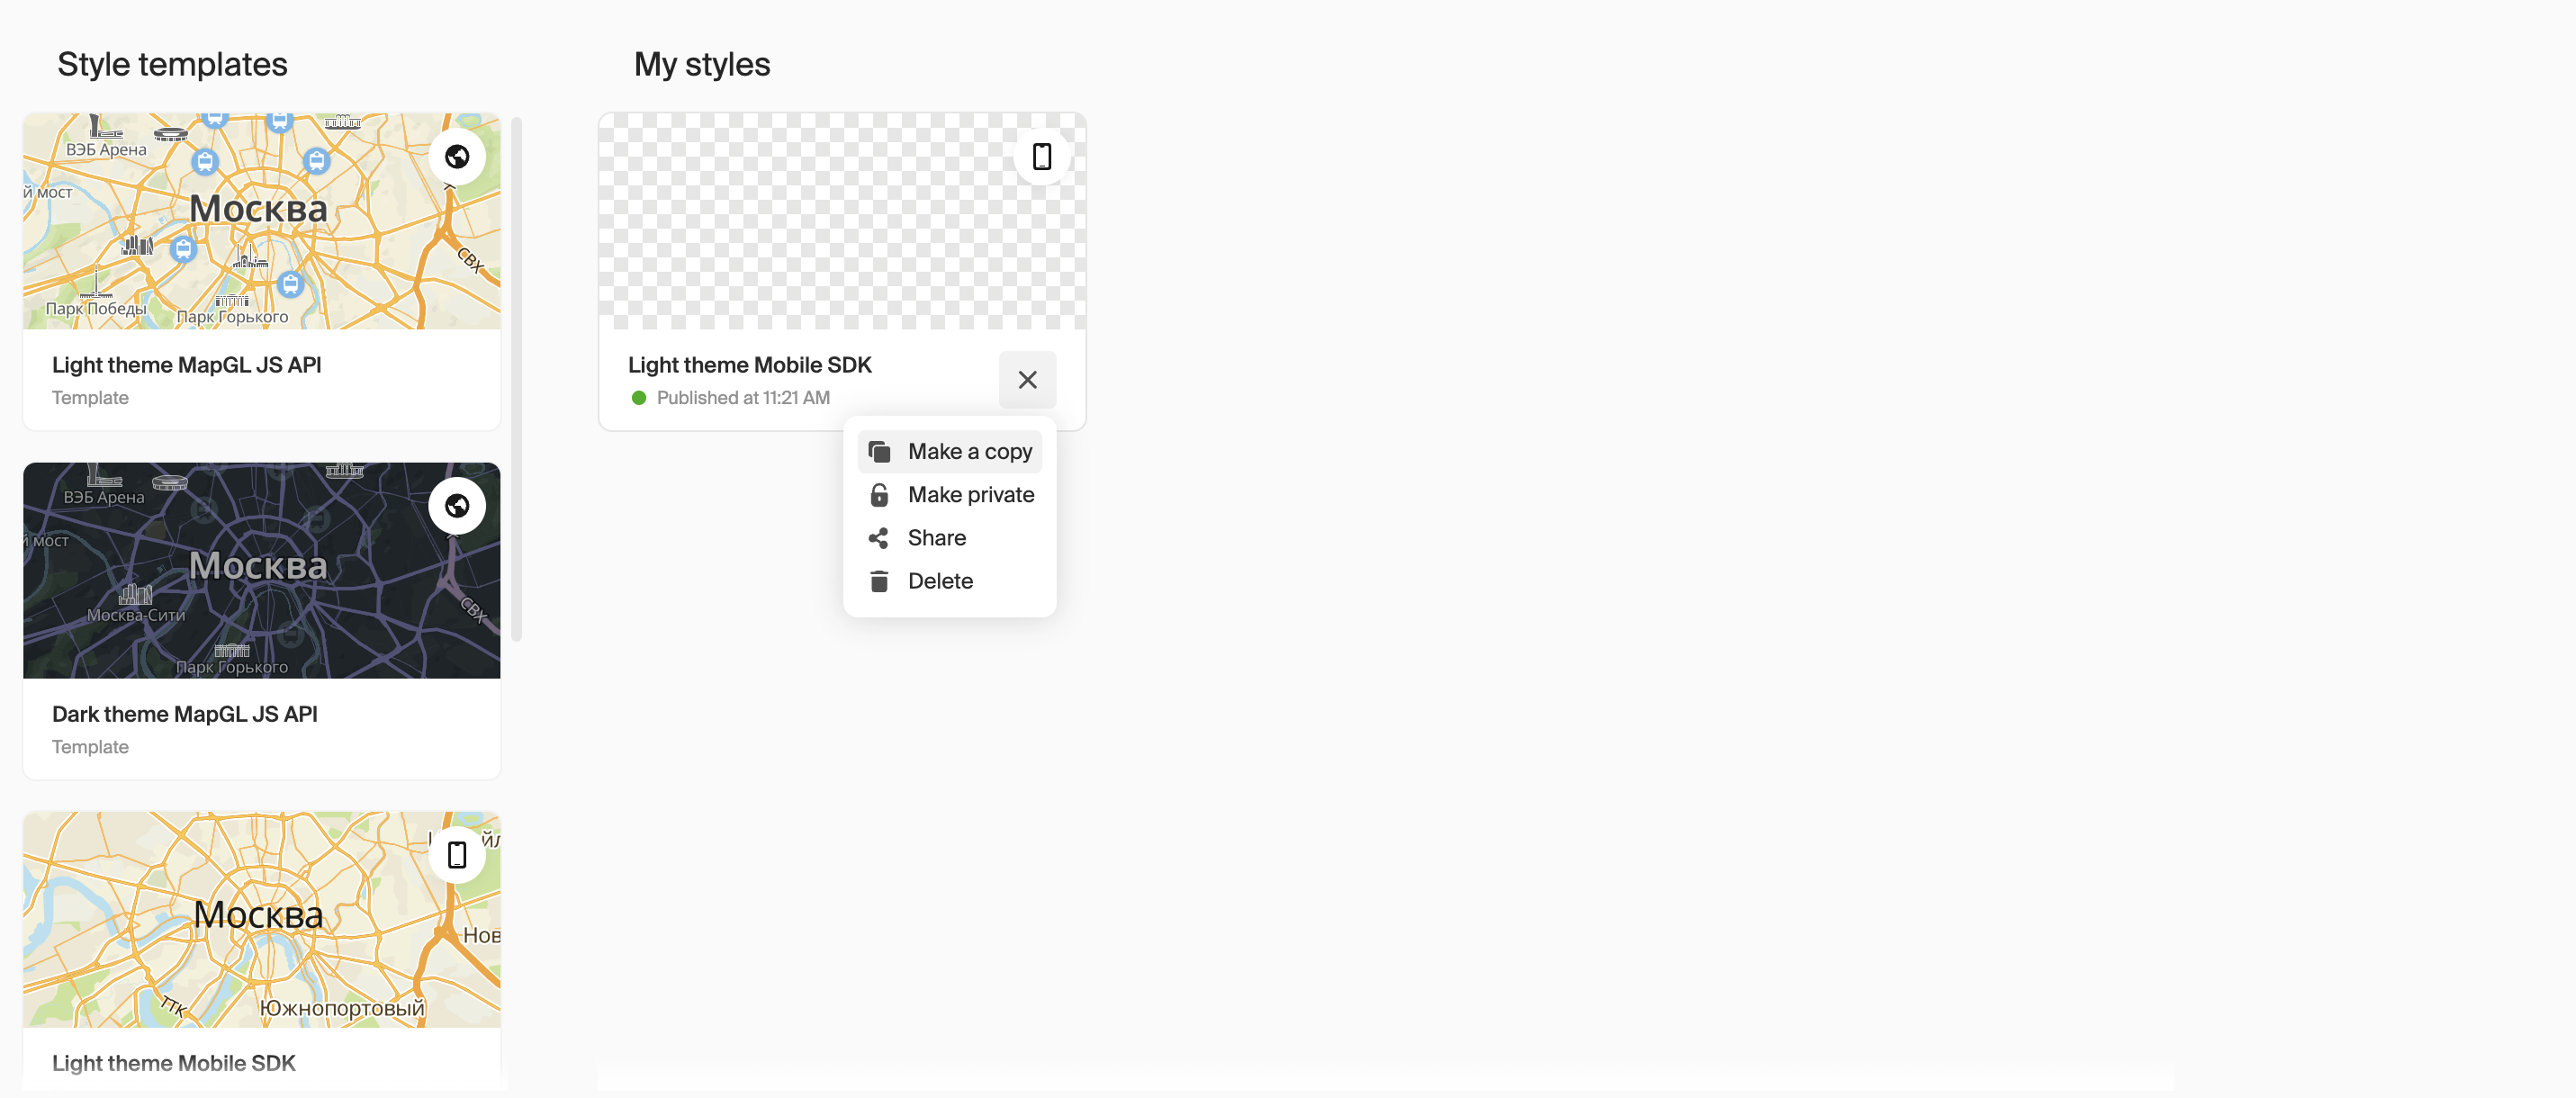
A style is automatically saved as new and displayed in the My Styles block.
From a style copy of another user
To copy a style of another user:
-
Request a link from the project owner to make a copy of a style: see the Share a link to a style instruction.
-
Follow the link.
-
Click Create a copy in the top menu.
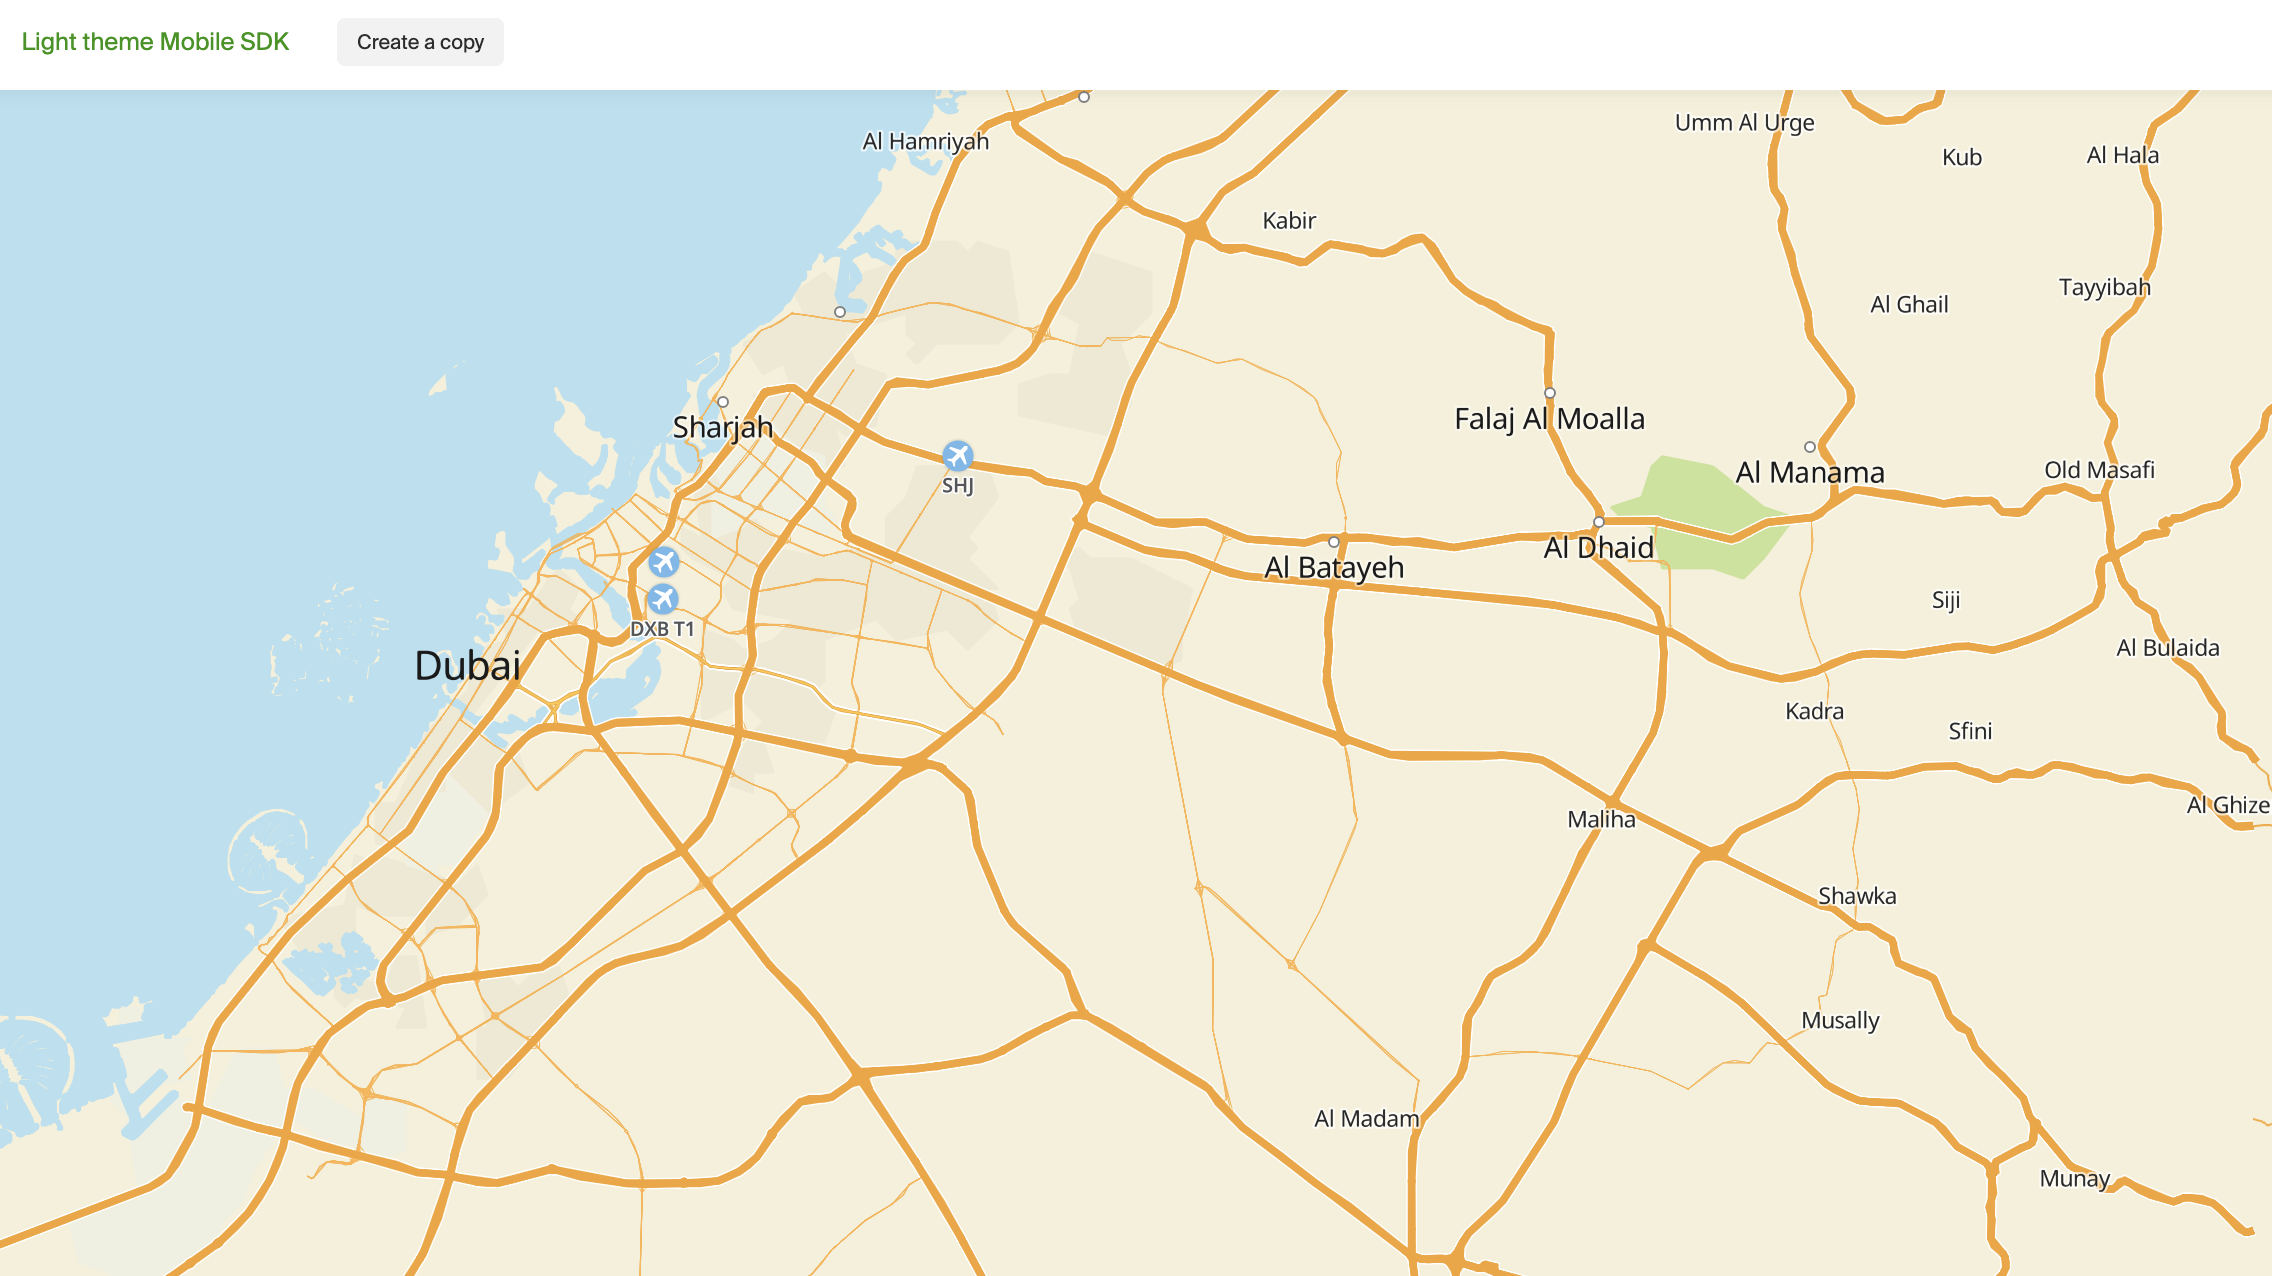
A style is automatically saved as new and displayed in the My Styles block.
From scratch
You can customize your own style from scratch by creating the layers you need.
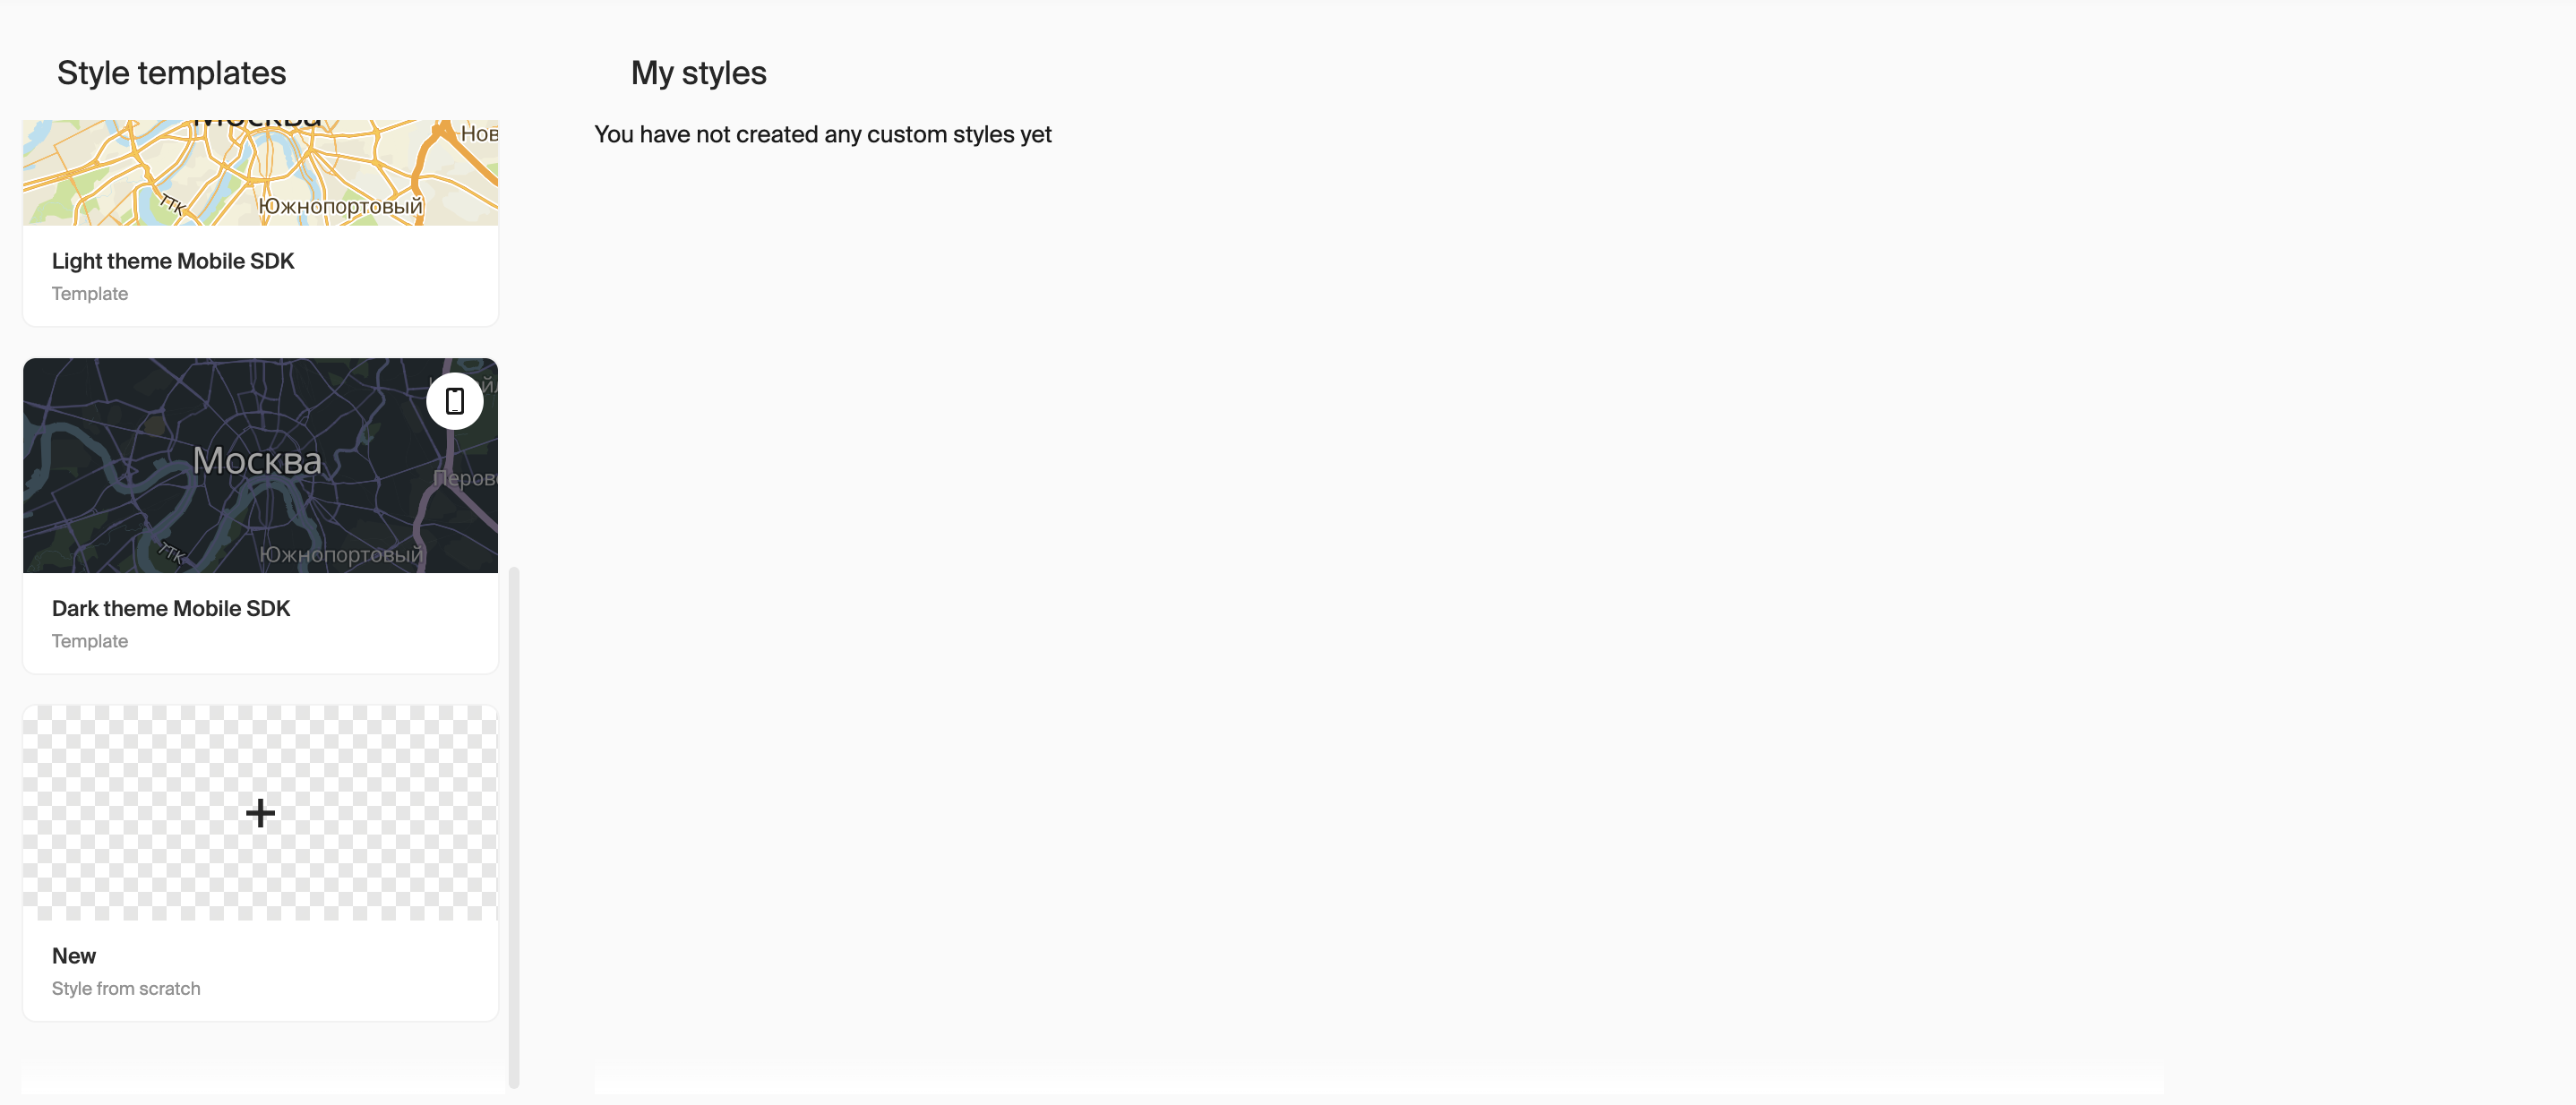
To create a style from scratch:
-
Open the Style editor.
-
Select the New style from a list of styles.
-
Select the type of map for which you create a style:
- MapGL JS API — for web applications
- Mobile SDK — for mobile applications
-
Click Create.
-
Add style layers: see the Adding a layer instruction.
A style is automatically saved as new and displayed in the My Styles block.
Configuring an existing layer
The display of layers on the map depends on their order in the style: a layer that is higher in the layer list overlaps the content of the layer below it. For example, to avoid overlapping labels on buildings, place the layer with the label settings above the layer with 3D buildings.
-
Open the Style editor.
-
In the My Styles block, select the required style. See the list of configured layers for the MapGL JS API and Mobile SDK.
-
In the Layers section, select the required layer.
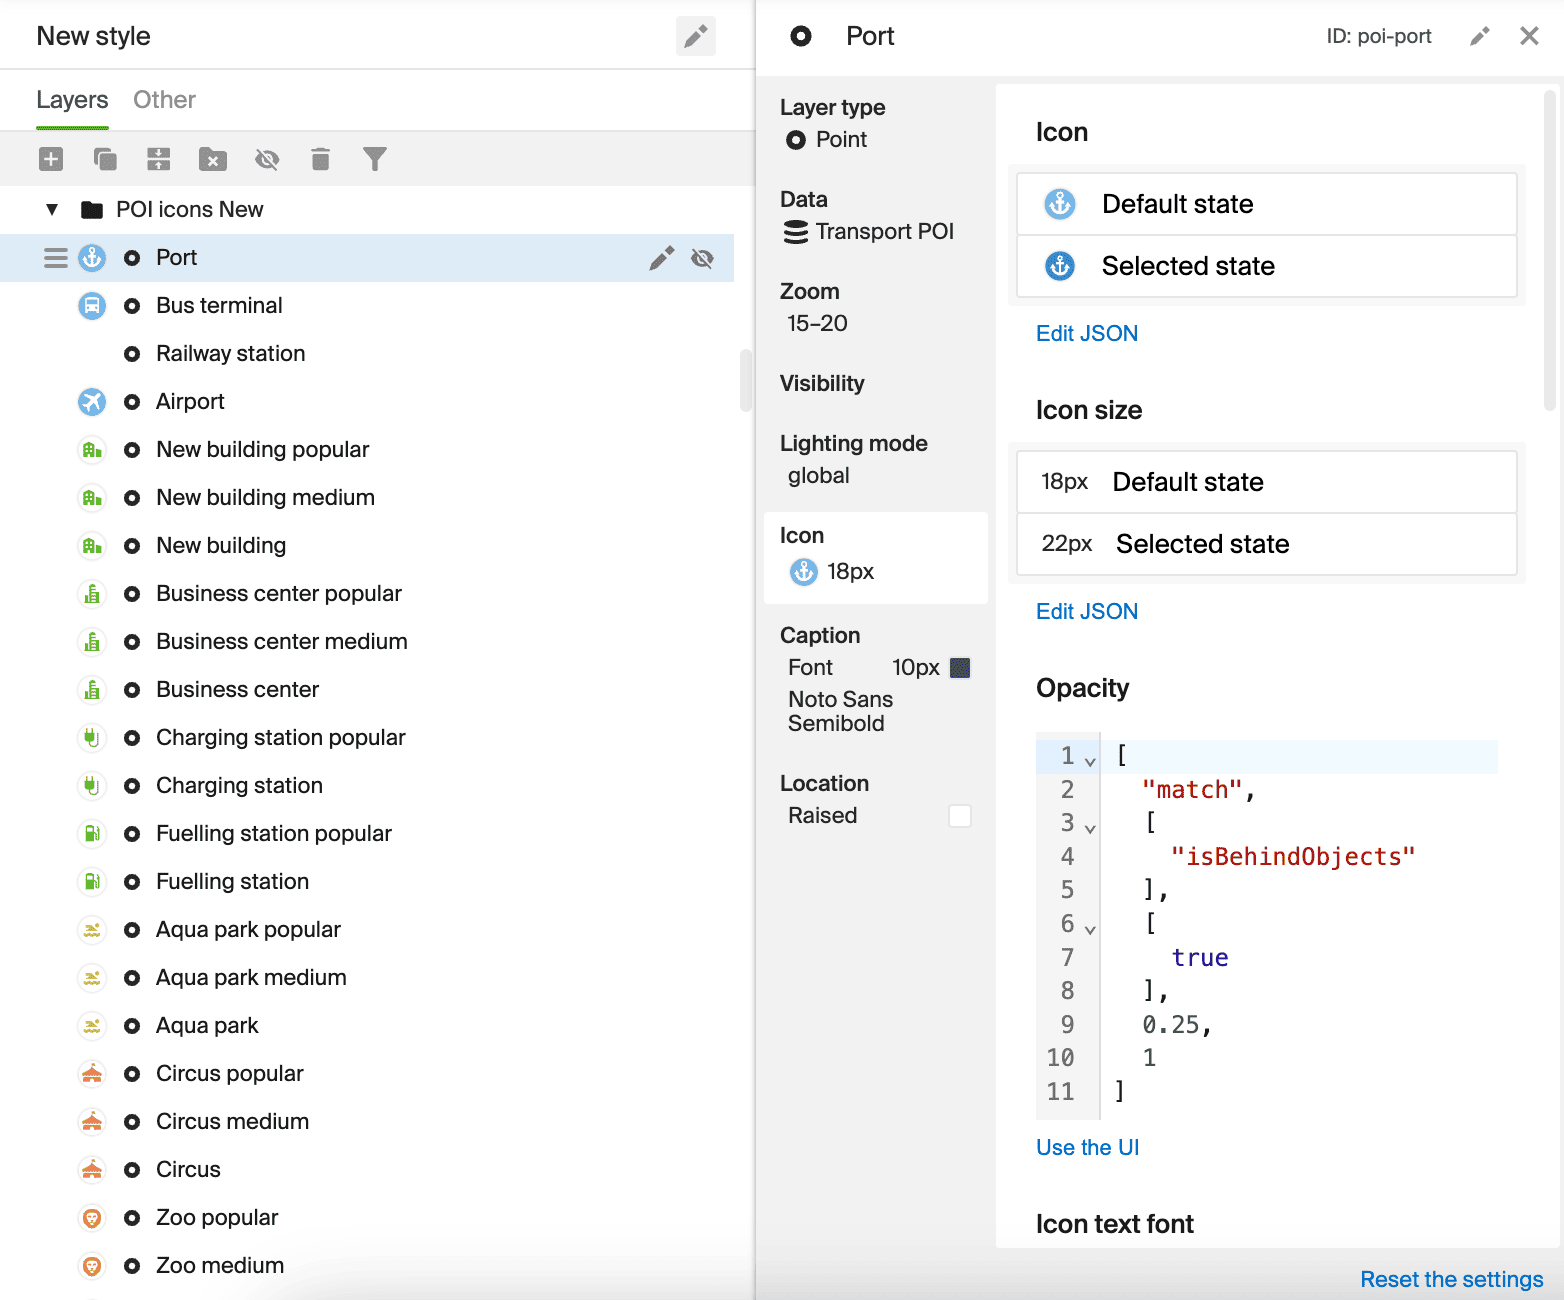
-
Specify the required layer settings (e.g. scale, visibility, display style). Available settings depend on the layer and its type.
Adding a layer
Add a new layer if you need to add objects to the map that are not available in the configured layers. In other cases, it is recommended to configure existing layers.
The display of layers on the map depends on their order in the style: a layer that is higher in the layer list overlaps the content of the layer below it. For example, to avoid overlapping labels on buildings, place the layer with the label settings above the layer with 3D buildings.
Standard layers
-
Open the Style editor.
-
In the My styles block, select the required style.
-
In the Layers section, click
 icon.
icon.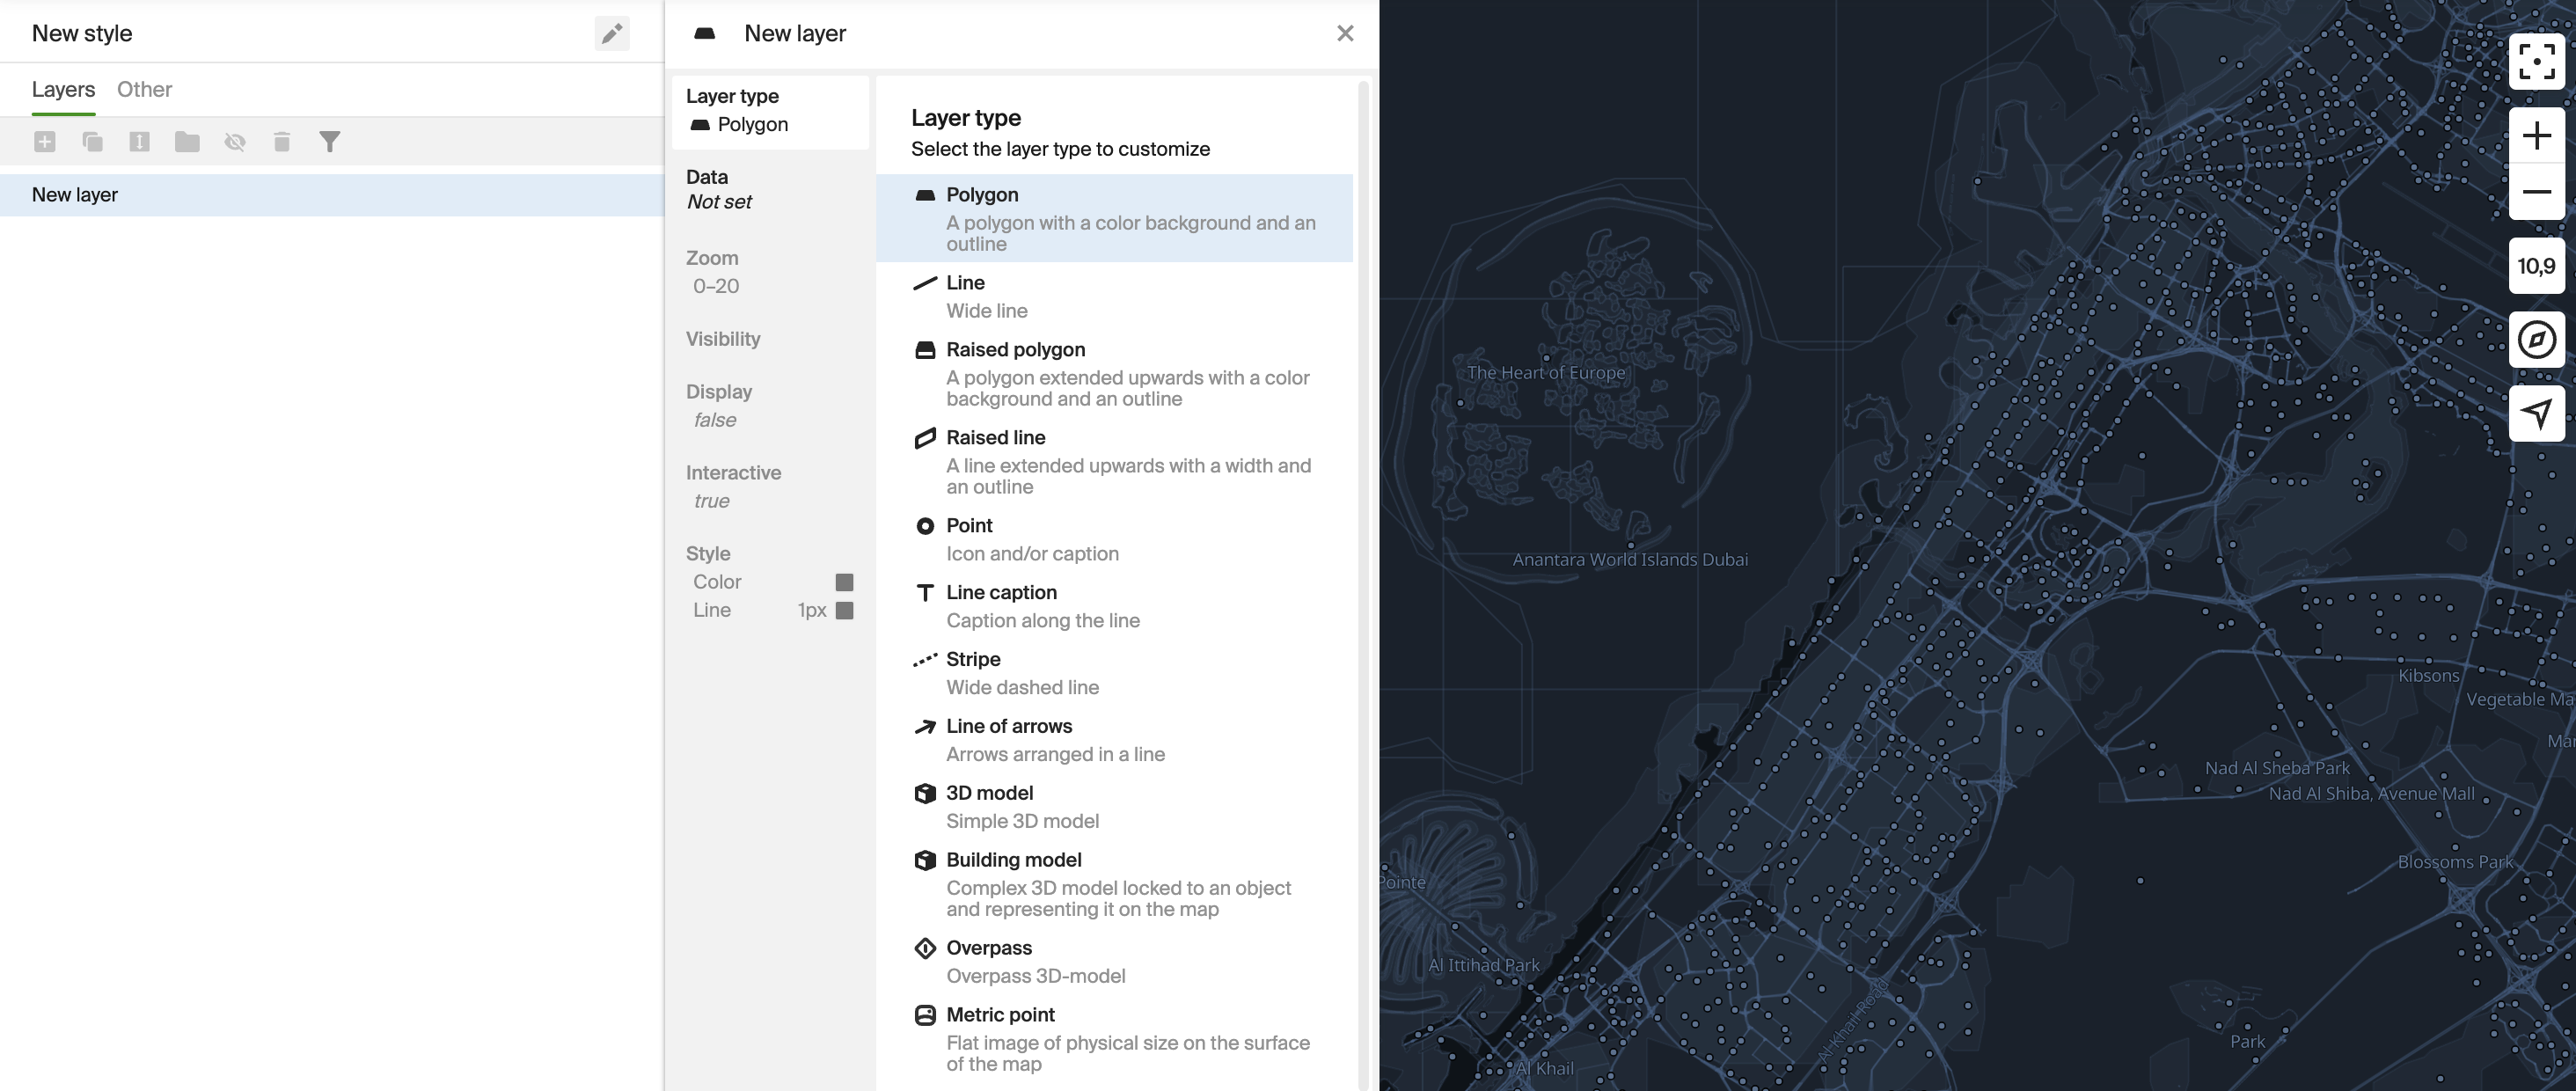
-
Select a layer type (e.g. Polygon, Line, Point, and others). The layer type determines the appearance of the layer objects and the data to customize. See the list of layer types for the MapGL JS API and Mobile SDK.
-
Select the data for the layer. For each layer, different sets of map data are available, and you can manage their style via a layer. For example, different classes of roads and streets are available for a layer with the Line type. Areas, blocks, buildings, and others are available for a layer with the Polygon type.
-
Specify the remaining layer settings (e.g. zoom, visibility, display style). Available settings depend on the layer type.
A new layer is automatically added to the style.
Dynamic layers
A dynamic layer allows you to customize the appearance of elements that overlay the map, such as gradient lines, to visualize traffic jams or user location markers. You can add a dynamic layer only for maps with the Mobile SDK type.
Dynamic layers are configurable, but they are not visible on the map in the Style editor. You can view dynamic layers only in the assembled mobile application or in the demo application.
-
Open the Style editor.
-
In the My styles block, select the required style.
-
In the Layers section, click
icon.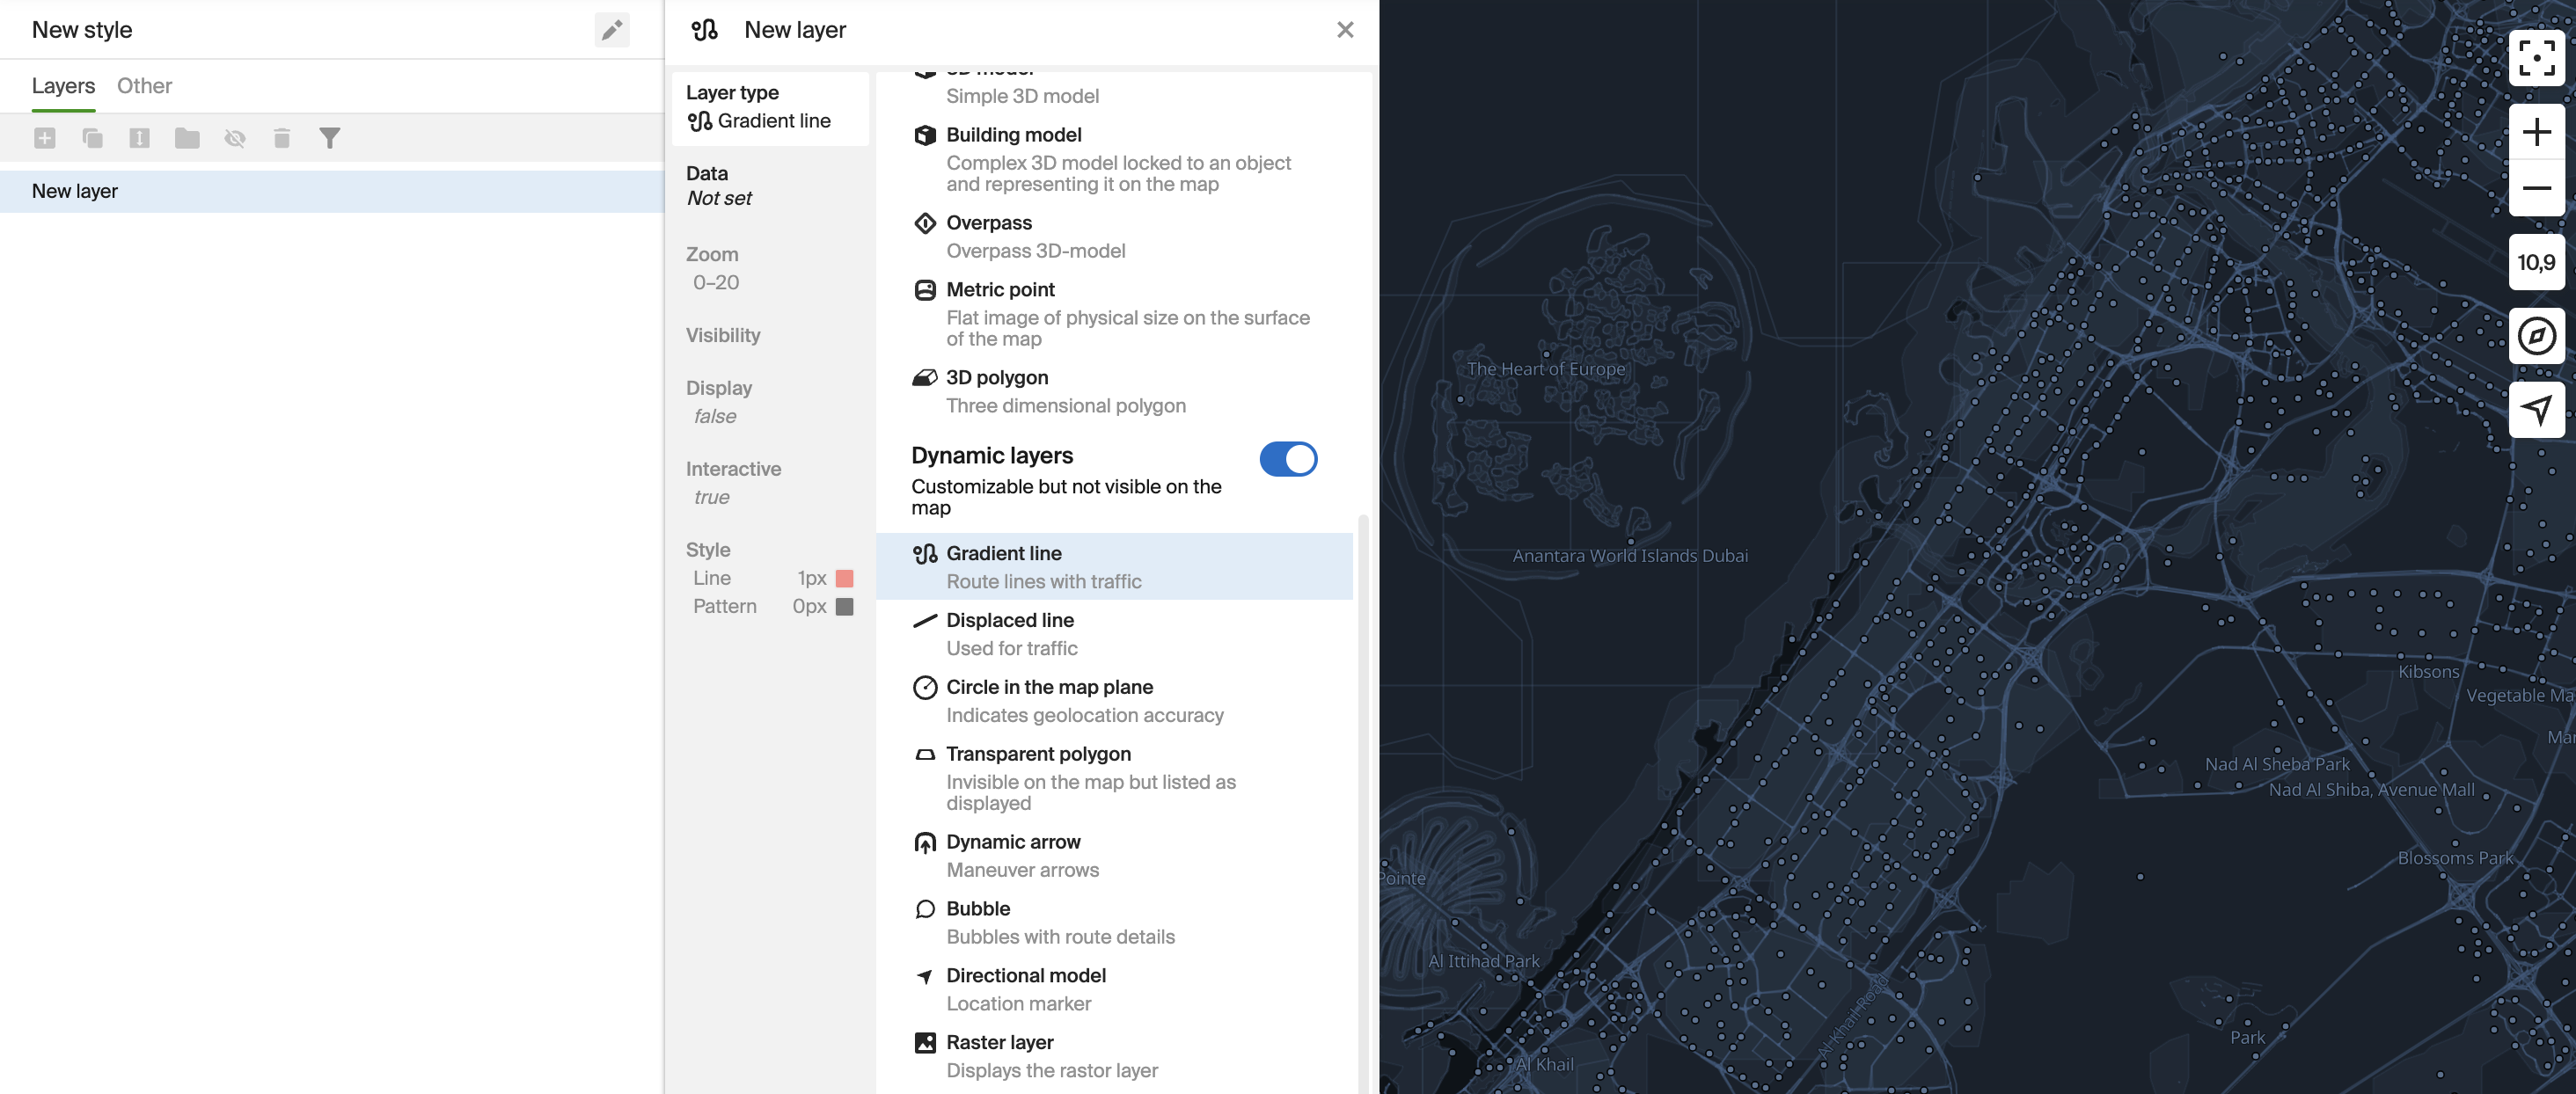
-
Enable the Dynamic layers option.
-
Select a layer type (e.g. Gradient line, Circle in the map plane, and others). The layer type determines the appearance of the layer objects and the data to customize. See the list of layer types for MapGL JS API and Mobile SDK.
-
Select the data for the layer. For each layer, different sets of map data are available, and you can manage their style via a layer.
-
Specify the remaining layer settings (e.g. zoom, visibility, display style). Available settings depend on the layer type.
A new dynamic layer is automatically added to the style.
What's next?
- Connect a style to a map.
- Publish changes if you changed a connected style.