Modifying data sample
Modifying a data sample can be useful when you need to retain only specific data from the entire dataset for your operations. When you create a layer and after creating it, you can modify the data sample:
- Filter data by parameters.
- Filter data by territories by applying geofilters.
- Manually change the list of filtering results by removing certain objects. If you uploaded the dataset with point objects, you can add new objects to the sample: see the Adding point objects instruction.
You can change the sample for built-in data categories and your own data: uploaded as a file and uploaded via API.
If some layers and widgets are created based on the data sample, they reflect the changes. Any sample changes do not delete the data in the dataset.
You can also display data only for certain territories on a dashboard without changing the sample using geofilters: see the Filtering by territories on a dashboard section.
When creating a layer
-
Go to the Main or Data tab.
-
Select the required category of the built-in data or the uploaded dataset.
-
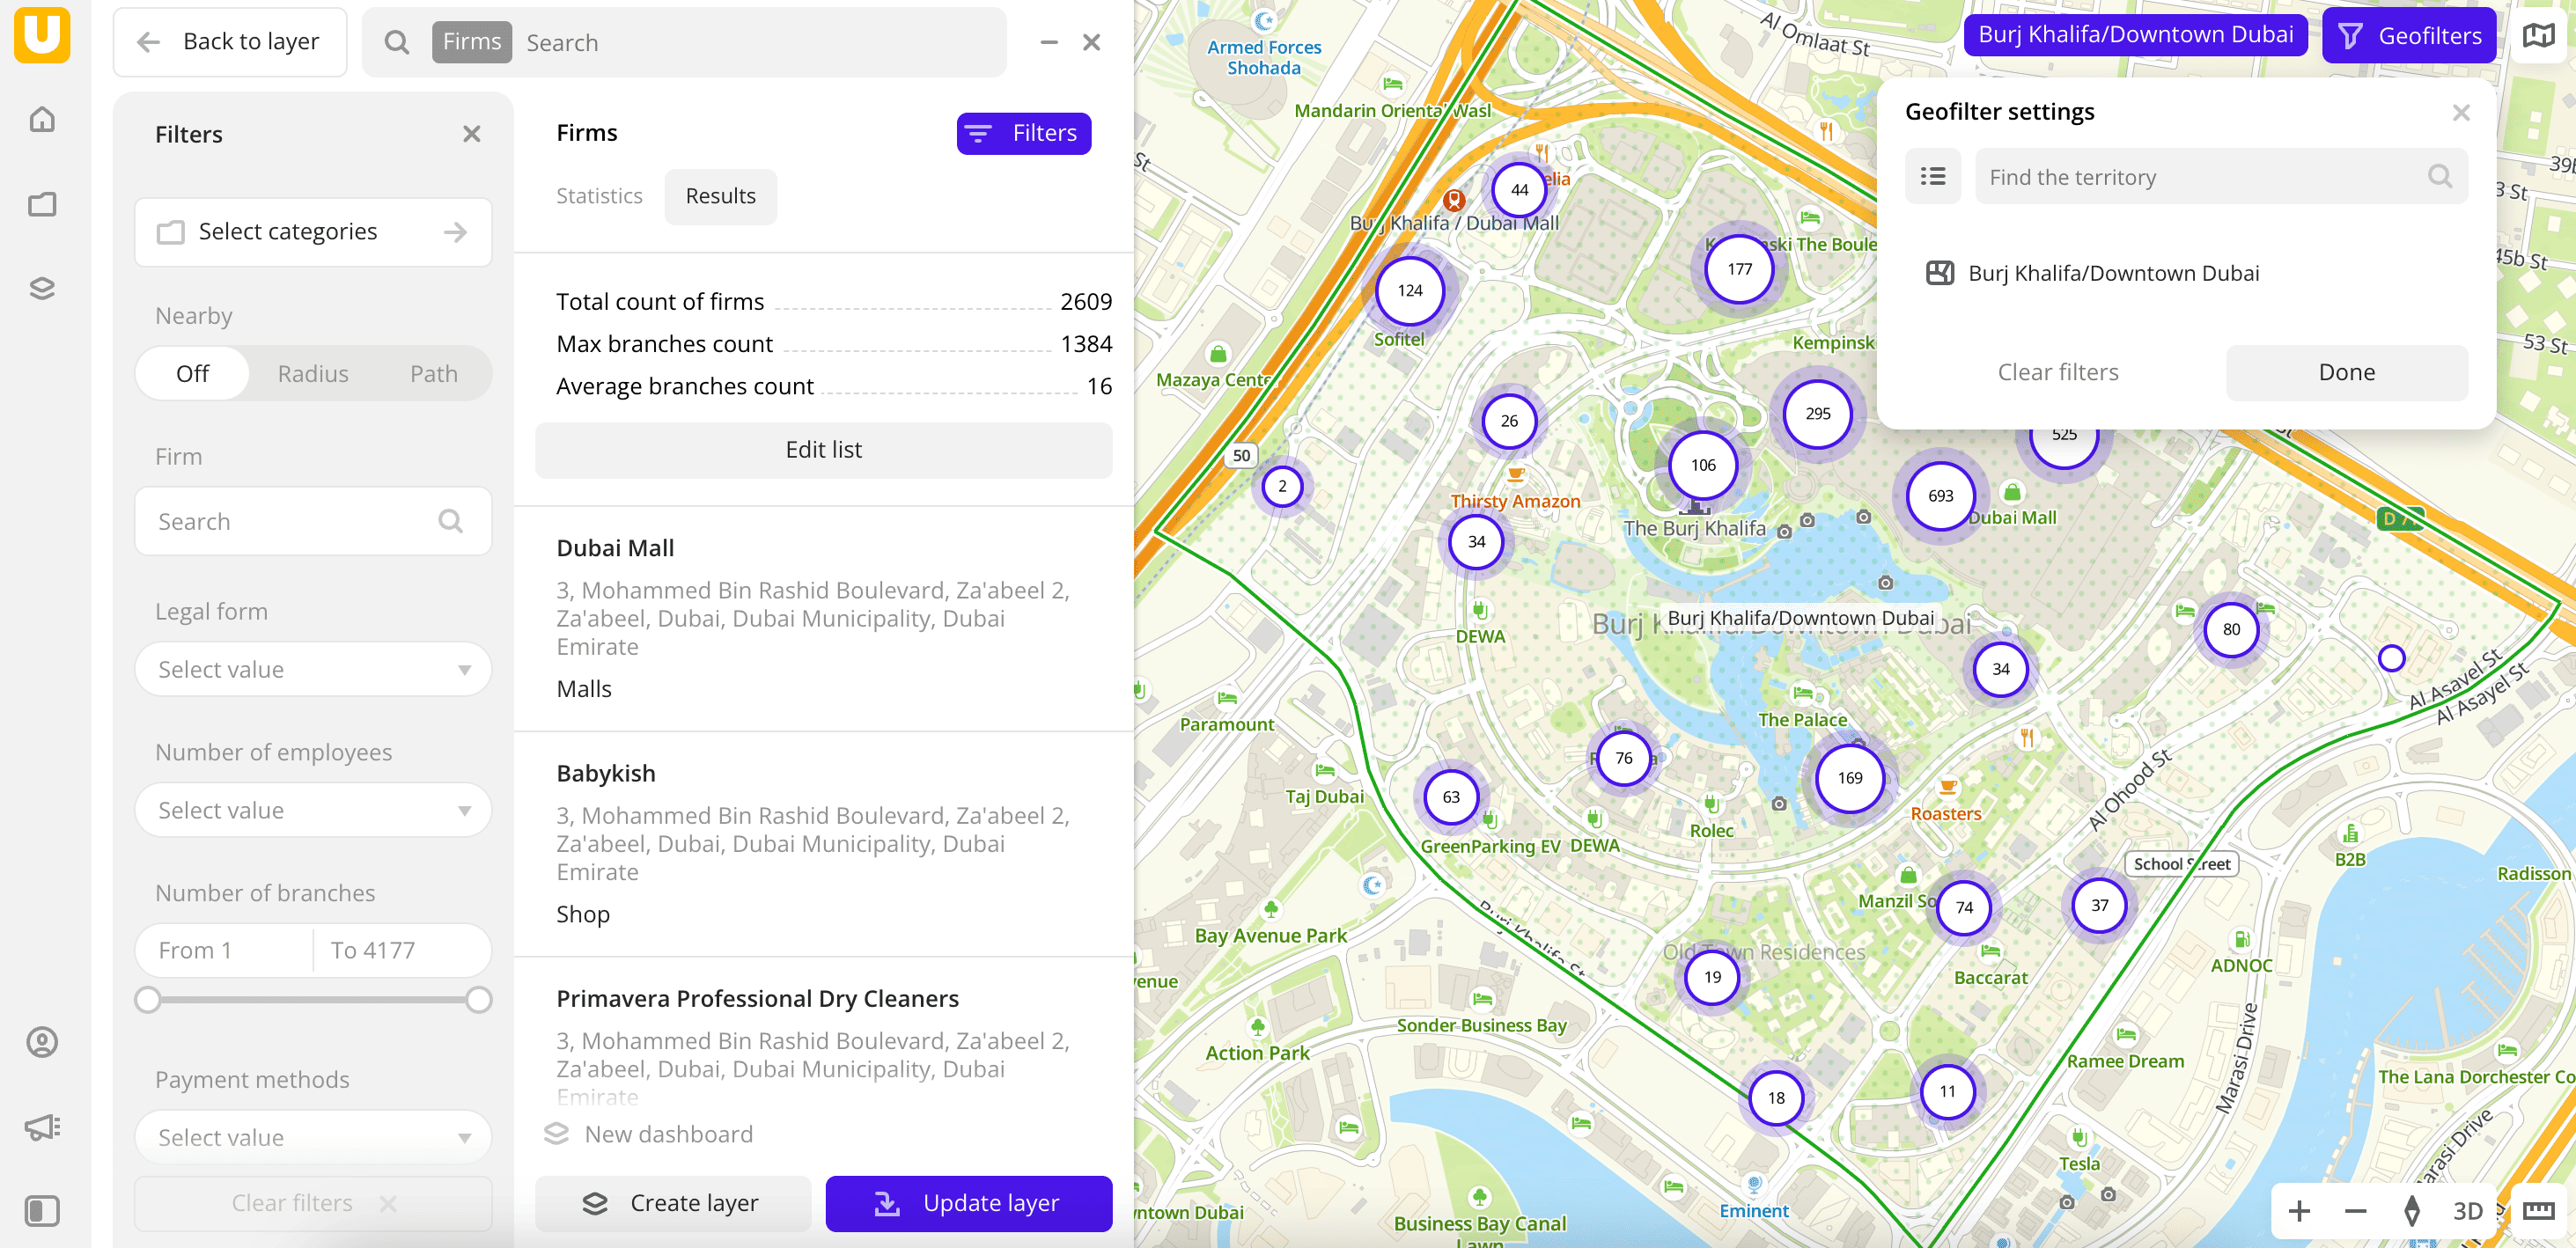
To filter data by territories, in the Geofilter settings box, select the territories for which the data sample is created (up to 50 territories). You can use:
- Suggested standard territories: regions, districts, settlements, and others. Depending on the tariff, some territories may not be available.
- Your own territorial division. To do this, first upload a dataset with polygons and create a territory filter.
Click Done.
-
To filter data by parameters, set the required filters.
-
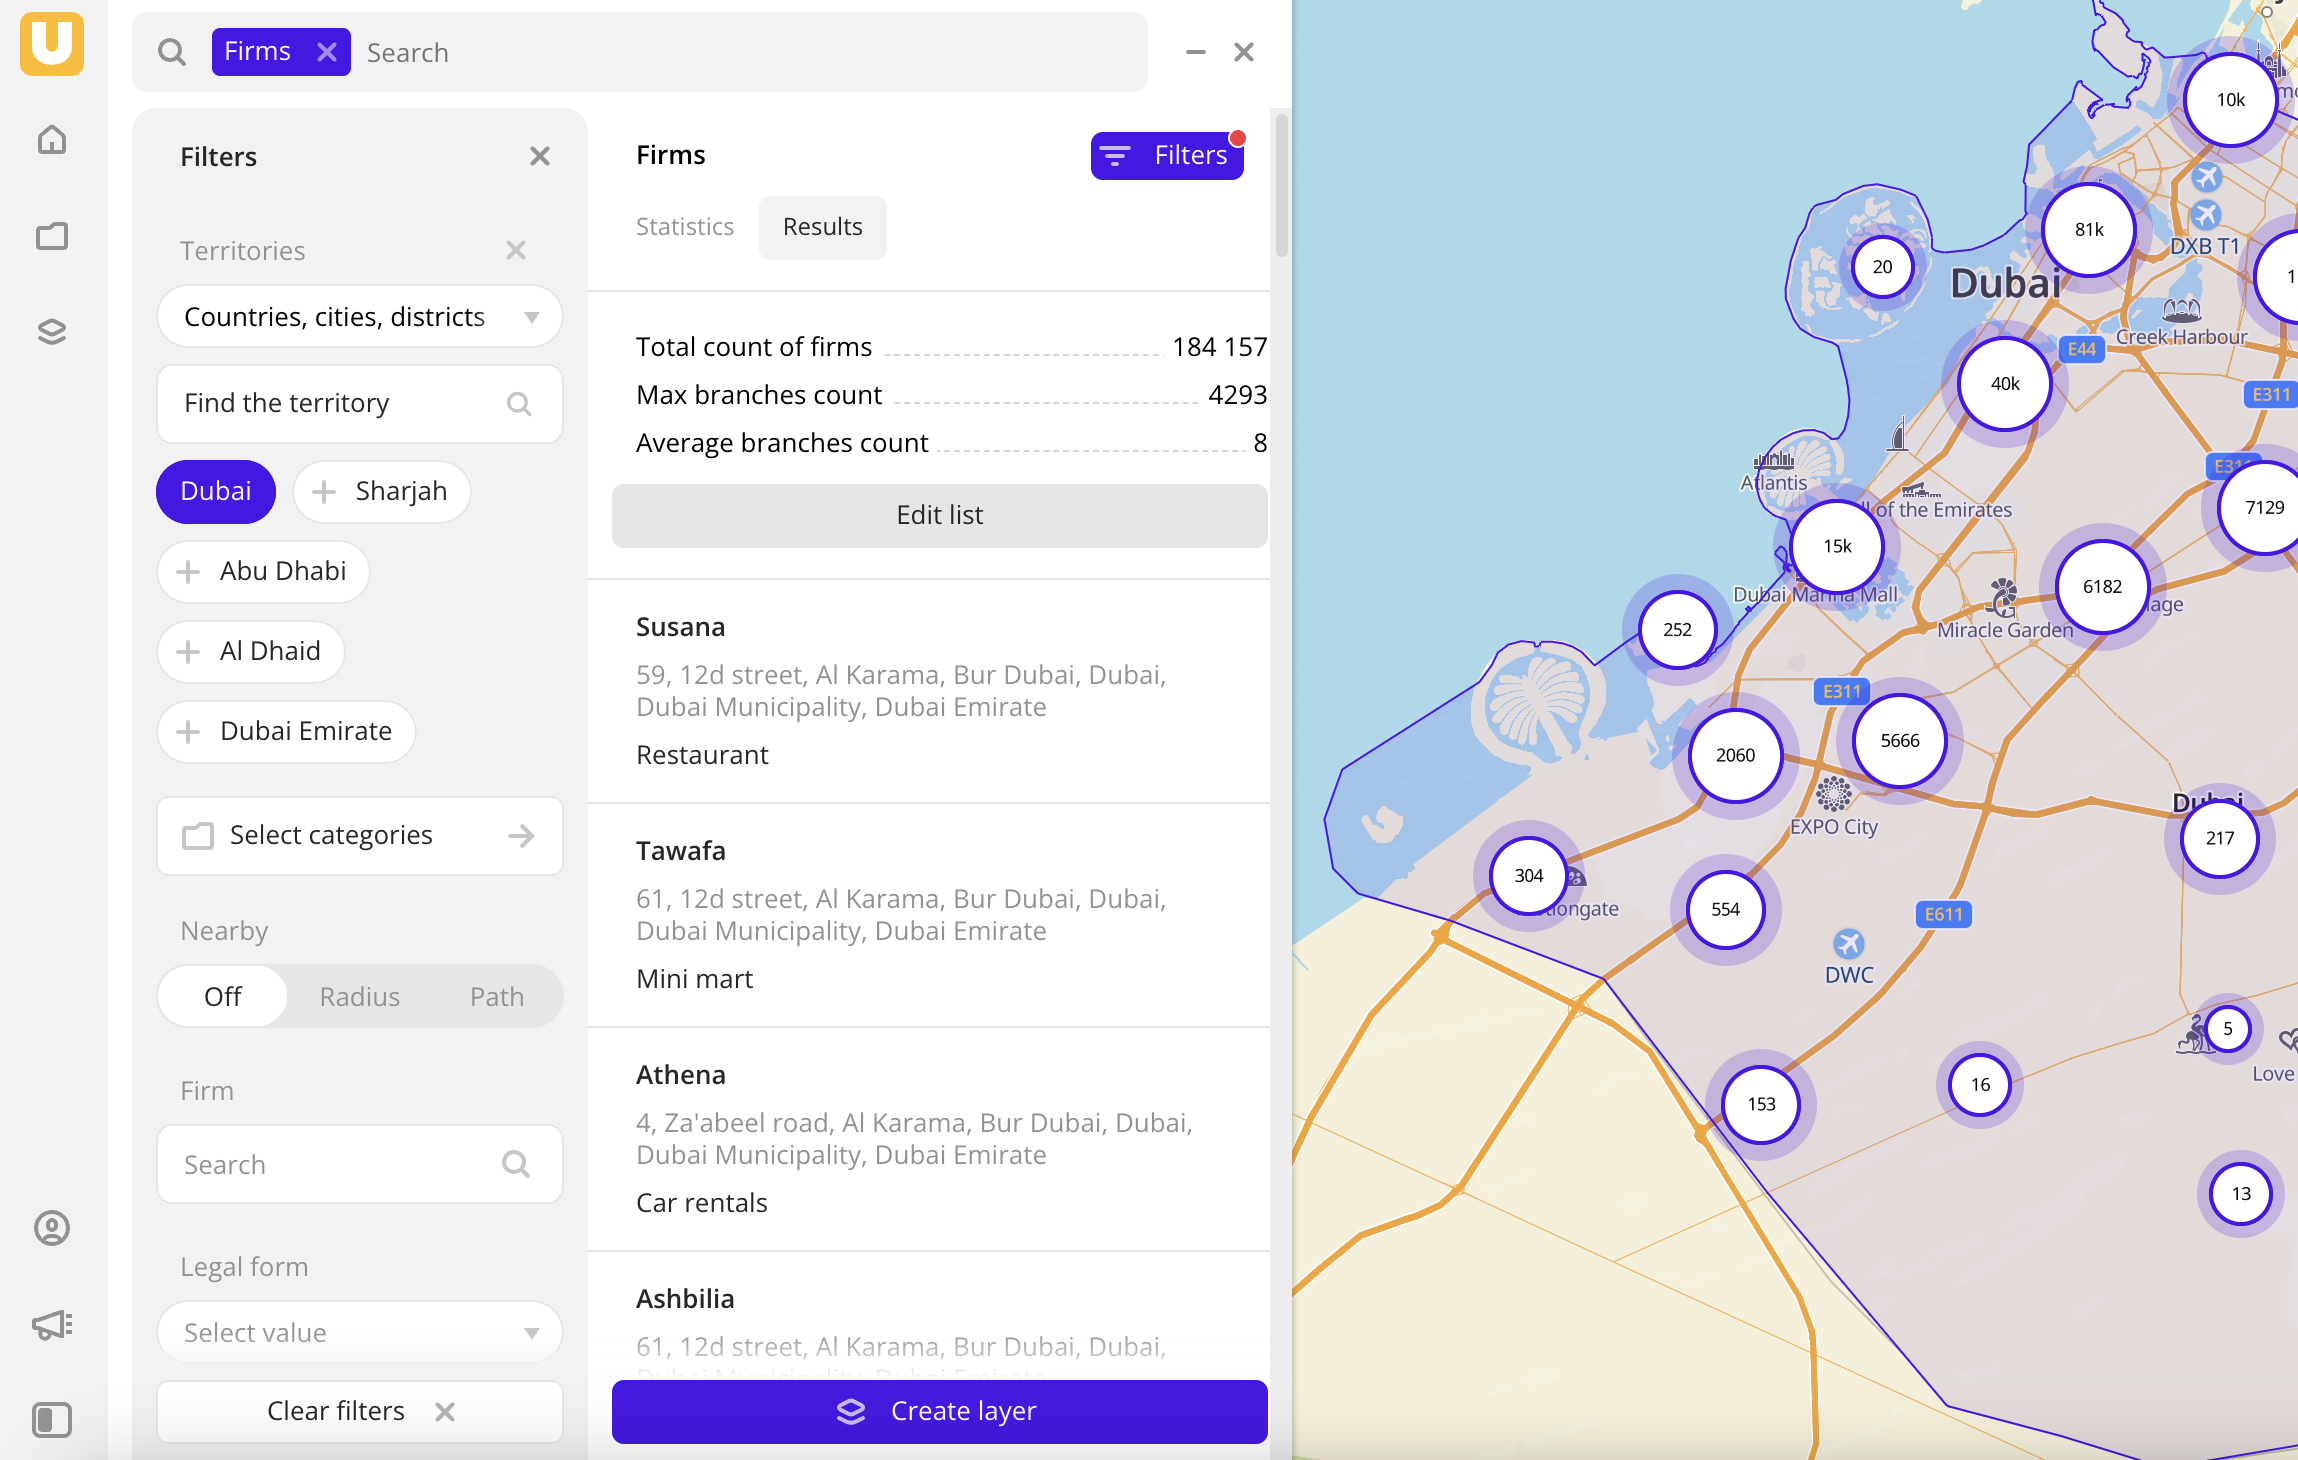
To manually change the list of filtering results, go to the Results pane, click Edit list, and select the items to retain in the data sample. Click Apply.
-
Click Create layer.
If there are no dashboards in the project yet, the first dashboard is created, and the layer with data is automatically added to it.
-
If there is a dashboard in the project, specify where to add the layer in the dialog box:
- Select the created dashboard in the list and click Create.
- Click Add to the new dashboard, enter a name of the new dashboard, and click Create. A new dashboard is created, and the layer with data is automatically added to it.
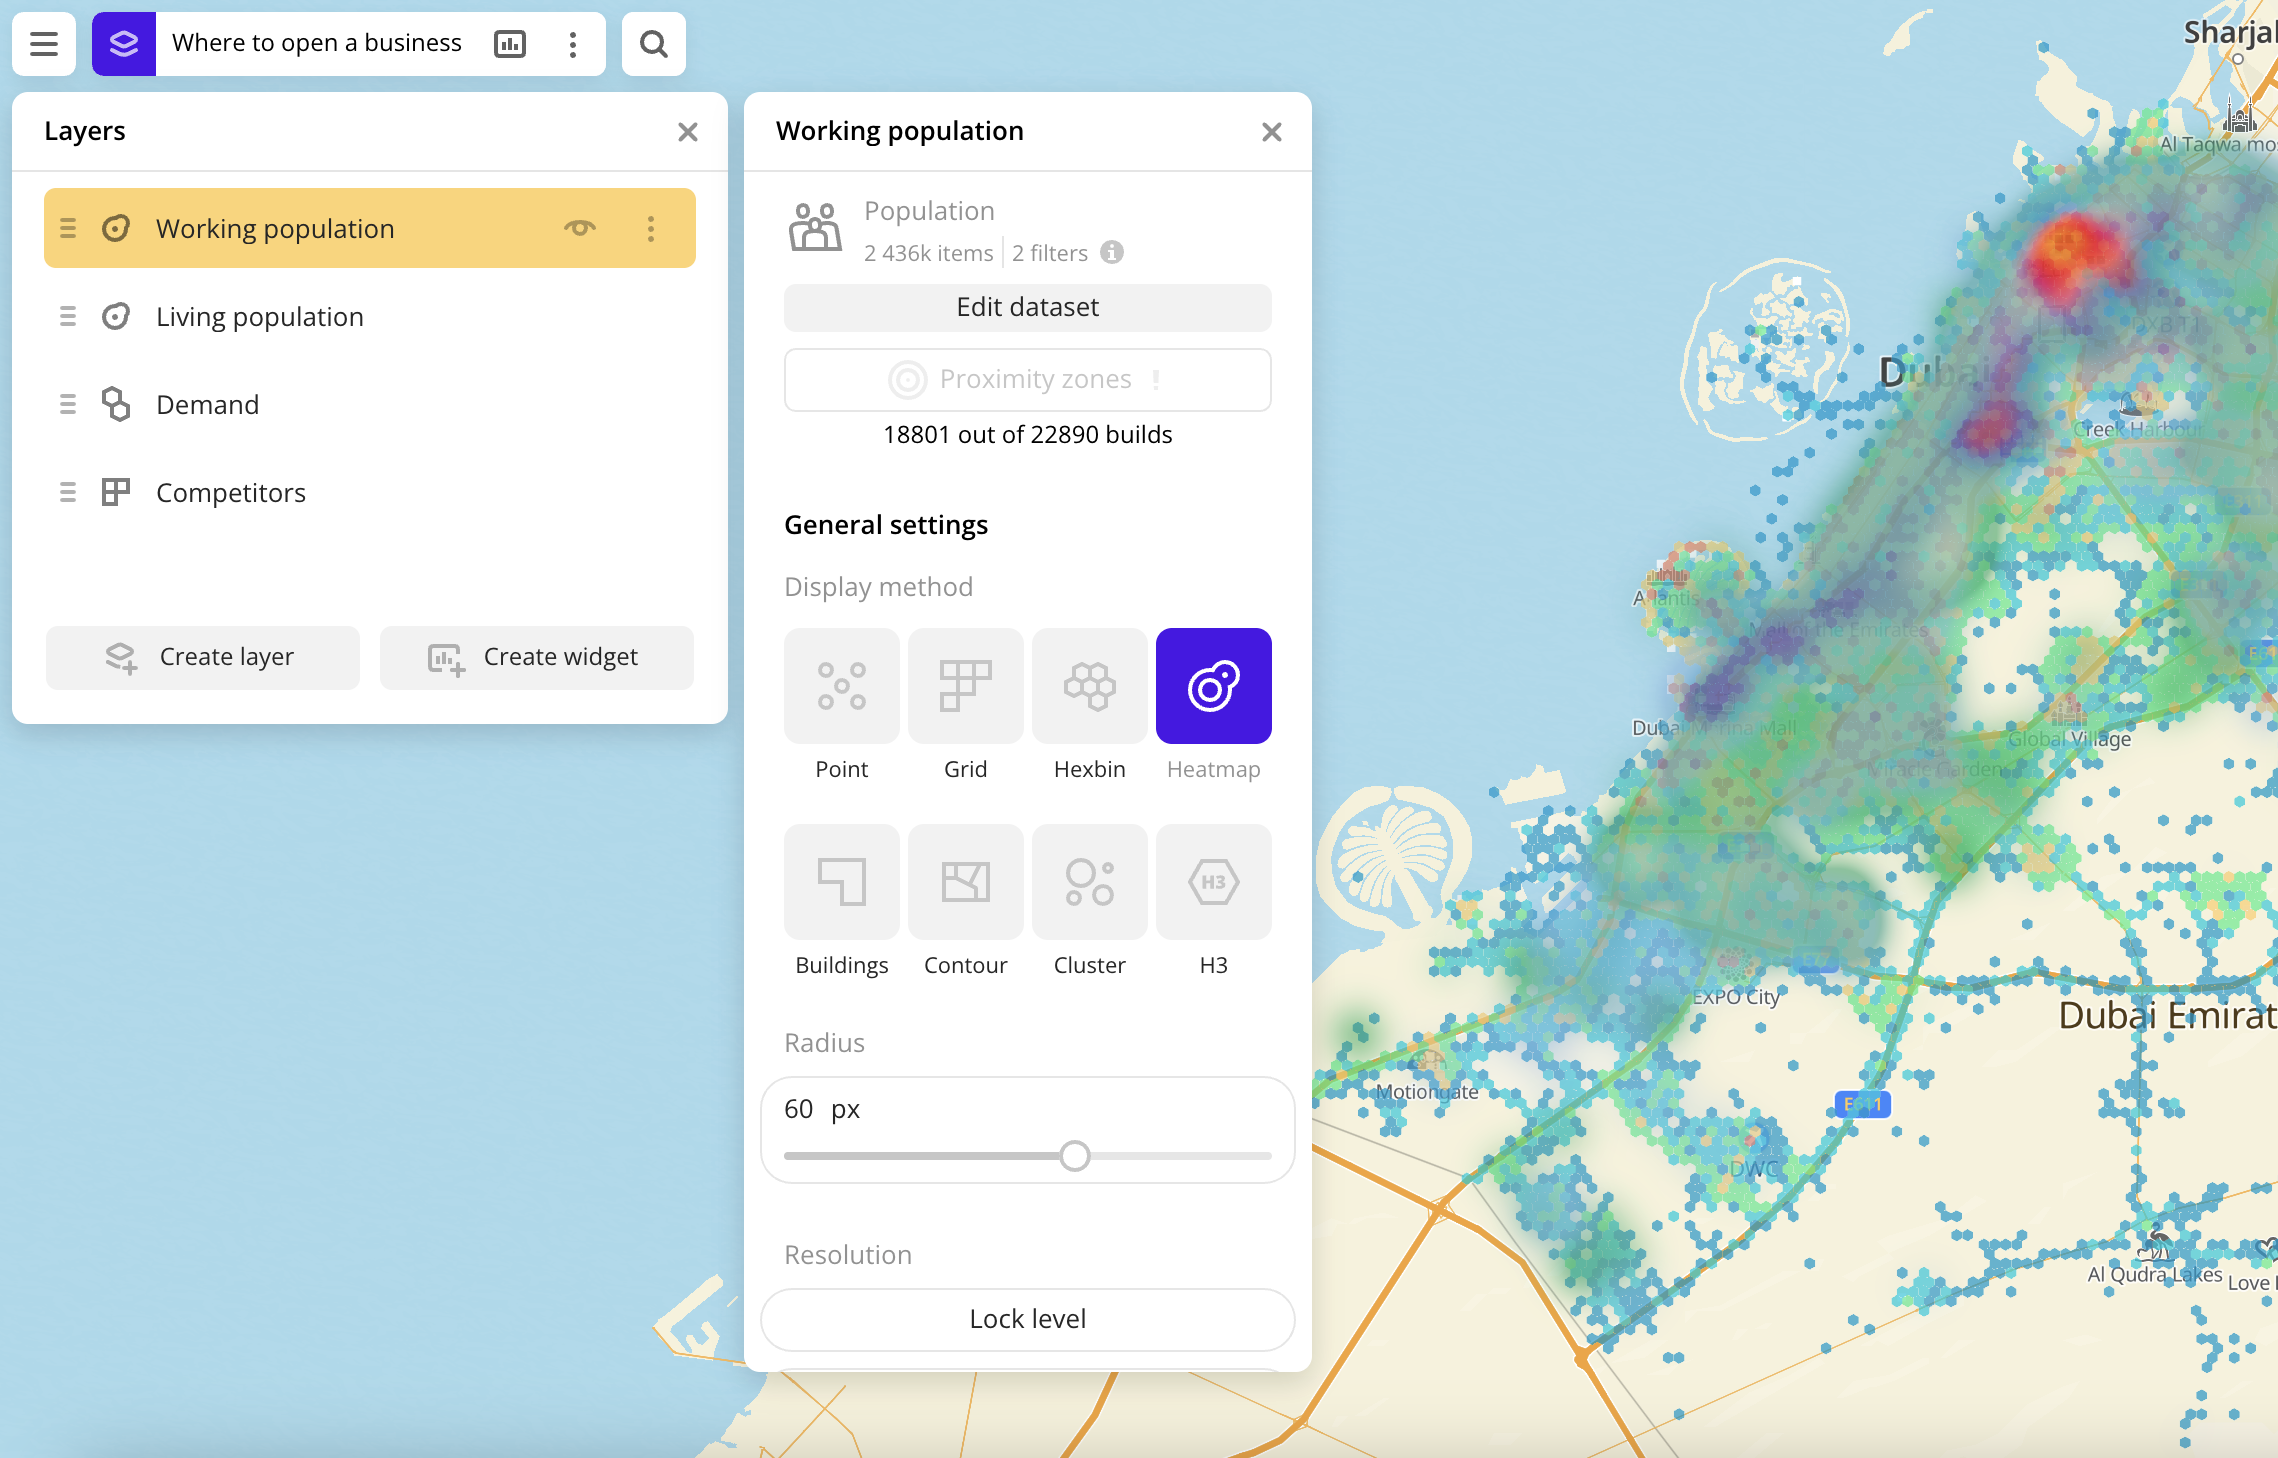
Working with the created layer
-
Go to the Dashboards tab.
-
Select the required dashboard.
-
Click
 icon.
icon. -
Select the required layer.
-
Click Edit dataset.
-
To filter data by territories, in the Geofilter settings box, select the territories for which the data sample is created (up to 50 territories). You can use:
- Suggested standard territories: regions, districts, settlements, and others. Depending on the tariff, some territories may not be available.
- Your own territorial division. To do this, first upload a dataset with polygons and create a territory filter.
Click Done.
-
To filter data by parameters, set the required filters.
-
To manually change the list of filtering results, go to the Results pane, click Edit list, and select the items to retain in the data sample. Click Apply.
-
To finish editing, click one of the buttons:
- Update layer: all changes are saved, and the layer is updated.
- Create layer: a new layer is created and added to the current dashboard.
- Back to layer: the changes are not saved, and the current dashboard is opened.
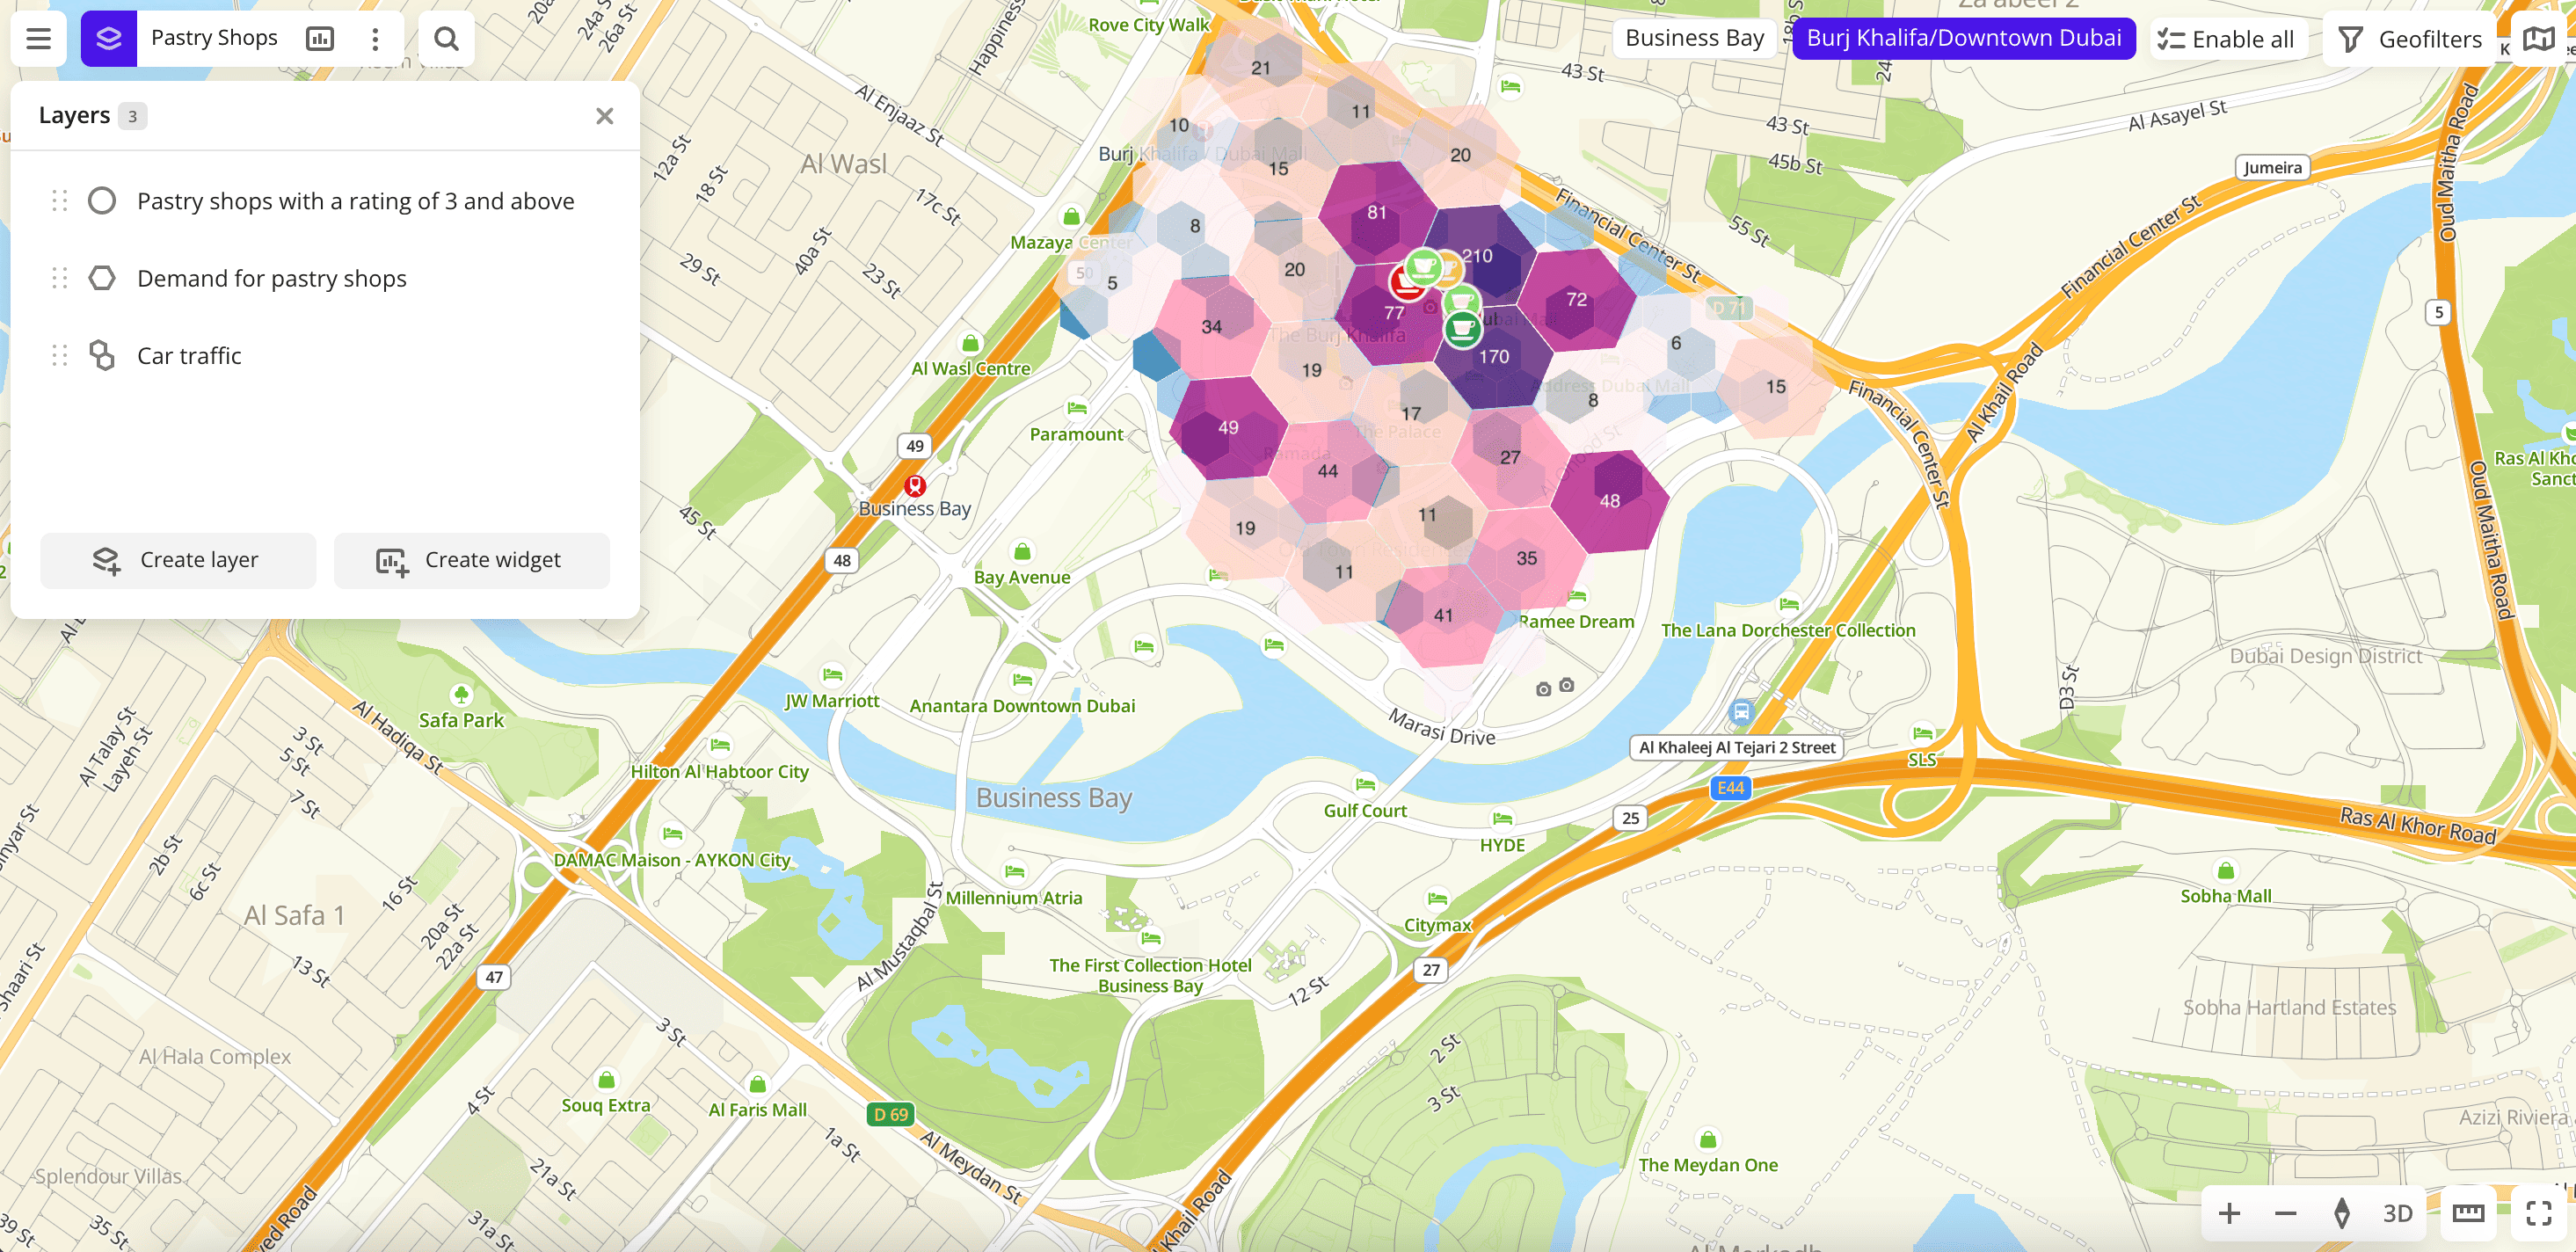
Filtering by territories on a dashboard
You can use geofilters to select the territories for which layer data is displayed on the dashboard.
By default, the dashboard displays all data from the sample on which the layer is based:
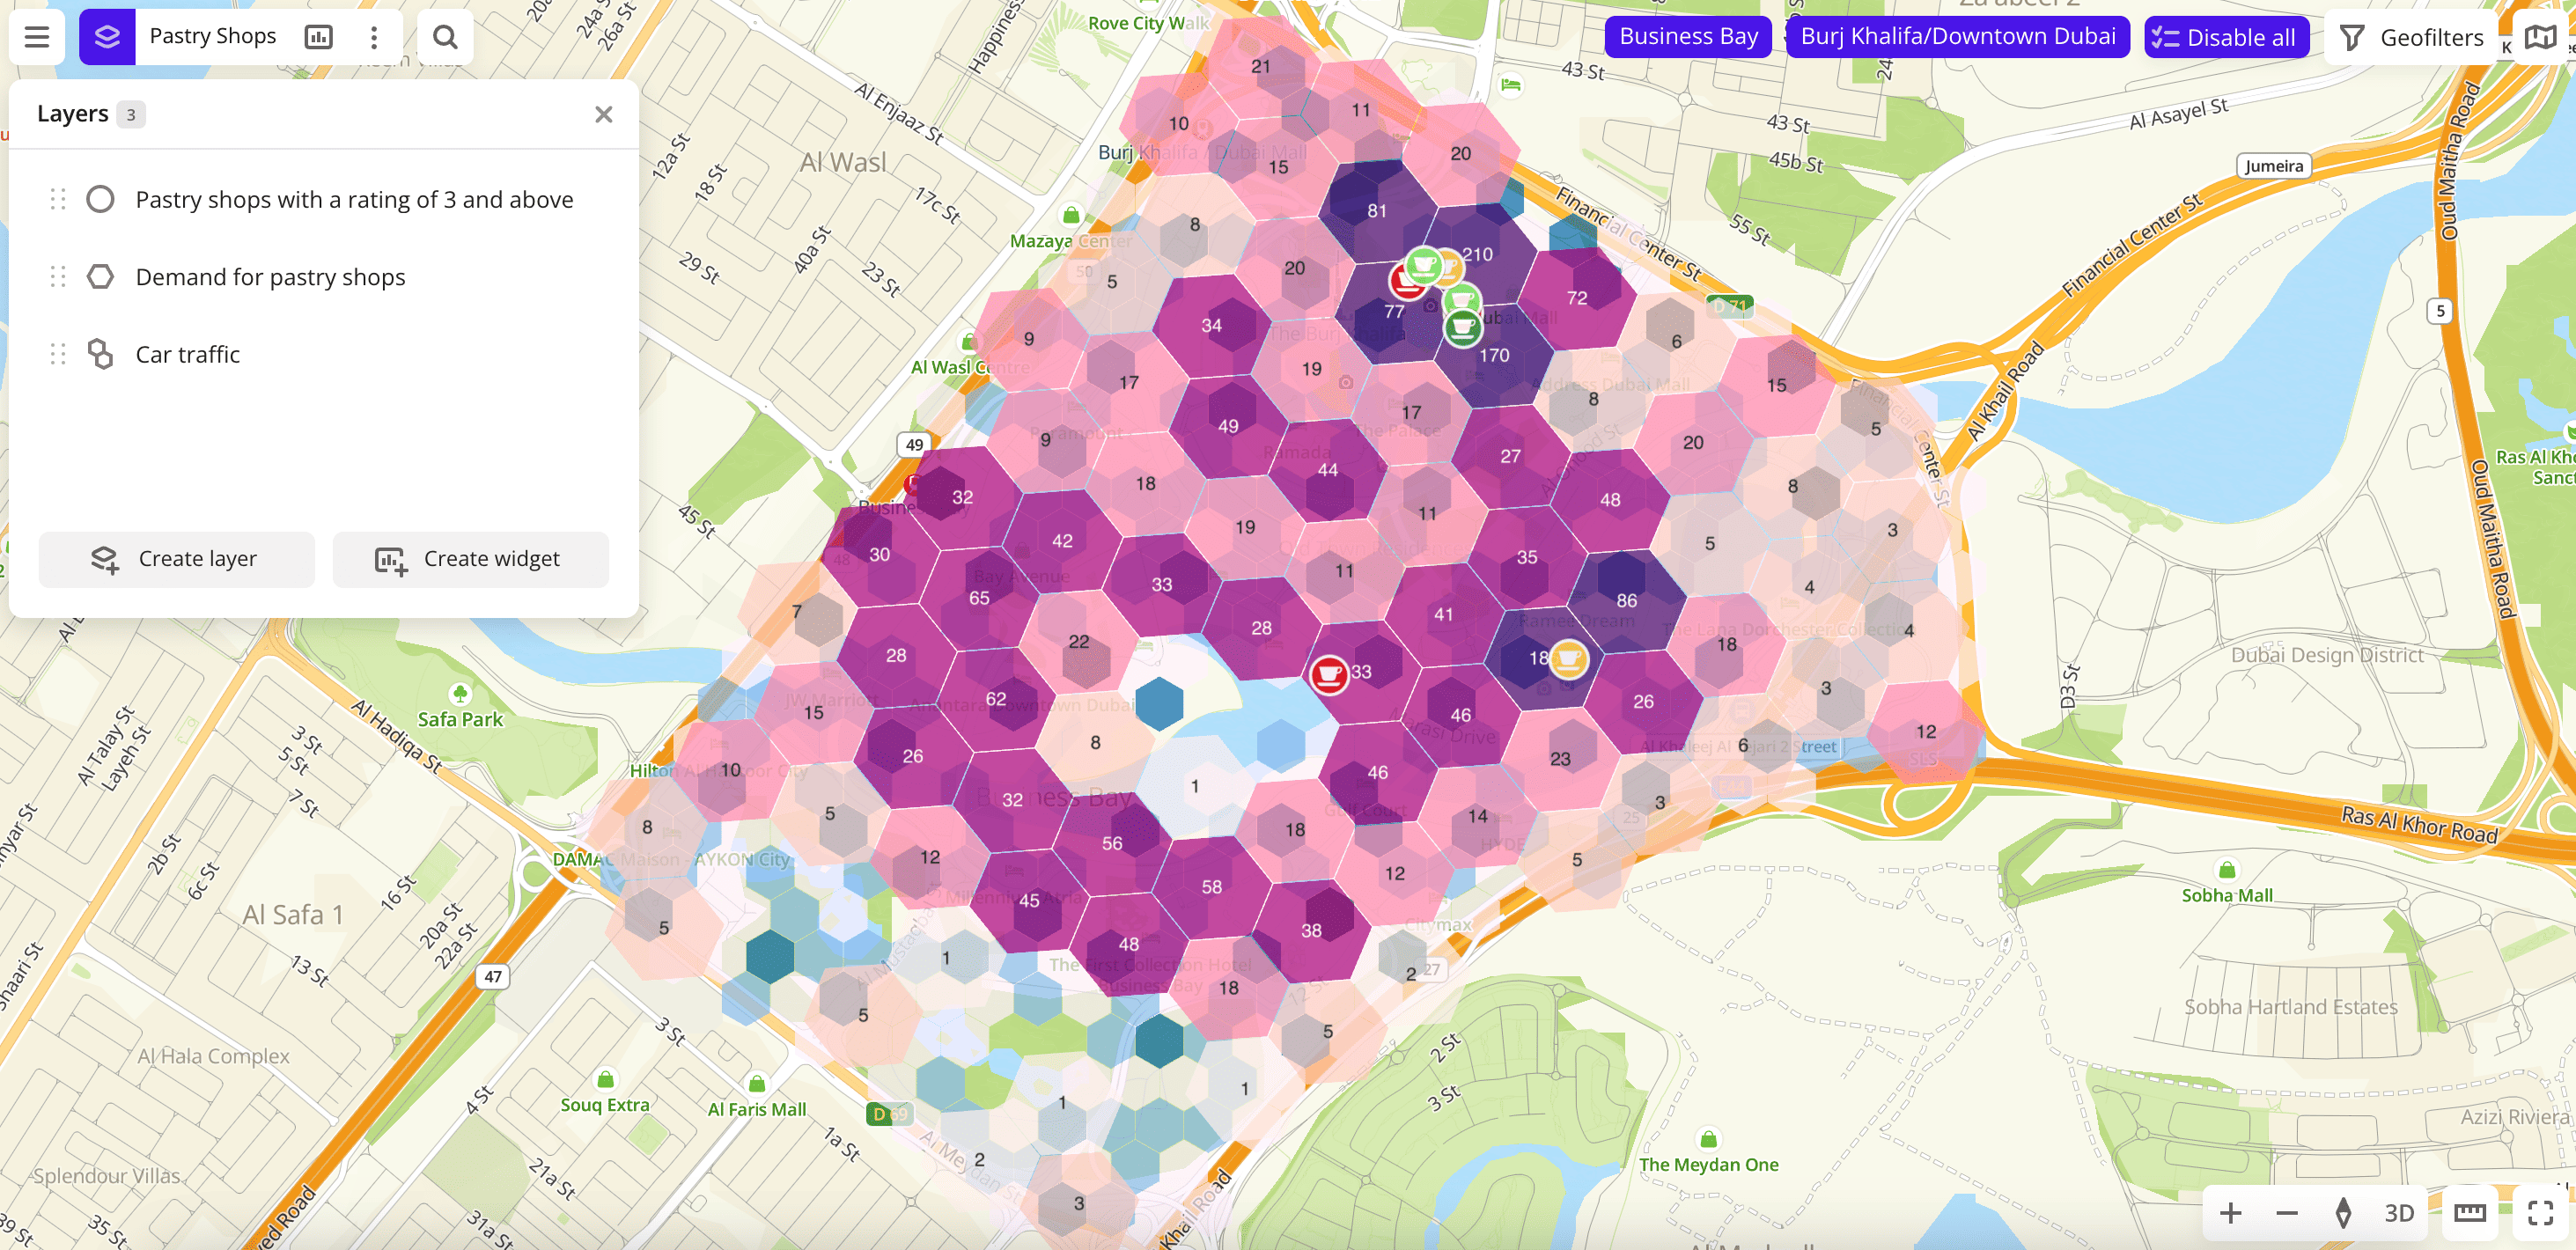
To hide data related to a territory on the dashboard, click on the territory name in the upper right corner of the dashboard:
What's next?
- Quick start.
- Get to know how to work with Data visualization.
- Get to know more about Layers, Dashboards, and Widgets.
- Get to know prepared Analytics presets.