Modifying data sample
After creating a data sample, you can modify it:
- Apply geofilters (filters by territories) to the source data.
- Apply filters by parameters to the source data.
- Edit filtering results manually by removing certain objects.
You can change the sample for built-in datasets and your own data: uploaded as a file and uploaded via API.
If layers and widgets are created based on a data sample, these changes are automatically reflected in them when the sample is changed. Any changes to the sample do not delete data from the dataset.
You can also perform other operations on data samples:
- Apply additional filtering to data samples when working with a dashboard without changing the sample. For more details, see the Filtering data on a scene instruction.
- Export data samples from user datasets. For more details, see the Export data section.
- If you uploaded a dataset with point objects, you can manually add new points to the dataset and edit or delete existing ones. For more information, see the Changing a dataset with points section.
Modifying a sample
-
Go to the Dashboards tab.
-
Open the dashboard.
-
Open a scene using the arrows
 and
and  . If there is only one scene in the dashboard, it opens automatically.
 -
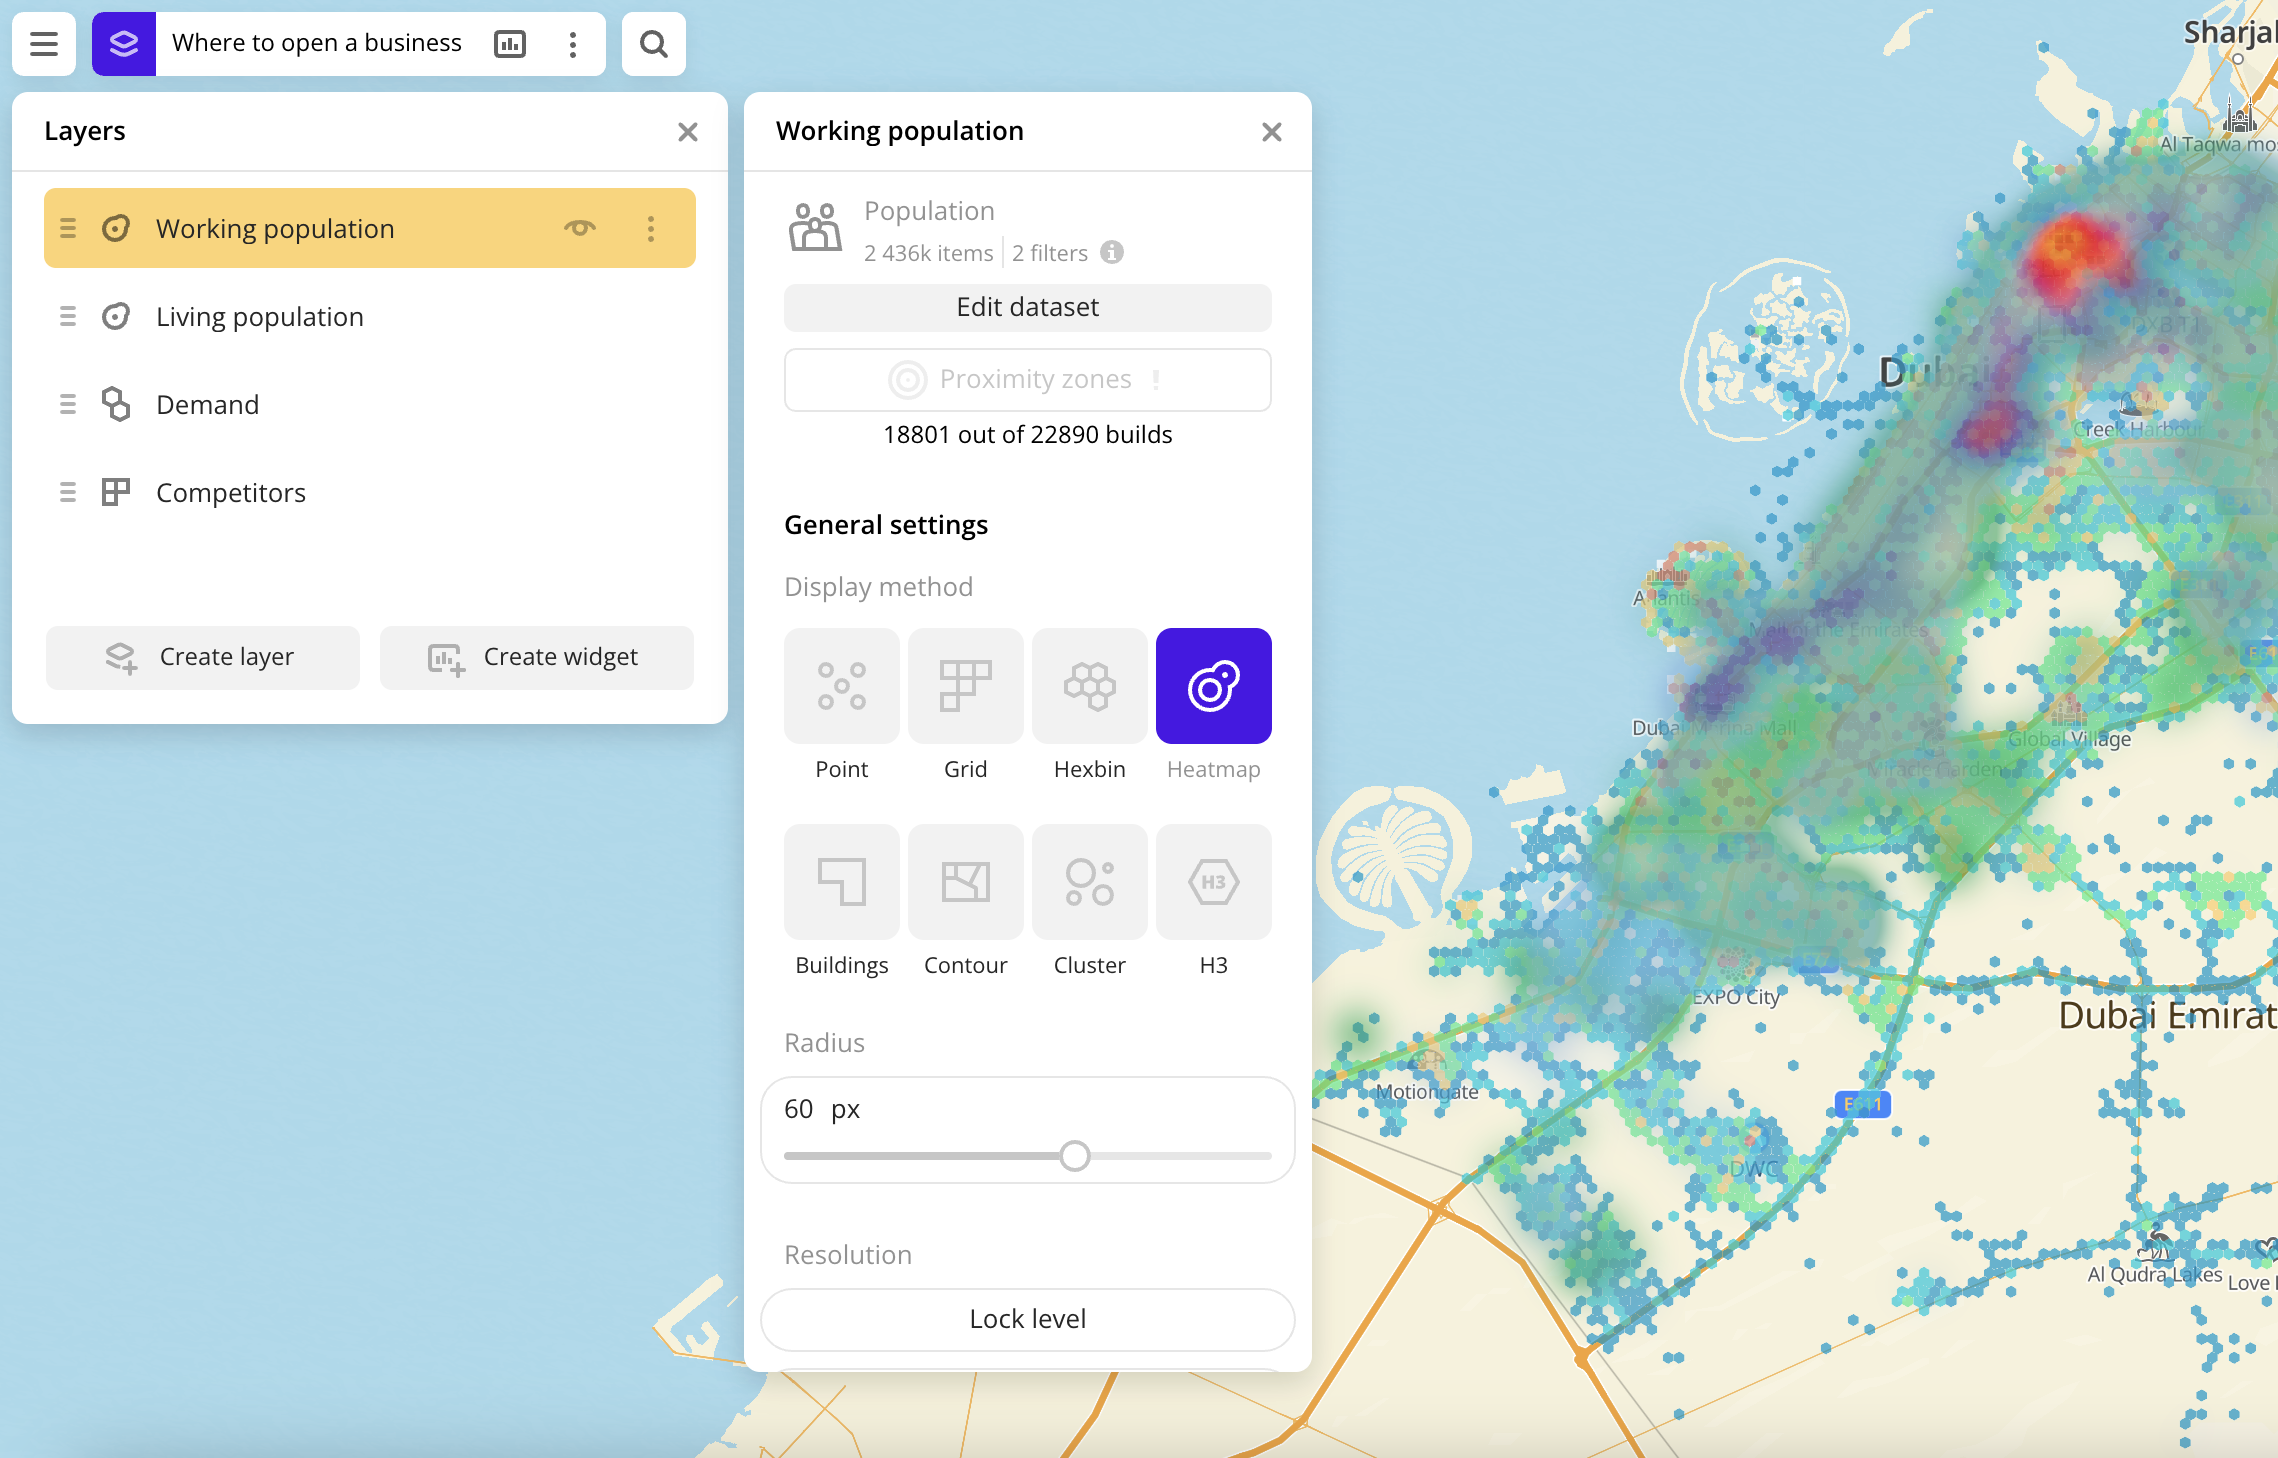
In the top menu of the dashboard, click
 icon and select the required layer.
 -
Click Edit dataset.
-
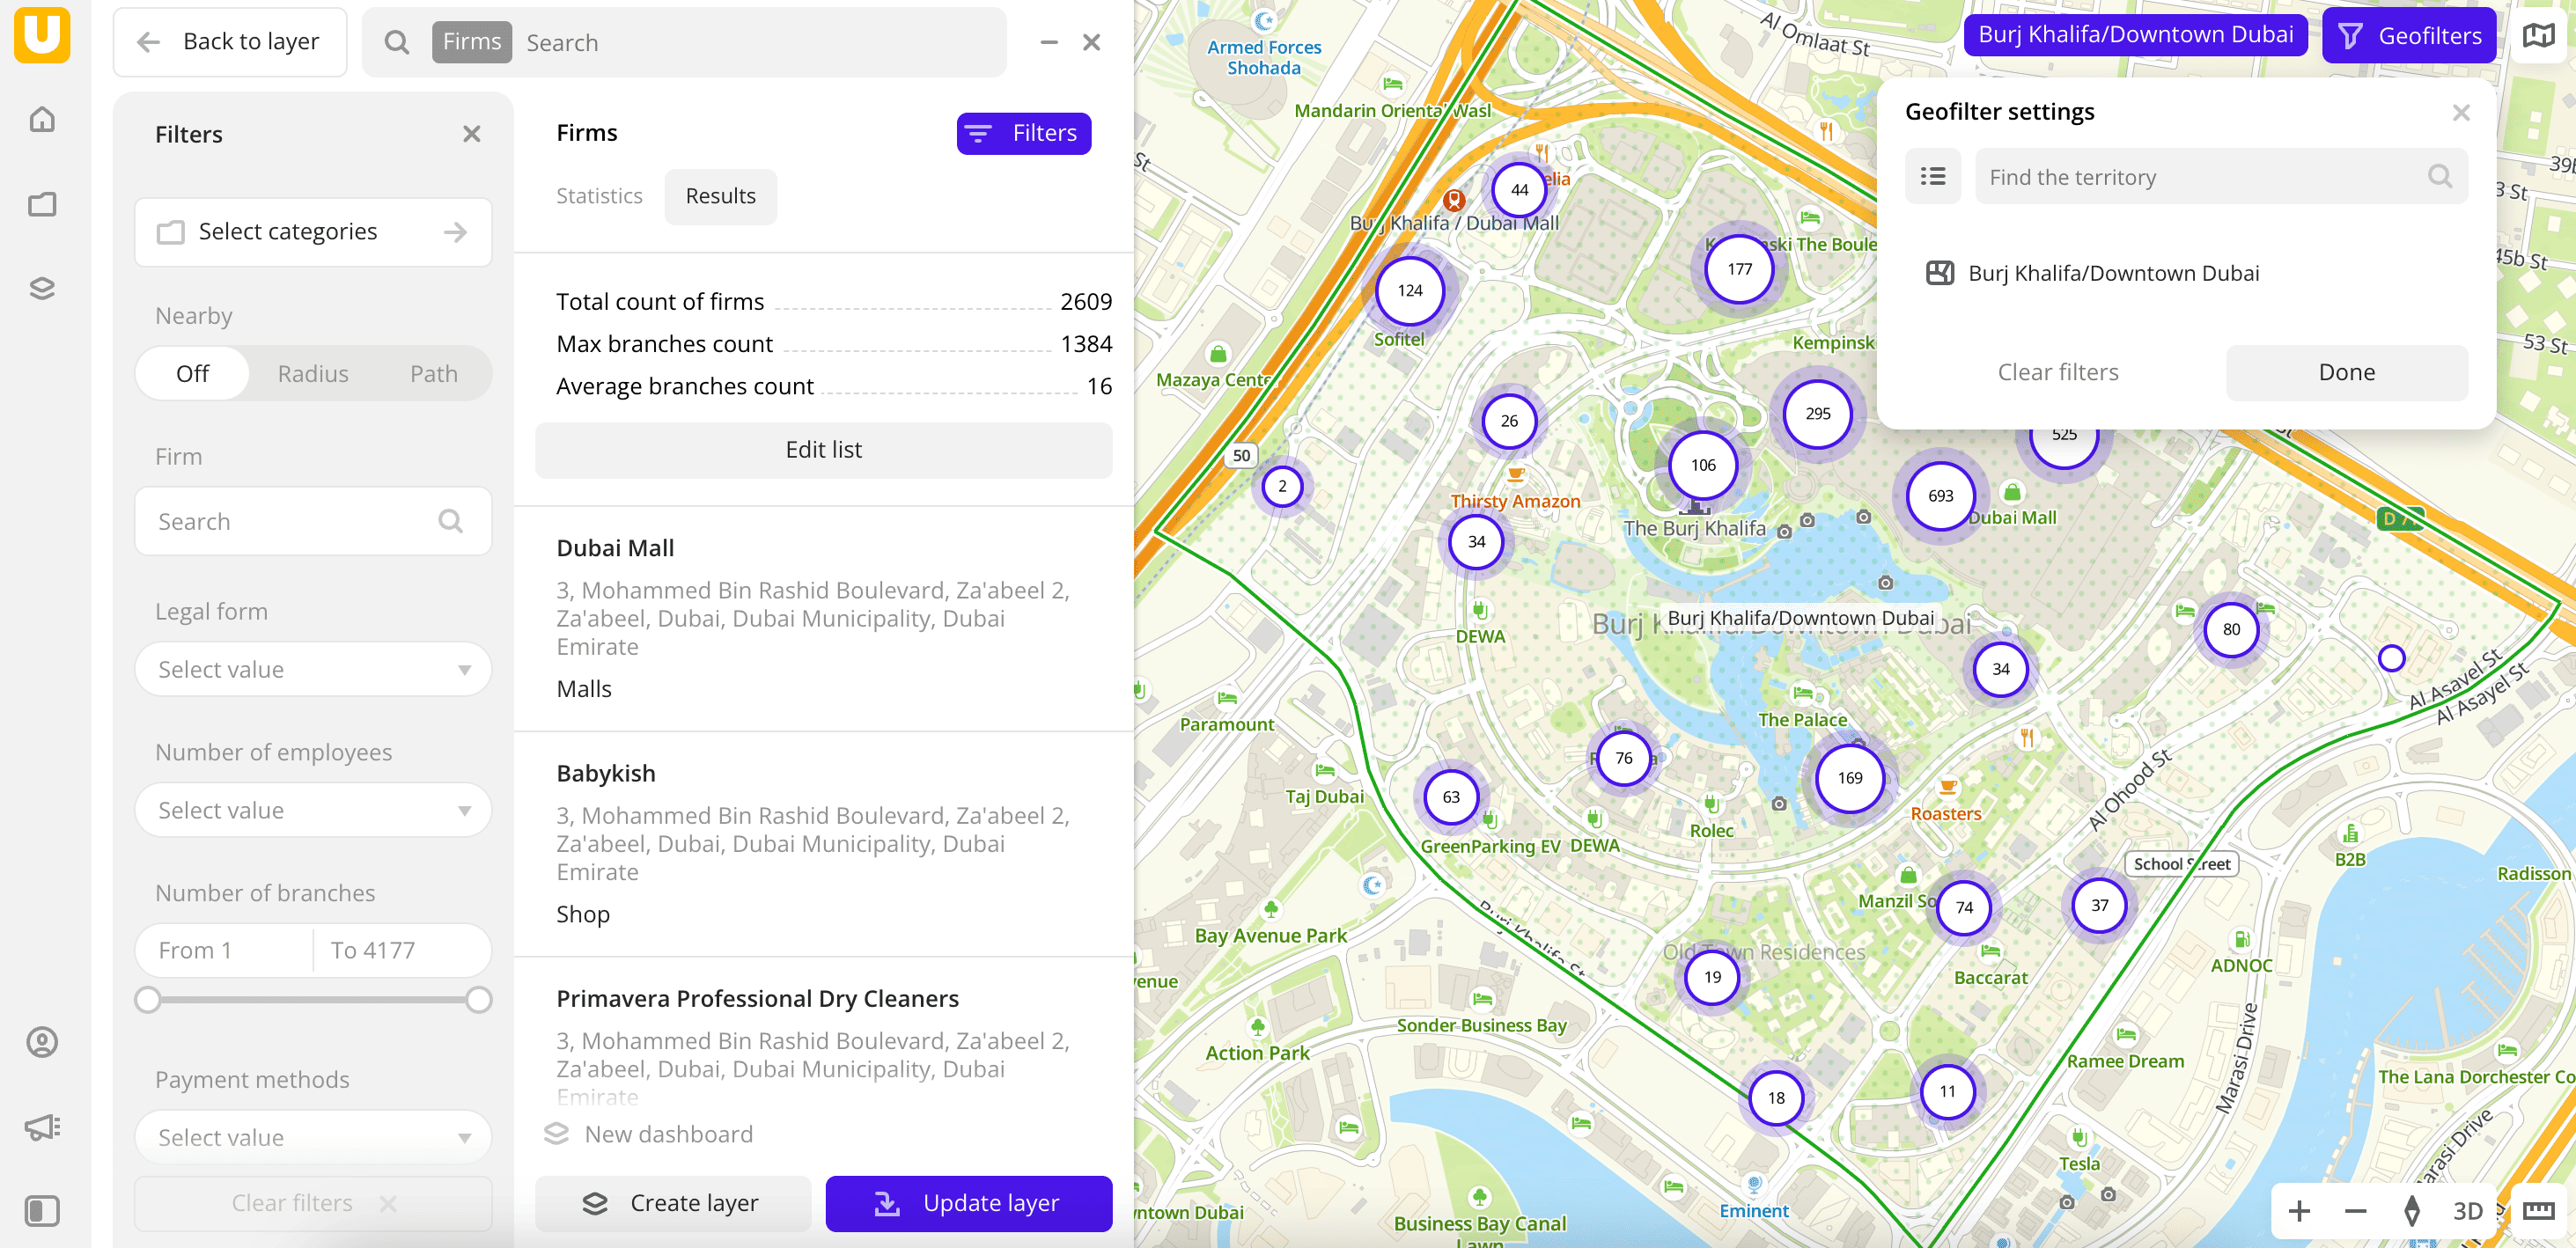
To filter data by territories, in the Geofilter settings dialog, select up to 50 territories for which the data sample is created. You can use standard and custom territories and also build polygons, proximity zones, and circles on the map. For more information, see the Geofilters section. After you select the territories, click Done.
-
To filter data by parameters, on the Filters tab, set the required filters.
-
To manually change the filtering results:
-
Go to the Results pane and click Edit list.
-
Select objects to retain in the data sample.
-
Click Apply.
-
-
To finish editing the data sample, click one of the buttons:
- Update layer: all changes are saved, and the layer is updated.
- Create layer: a new layer is created and added to the current dashboard scene.
- Back to layer: the changes are not saved, and the current dashboard scene is opened.
What's next?
- Getting started.
- Get to know how to work with Data visualization.
- Learn more about Layers, Dashboards, Scenes, and Widgets.
- Learn about ready-made Analytics scenarios.