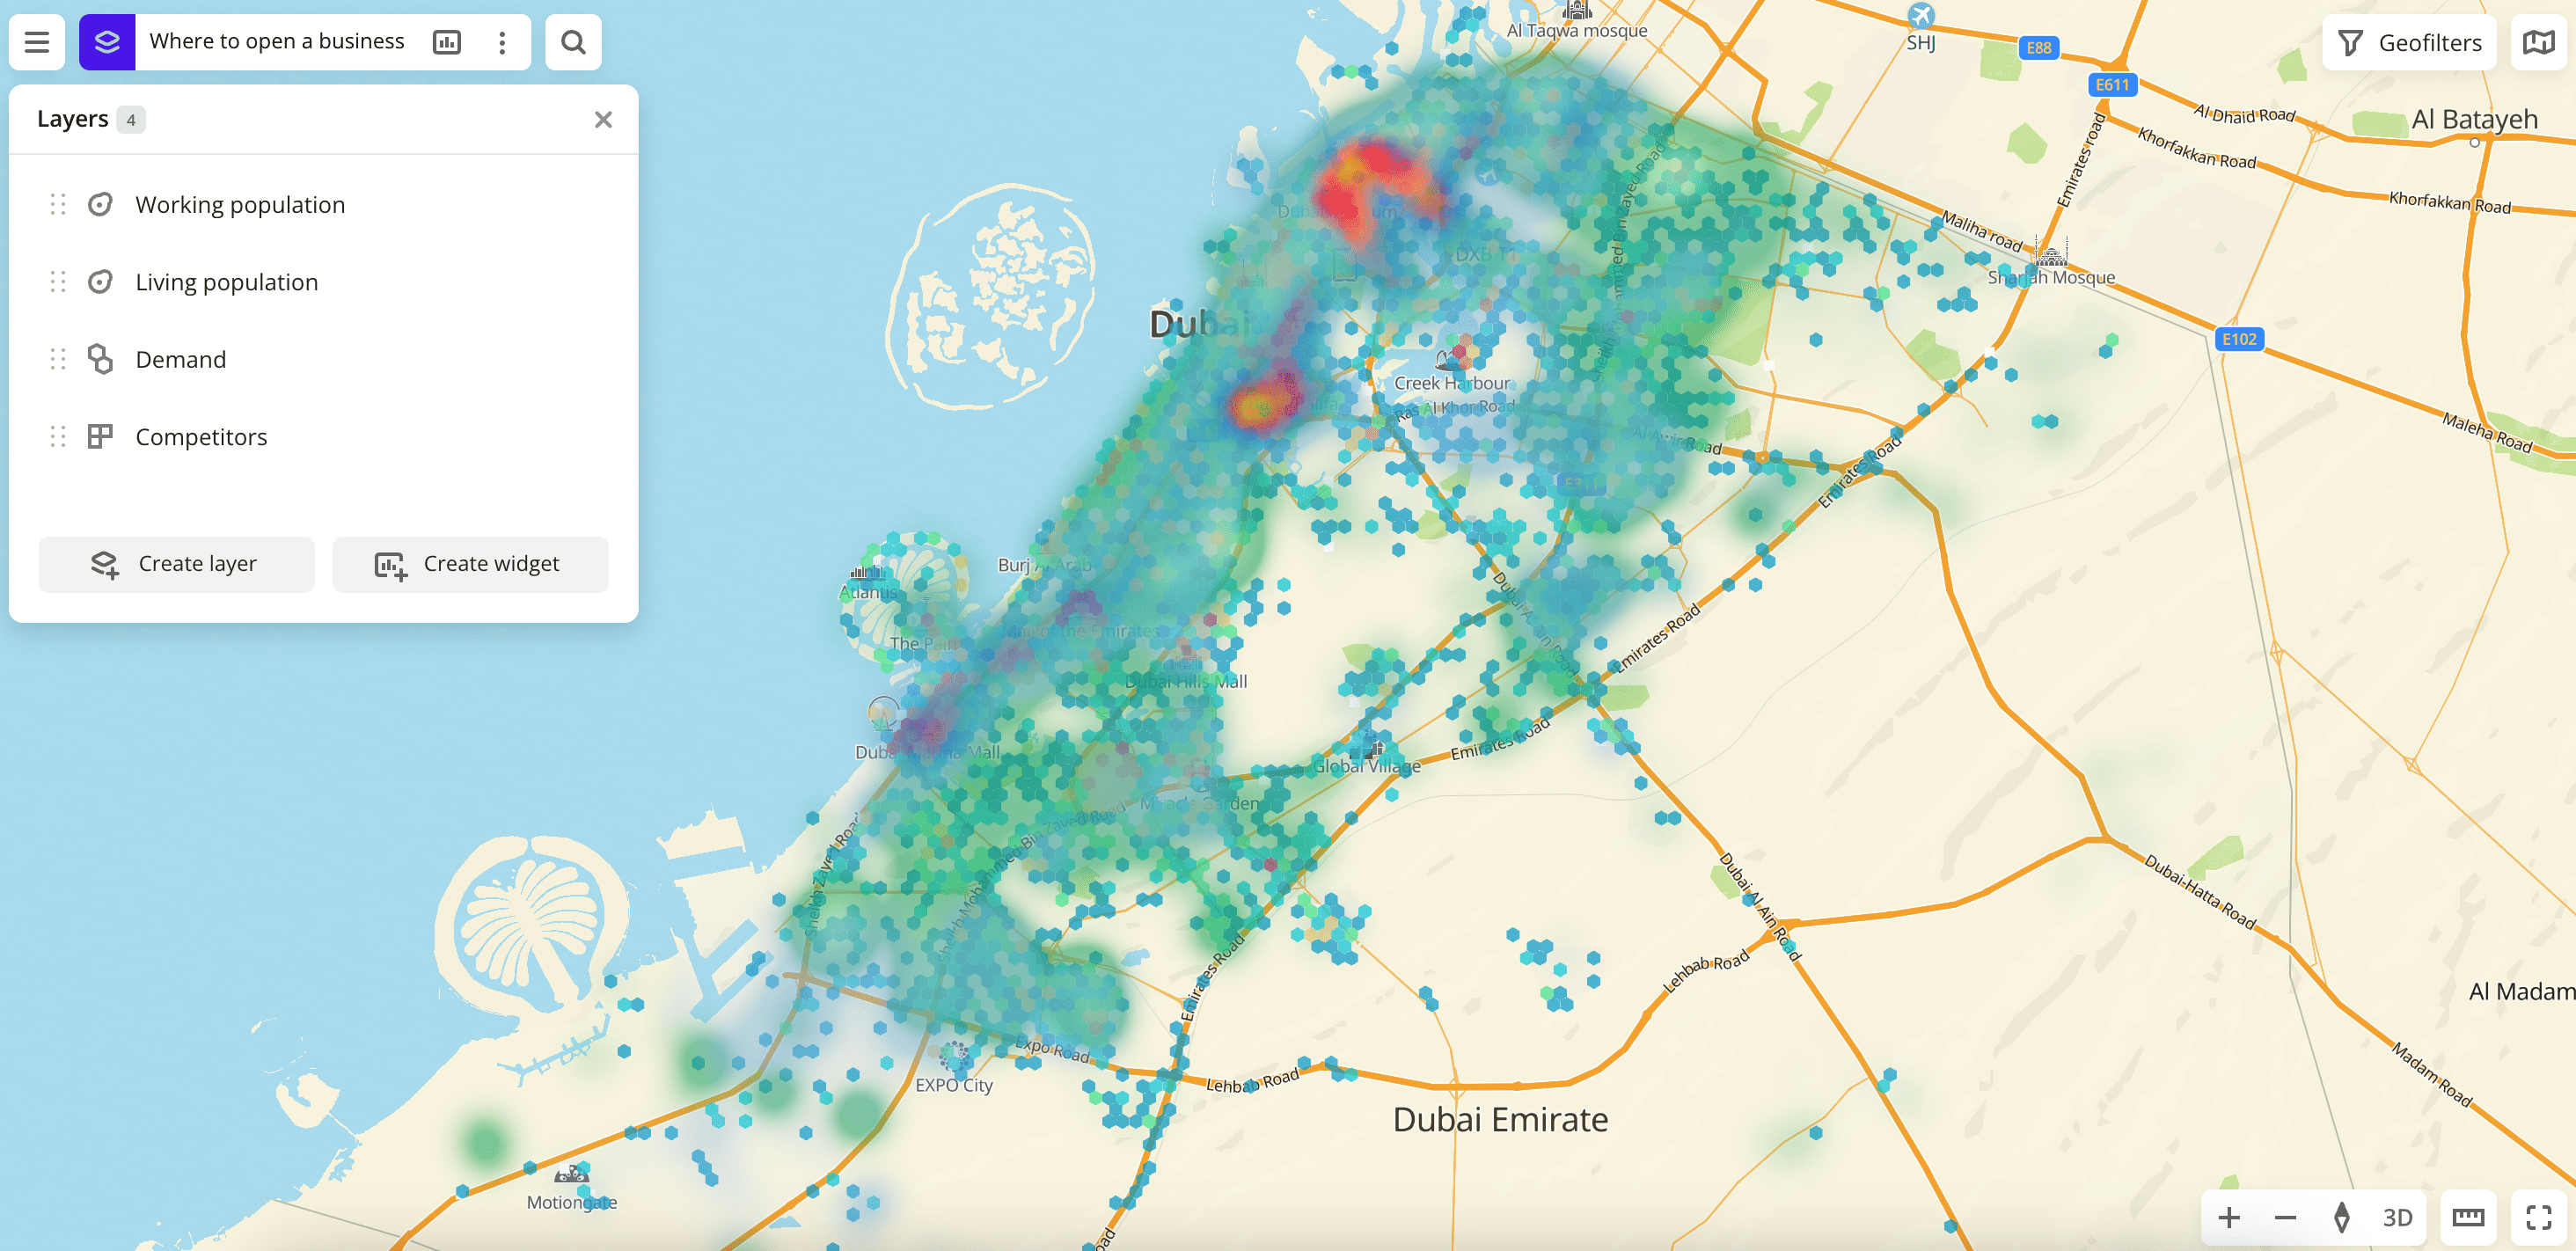
Creating a new layer
You can add layers to the dashboard and can customize data visualization for each layer. The number of available layers depends on the tariff.
Working with data
-
Go to the Main or Data tab.
-
Select the required category of the built-in data or the uploaded dataset.
-
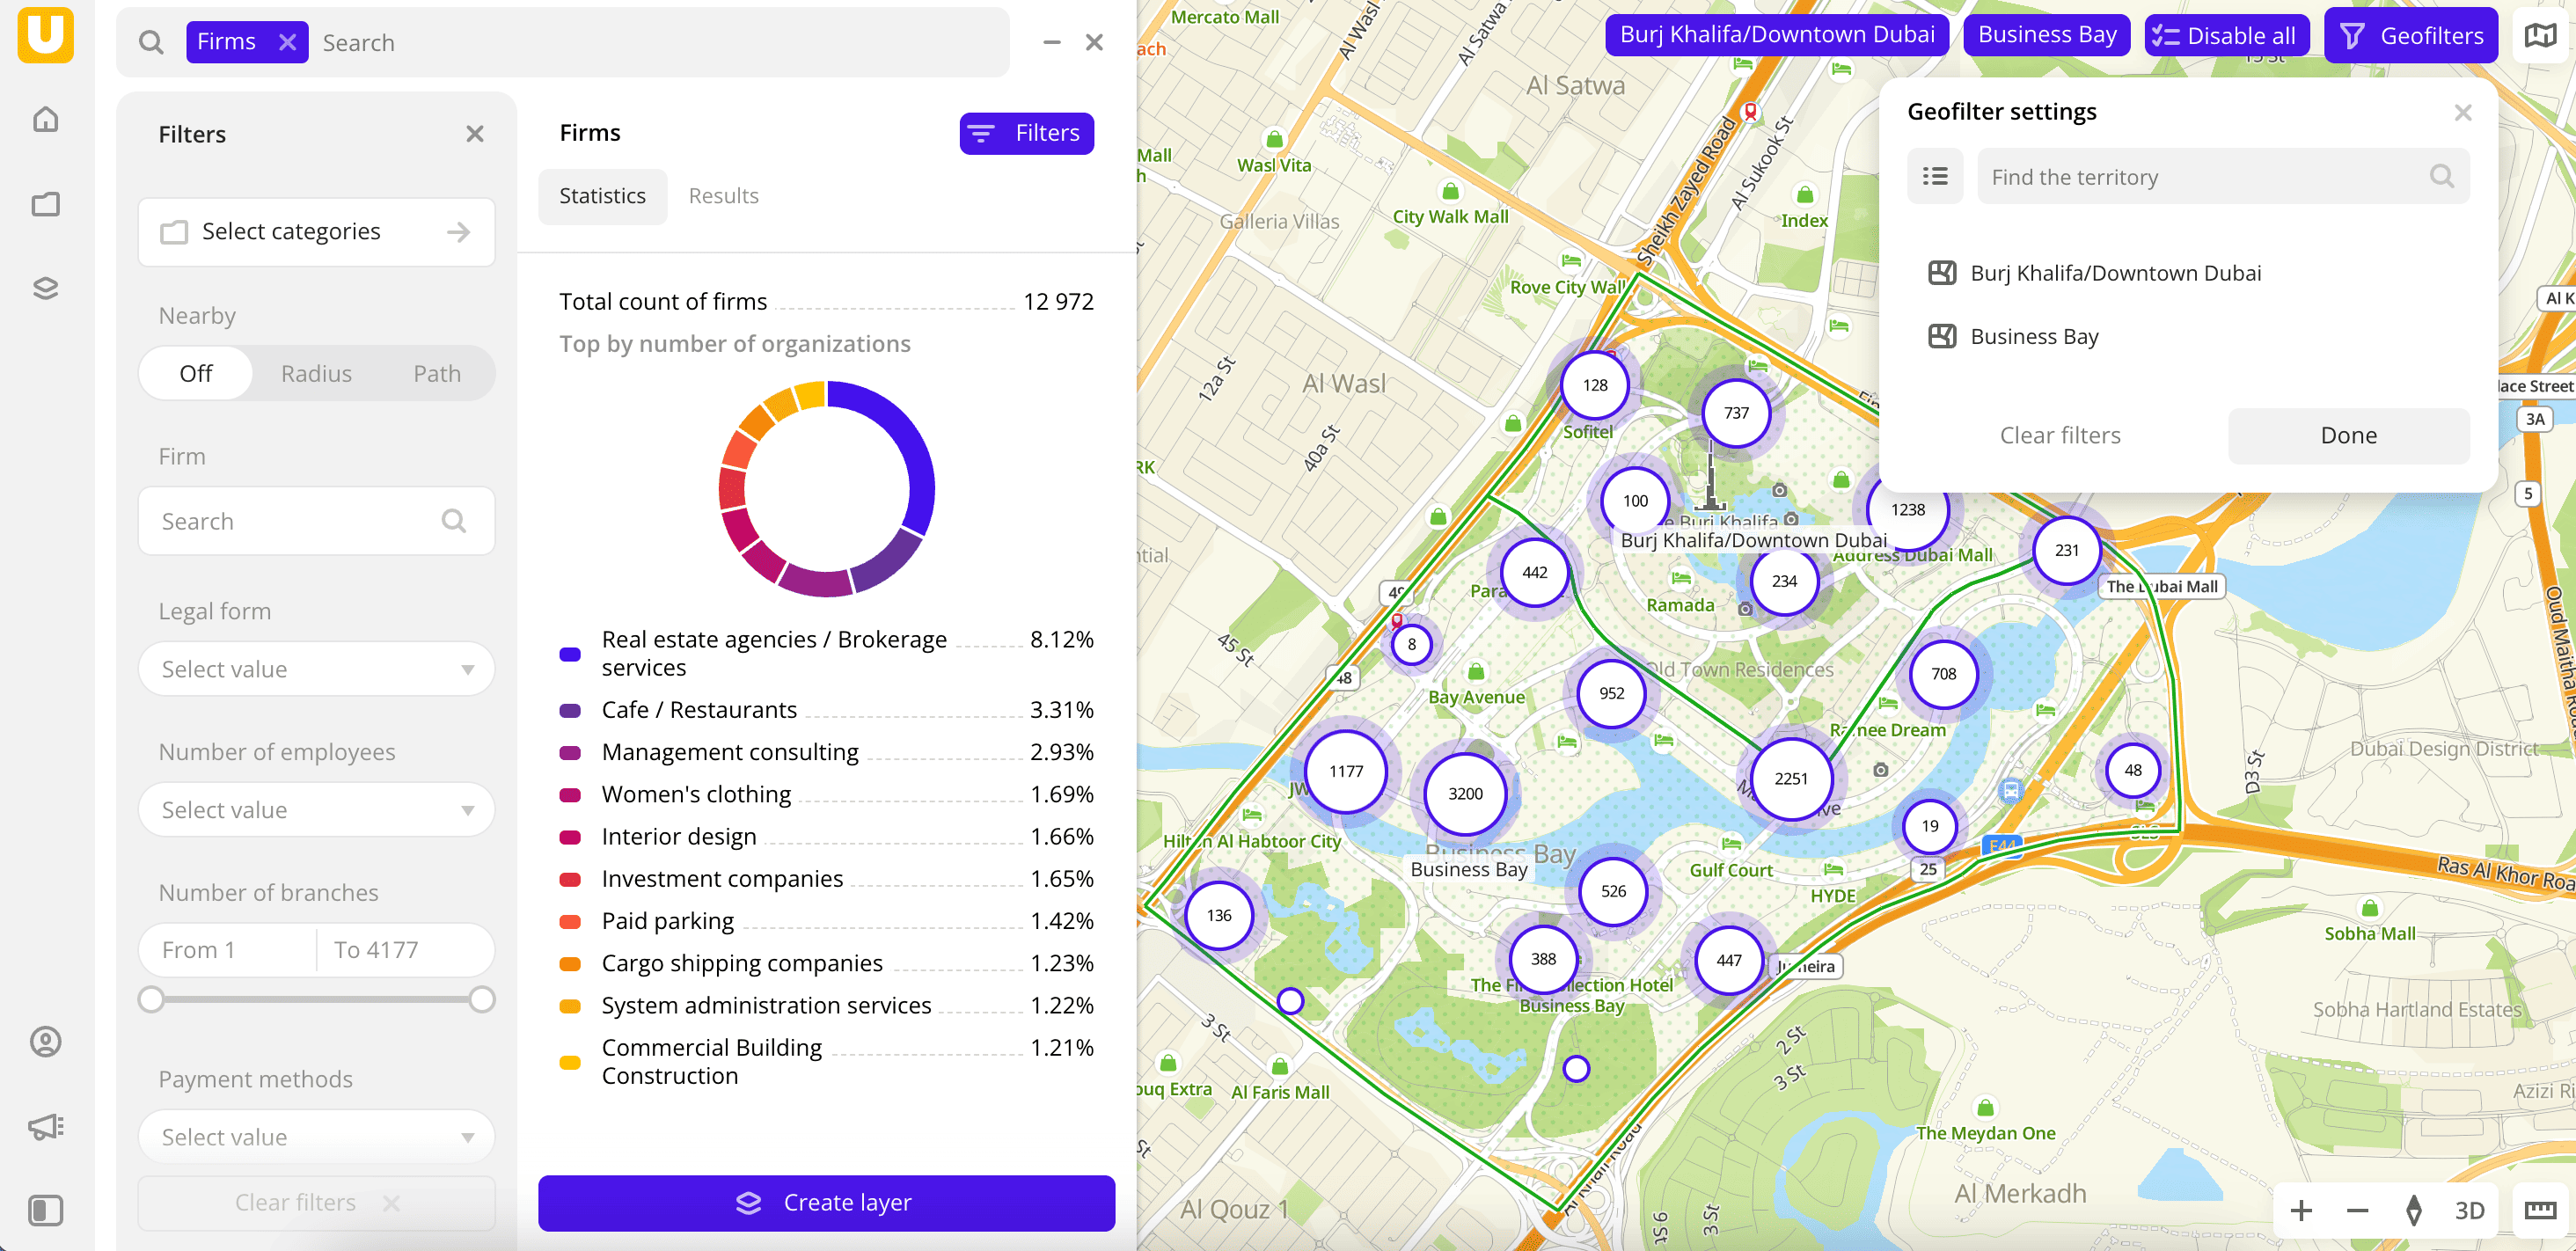
In the Geofilter settings box, select the territories for which the data sample is created (up to 50 territories). You can use:
- Suggested standard territories: regions, districts, settlements, and others. Depending on the tariff, some territories may not be available.
- Your own territorial division. To do this, first upload a dataset with polygons and create a territory filter.
Click Done.
-
If you selected the uploaded data that contains geometries of the line or polygon type, you can select the data display method on top of the Filters tab:
- Points: display as centroid points (the centers of the object geometries).
- Geometries: display as real data geometries (lines or polygons).
-
Set the remaining filters if necessary.
-
Click Create layer.
If there are no created dashboards yet, the first dashboard is created, and the layer with data is automatically added to it.
-
If there is at least one dashboard created, specify where to add the layer in the dialog:
- Select the created dashboard in the list and click Create.
- Click Add to the new dashboard, enter a name of the new dashboard, and click Create. A new dashboard is created, and the layer with data is automatically added to it.
Working with a dashboard
-
Go to the Dashboards tab.
-
Select the required dashboard.
-
Click
 icon.
icon. -
Click Create layer.
-
Select the required category of the built-in data or the uploaded dataset.
-
In the Geofilter settings box, select the territories for which the data sample is created (up to 50 territories). You can use:
- Suggested standard territories: regions, districts, settlements, and others. Depending on the tariff, some territories may not be available.
- Your own territorial division. To do this, first upload a dataset with polygons and create a territory filter.
Click Done.
-
If you selected the uploaded data that contains geometries of the line or polygon type, you can select the data display method on top of the Filters tab:
- Points: display as centroid points (the centers of the object geometries).
- Geometries: display as real data geometries (lines or polygons).
-
Set the remaining filters if necessary.
-
Click Create layer.
A new layer is created and is automatically added to the dashboard.
What's next?
- See available Operations with layers.
- Quick start.
- Get to know how to work with Data and Data visualization.
- Get to know more about Dashboards and Widgets.
- Get to know prepared Analytics presets.