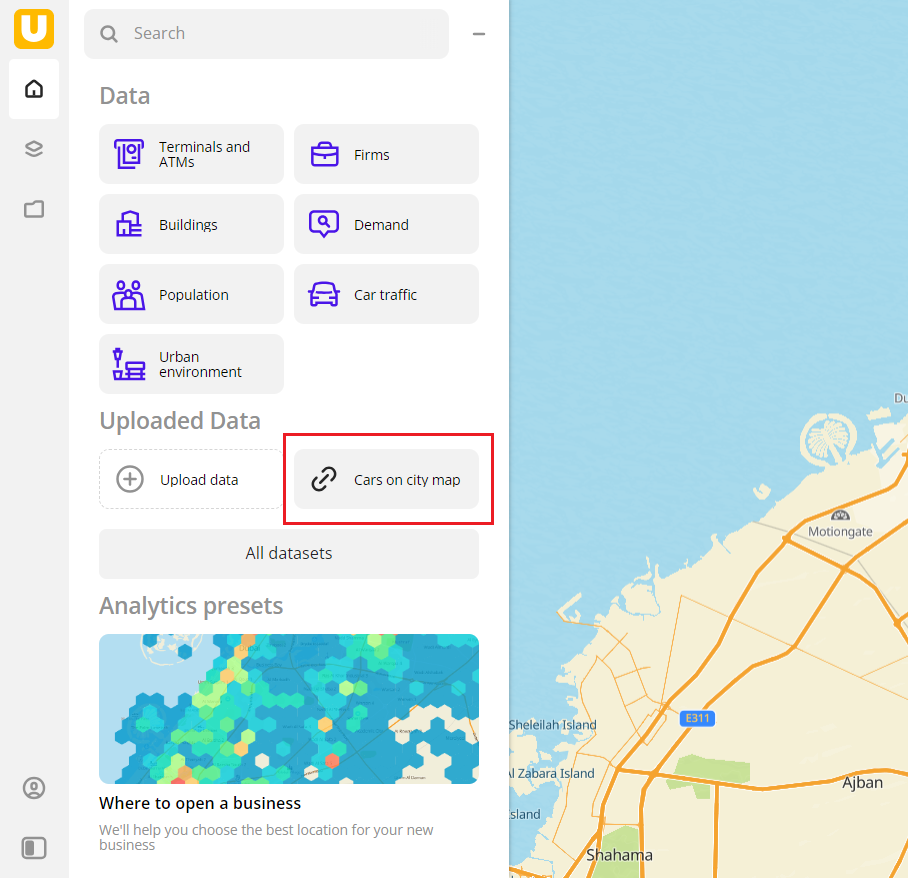
Uploading data using API
You can upload data from external sources to Urbi Pro service using API. You can upload data to a dynamic dataset an unlimited number of times, so this method is suitable for working with volatile data.
The ability to upload data depends on the tariff. You can upload data for any territory, but a detailed map is only available for countries with built-in data: see the list of countries.
Note
You can upload data via API only to separate datasets that you create following the steps below. You cannot upload data to system datasets and to datasets uploaded as a file.
To upload data using API and work with it:
- Create an empty dataset to push data.
- Upload a portion of data to the dataset. You can push data to the dataset an unlimited number of times within the limits.
- Create a layer with a data sample.
1. Create a dataset for uploading data
-
Create an empty dataset to push data:
-
Send a POST request to
/dynamic_asset:https://pro-api.2gis.ru/dynamic_assetUse a Bearer token for authorization.
How to get a Bearer token
- Open the Urbi Pro interface in a browser and open Developer Tools (press F12).
- In the Urbi Pro, click
 icon in the lower-left corner to open the profile tab.
 - In the Develop Tools panel, open the Network tab and click the opened
user?include_permissions=truerow. - In the opened table Request headers, find the Authorization row and copy symbols after
Bearer. Use these symbols as your Bearer token for authorization.
-
In the request body, pass the necessary parameters in the JSON format:
geometry_dimension: geometry type (point, line, polygon). Mandatory parameter.name: dataset name. Mandatory parameter.description: dataset description.attribute_groups: list of data attributes. You can set not more than 100 attributes for each type.filters: settings of data filters: UI control type, list of values, and others. Filters are displayed in the interface when working with the dataset.
For more information about parameters, see the API Reference.
Request body example
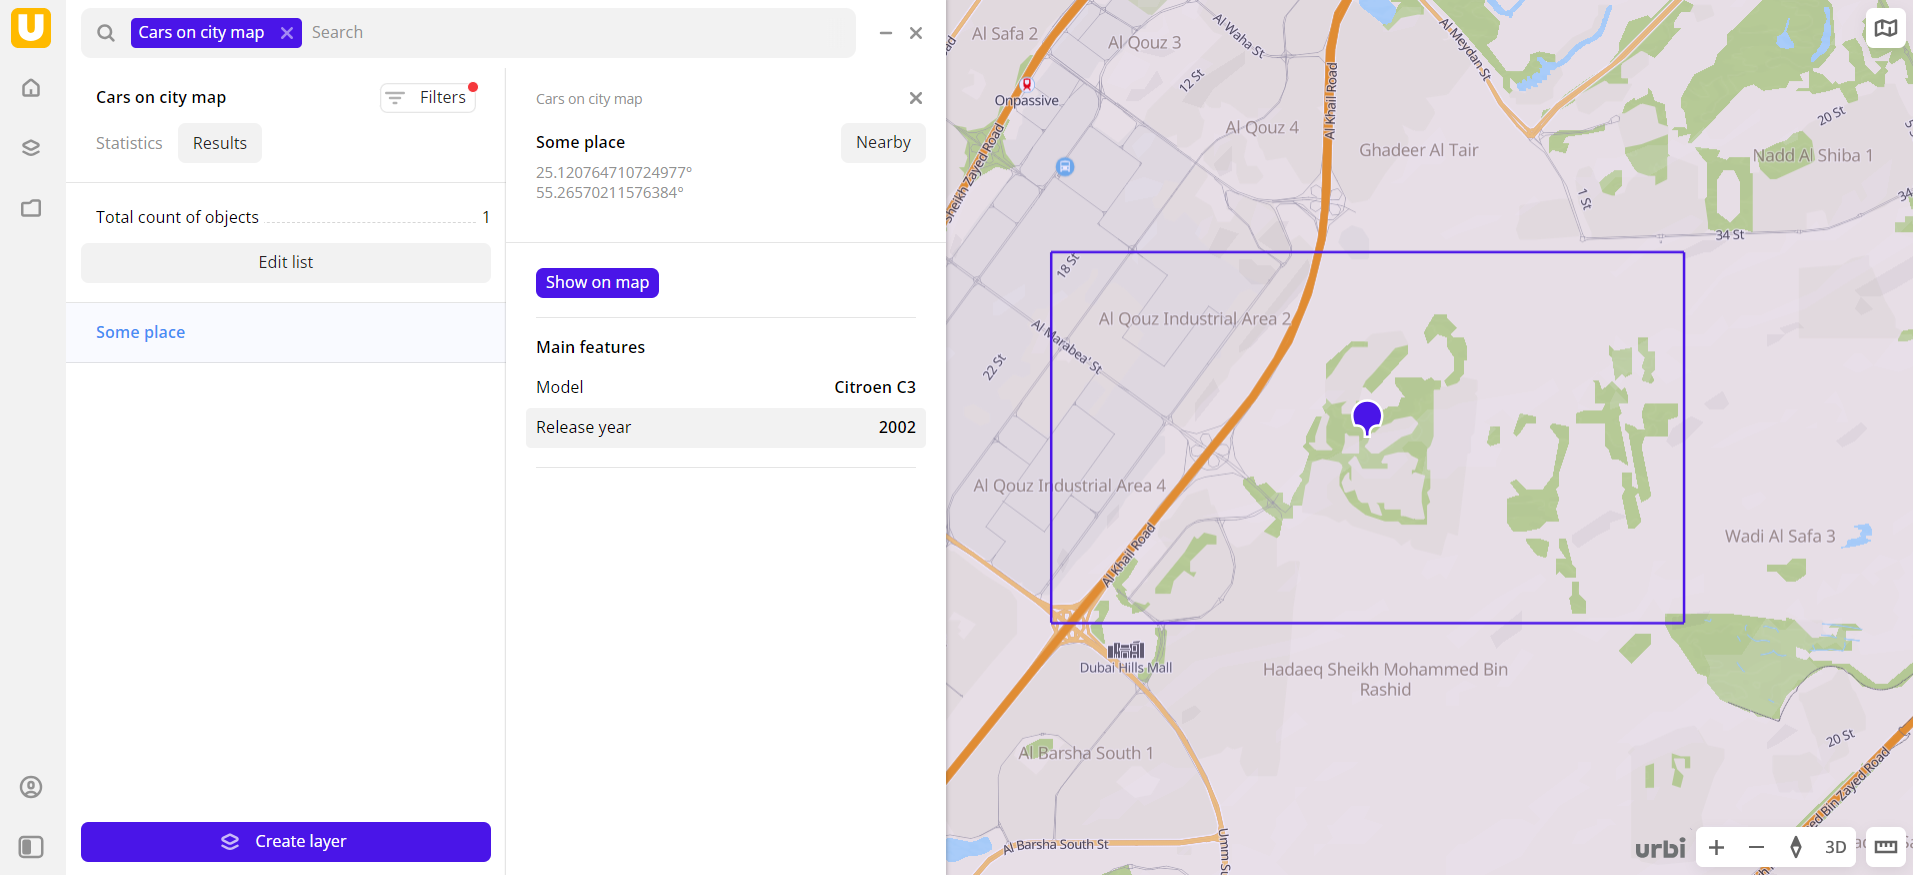
{
    "geometry_dimension": "polygon",
    "name": "Cars on city map",
    "description": "Shows car positions on the map",
    "attribute_groups": [
        {
            "name": "Main features",
            "attributes": [
                {
                    "id": "Model",
                    "type": "string",
                    "caption": "Model"
                },
                {
                    "id": "Year",
                    "type": "number",
                    "caption": "Release year"
                }
            ]
        }
    ],
    "filters": [
        {
            "attribute_id": "Model",
            "control_type": "check_box_list",
            "items": [
                {
                    "value": "Mercedes Benz S600",
                    "caption": "Mercedes Benz S600"
                },
                {
                    "value": "Citroen C3",
                    "caption": "Citroen C3"
                }
            ]
        },
        {
            "attribute_id": "Year",
            "control_type": "range",
            "min": 1969,
            "max": 2022
        }
    ]
}
If the request is handled successfully, a response with a created dataset ID (
asset_idfield) and an access token for authorization (access_tokenfield) is returned. Save these values. -
-
Open Urbi Pro and refresh the page. The created dataset appears in the uploaded dataset list.
Note
Creating a dataset might take a while. If the dataset does not appear in the interface immediately, try refreshing the page later.
To see the configured filters, open the dataset and select a territory in the Geofilter settings box. As data is not uploaded yet, results are empty.

2. Upload data to the dataset
To upload a portion of data to Urbi Pro:
-
Send a PUT request to
/dynamic_asset:https://pro-api.2gis.ru/dynamic_asset/{assetId}/dataTo send a request, use the data that you received when creating a dataset:
- Dataset ID (
assetId). Also, you can copy the ID in Urbi Pro: go to the Data tab, on the required dataset card, click icon and select Copy ID.
 - Access token for authorization (
access_token). Also, you can copy the token in Urbi Pro: click icon in the lower-left corner, go to the Tokens section and copy the value from the Token for dynamic datasets field.
- Dataset ID (
-
In the request body, pass data in the GeoJSON format:
-
type: GeoJSON object type. -
features: object parameters:-
type: GeoJSON object type. -
geometry: object geometry in the JSON format. -
id: object identifier. -
properties: object properties according to the data attributes set during dataset creation.If names or values of the object properties differ from the ones set during dataset creation, all new values are displayed in the object card but are not considered in the filter settings. To update filters, send a request to change dataset parameters.
-
For more information about parameters, see the API Reference.
Request body example
{ "type": "FeatureCollection", "features": [ { "id": "1", "type": "Feature", "geometry": { "type": "Polygon", "coordinates": [ [ [55.23113694972383, 25.13910052107302], [55.23113694972383, 25.102428900376935], [55.300267281803826, 25.102428900376935], [55.300267281803826, 25.13910052107302], [55.23113694972383, 25.13910052107302] ] ] }, "properties": { "Model": "Citroen C3", "Year": 2002 } } ] } -
-
Open Urbi Pro and refresh the page. Select the required dataset. Uploaded data is displayed on the map.
Note
Uploading data usually takes around one minute. If the data is not displayed immediately, try refreshing the page later.
Now you can upload data to the created dataset via API. You can only work with the dataset via API: see the Operations with datasets instruction.
3. Create a layer
To save the filtered sample and customize its visualization (e.g., as a heatmap), create a layer.
-
Go to the Main or Data tab.
-
Select the uploaded dataset.
-
In the Geofilter settings box, select the territories for which the data sample is created (up to 50 territories). You can use:
- Suggested standard territories: regions, districts, settlements, and others. Depending on the tariff, some territories may not be available.
- Your own territorial division. To do this, first upload a dataset with polygons and create a territory filter.
Click Done.
-
If you selected the uploaded data that contains geometries of the line or polygon type, you can select the data display method on top of the Filters tab:
- Points: display as centroid points (the centers of the object geometries).
- Geometries: display as real data geometries (lines or polygons).
-
Set the remaining filters if necessary.
-
Click Create layer.
If there are no created dashboards yet, the first dashboard is created, and the layer with data is automatically added to it.
-
If there is at least one dashboard created, specify where to add the layer in the dialog:
- Select the created dashboard in the list and click Create.
- Click Add to the new dashboard, enter a name of the new dashboard, and click Create. A new dashboard is created, and the layer with data is automatically added to it.
Limits
- Datasets for uploading data using API are counted in the total limit of user data. To see the current statistics, click icon in the lower-left corner, go to the Profile tab and see the value in the User data field.
- Maximum total number of objects in a dataset is 100,000. To extend this limit, contact support.
- Maximum number of objects uploaded in one operation is 100.
- Maximum size of the request body in PUT requests is 1 MB.
What's next?
- See available Operations with datasets.
- Quick start.
- API Reference.
- Get to know more about other Data categories.
- Get to know how to work with Data visualization.
- Get to know more about Layers, Dashboards, and Widgets.
- Get to know prepared Analytics presets.